
iOS 手勢實作:用 UIRotationGestureRecognizer 捕獲旋轉
編輯:iOS 相關資訊
一、前言
旋轉手勢是雙指環繞支點轉動的互動方式,很適合用在相片檢視、地圖、白板這類需要調整角度的場景。做法不難:建立一個 UIRotationGestureRecognizer 實例並綁到視圖上即可。
這個類別提供一個 rotation 屬性,代表本次手勢的旋轉弧度,可正可負。另外透過 UIGestureRecognizerStateBegan 與 UIGestureRecognizerStateEnded 兩個狀態,就能分別處理手勢的開始與結束。
二、程式碼實作
@synthesize rotationGestureRecognizer;
@synthesize helloWorldLabel;
@synthesize rotationAngleInRadians;

- (void)viewDidLoad
{
    [super viewDidLoad];
    self.view.backgroundColor = [UIColor whiteColor];

    // 先放一個標籤作為旋轉對象
    self.helloWorldLabel = [[UILabel alloc] initWithFrame:CGRectZero];
    self.helloWorldLabel.text = @"Hello, World!";
    self.helloWorldLabel.font = [UIFont systemFontOfSize:16.0f];
    [self.helloWorldLabel sizeToFit];
    self.helloWorldLabel.center = self.view.center;
    [self.view addSubview:self.helloWorldLabel];

    // 建立旋轉手勢識別器
    self.rotationGestureRecognizer =
        [[UIRotationGestureRecognizer alloc] initWithTarget:self
                                                    action:@selector(handleRotations:)];
    [self.view addGestureRecognizer:self.rotationGestureRecognizer];
}

- (void)handleRotations:(UIRotationGestureRecognizer *)paramSender
{
    if (self.helloWorldLabel == nil) return;

    // 把「之前累積的弧度」與「本次手勢的弧度」相加,
    // 這樣連續多次旋轉才不會被重置
    self.helloWorldLabel.transform =
        CGAffineTransformMakeRotation(self.rotationAngleInRadians + paramSender.rotation);

    // 手勢結束時,把這次的旋轉量存起來
    if (paramSender.state == UIGestureRecognizerStateEnded) {
        self.rotationAngleInRadians += paramSender.rotation;
    }
}
三、為什麼需要 rotationAngleInRadians
這是整個範例最關鍵的設計。paramSender.rotation 是「相對於本次手勢起點」的偏移量,手勢一結束它就歸零。如果直接把這個值套進 transform,使用者第二次旋轉時畫面就會突然跳回原位。
解法是自己維護一個累加器 rotationAngleInRadians:手勢進行中用它當基準,手勢結束時把這次的旋轉量加進去。這樣每一次旋轉都能接續上一次的角度,視覺上是連續的。
四、執行結果
初始狀態:
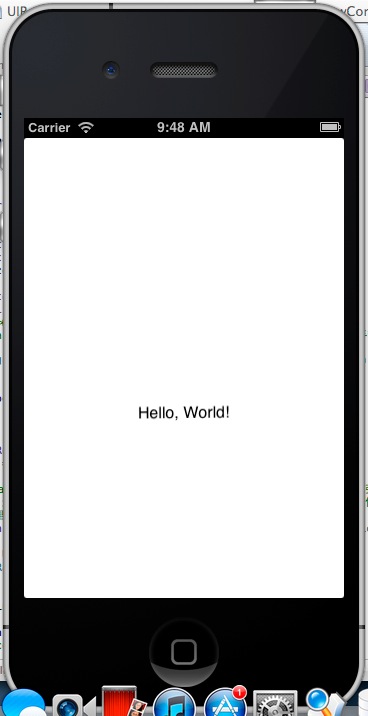
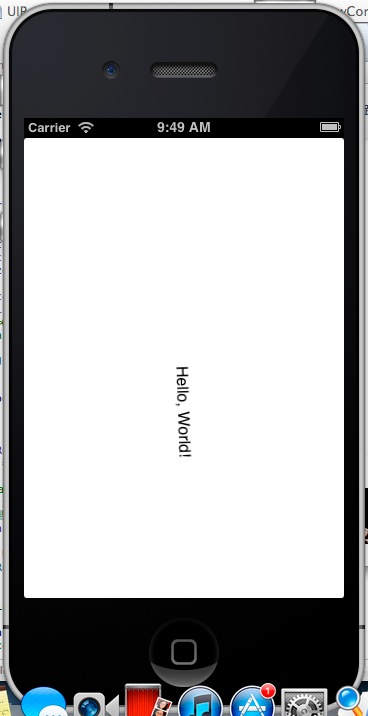
旋轉後的樣子。在模擬器中模擬雙指手勢的方式是按住 Option 鍵、按住滑鼠左鍵,畫面上會出現兩個小圓點,拖動它們即可轉動:
五、延伸應用
把同一套邏輯套到 UIImageView 上,就得到了一個可旋轉的相片檢視器。若要再加上縮放,通常會與 UIPinchGestureRecognizer 搭配,並改用 CGAffineTransformScale 與旋轉矩陣相乘來組出完整變換。若同時需要平移,建議改用 CGAffineTransformConcat 把三種變換合併,避免互相覆蓋。