
iOS 新功能引導頁:镂空高亮效果元件 EAFeatureGuideView
編輯:iOS 開發綜合
緣起
專案改版幅度不小,產品同學要求加上新功能引導,於是花了兩天做出一個引導頁,加上後續修補,時間還不止。不過這是一次投入、長期 reuse 的事,值得做。為了方便重複使用,順手把它抽成了 pod 庫:EAFeatureGuideView。
它能做什麼
EAFeatureGuideView 是 UIView 的分類擴充,用來做新功能引導,支援:
- 局部區域高亮,可設定圓角
- 箭頭指向高亮區域
- 一段介紹內容,可以是圖片也可以是文字
- 搭配一個按鈕,可自訂標題與點擊事件
效果預覽
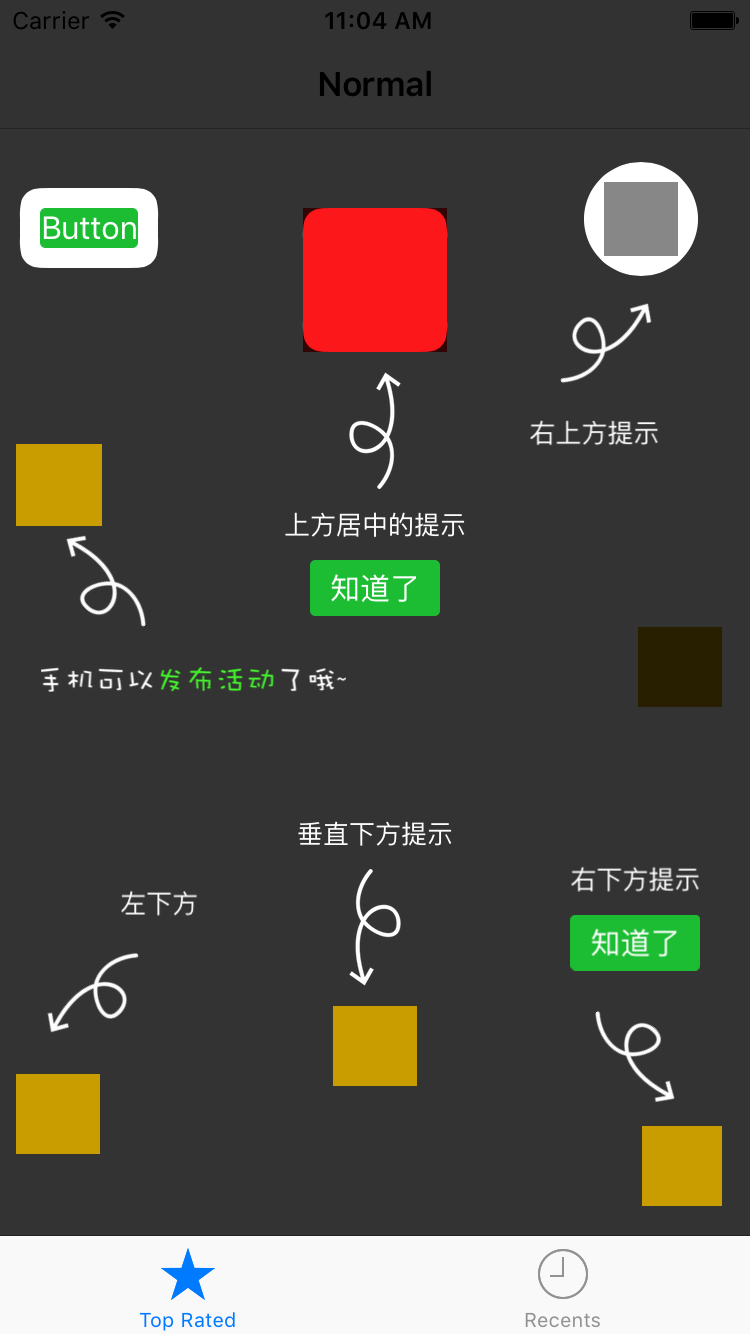
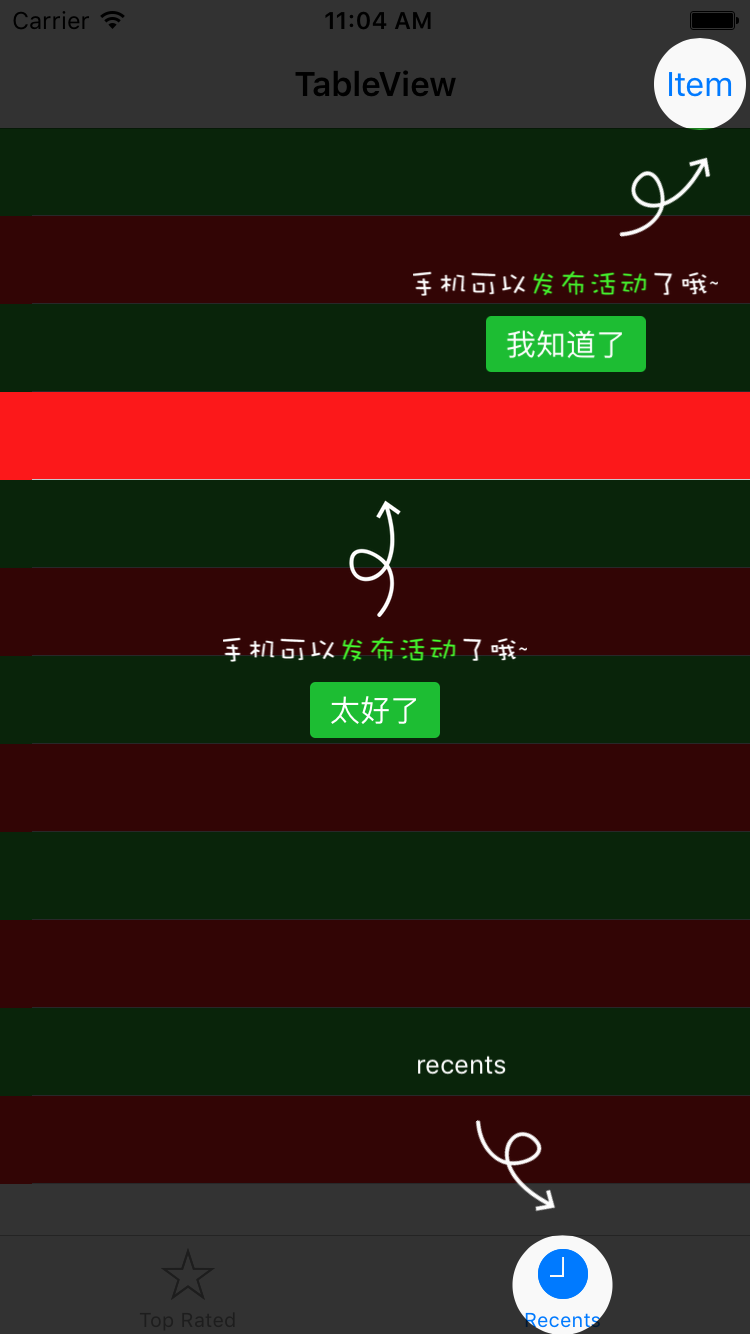
使用方式
安裝了 CocoaPods 的話,在 Podfile 中加入:
pod 'EAFeatureGuideView'
然後執行 pod install。
在需要展示引導的頁面引入標頭:
#import "UIView+EAFeatureGuideView.h"
接著組出要引導的項目:
EAFeatureItem *item = [[EAFeatureItem alloc]
    initWithFocusView:self.exampleCell
    focusCornerRadius:0
       focusInsets:UIEdgeInsetsZero];
item.introduce   = @"txt_feature_post_activity_4.1.png";
item.actionTitle = @"太好了";
item.action = ^(id sender) {
    NSLog(@"touched ..");
};

EAFeatureItem *recents = [[EAFeatureItem alloc]
    initWithFocusRect:CGRectMake(centerX - 25, centerY - 25, 50, 50)
    focusCornerRadius:25
       focusInsets:UIEdgeInsetsZero];
recents.introduce = @"recents";

[self.navigationController.view showWithFeatureItems:@[item, recents]
                                          saveKeyName:@"keyName"
                                            inVersion:nil];
镂空是怎麼做出來的
核心技巧其實不難:蓋一個半透明黑色遮罩在整個視圖上,再用 CAShapeLayer 搭配 kCAFillRuleEvenOdd 填色規則,在路徑上先畫一個覆蓋全螢幕的矩形、再挖一個圓角矩形洞,兩者相交的結果就是「整片暗、目標處透亮」的镂空視覺。想讓邊緣柔和一點,可以在洞的邊框上加一層陰影。
箭頭則是另一個 CAShapeLayer,用 UIBezierPath 畫三角形後,依高亮區域的邊界計算出指向位置與間距。
還可以優化的地方
介紹文案目前不支援多色混排;另外當高亮區域是正圓時,箭頭的指向沒有對準圓心。這兩點後續可以補上。
原文連結:https://www.jianshu.com/p/c9a44edc9fbf
- 上一篇文章: iOS 雷達掃描動畫實作:同心圓加扇形旋轉
- 下一篇文章: iOS 多級列表實作:樹形資料結構與局部刷新