
iOS 自訂元件:打造圓形進度提示控件
編輯:iOS 開發綜合
iOS 系統預設的進度條是水平方向的,很多時候並不符合設計稿的需求。好在有繪圖機制可用,我們可以自己畫一個圓環式的進度提示。接下來實作的效果是:點擊按鈕,圓形進度持續遞增。
步驟一:建立自訂視圖類別
新增一個 Cocoa Touch Class,父類別選擇 UIView。這個類負責畫出圓形背景與扇形進度:
import UIKit

class ProgressControl: UIView {

    override init(frame: CGRect) {
        super.init(frame: frame)
        self.backgroundColor = UIColor(white: 1, alpha: 0)   // 背景透明
    }

    required init?(coder aDecoder: NSCoder) {
        super.init(coder: aDecoder)
    }

    private var _progressValue: CGFloat = 0   // 當前進度 0 ~ 1

    func getProgressValue() -> CGFloat {
        return _progressValue
    }

    func setProgressvalue(value: CGFloat) {
        _progressValue = value
        setNeedsDisplay()      // 標記需要重繪,系統隨後會呼叫 drawRect
    }

    override func drawRect(rect: CGRect) {
        let context = UIGraphicsGetCurrentContext()
        let r = rect.width / 2

        // 1. 先畫完整的灰色底圓
        CGContextAddArc(context, r, r, r, 0, CGFloat(M_PI * 2), 0)
        CGContextSetRGBFillColor(context, 0.5, 0.5, 0.5, 1)
        CGContextFillPath(context)

        // 2. 再按進度畫出扇形
        CGContextAddArc(context, r, r, r, 0, CGFloat(M_PI * 2) * _progressValue, 0)
        CGContextAddLineToPoint(context, r, r)
        CGContextSetRGBFillColor(context, 0, 0, 1, 1)
        CGContextFillPath(context)
    }
}
這裡的關鍵是 drawRect:它不會被直接呼叫,而是要透過 setNeedsDisplay() 觸發。扇形大小的算法是「整圓弧度 2π × 進度比例」,再用 addLineToPoint 連回圓心閉合路徑,就形成了一塊餅形。
步驟二:在頁面中接入
從物件庫拖一個 Button 到界面,連上 Action,然後在 View Controller 中寫:
import UIKit

class ViewController: UIViewController {

    var progressControl: ProgressControl!

    override func viewDidLoad() {
        super.viewDidLoad()
        progressControl = ProgressControl(frame: CGRect(x: 100, y: 100, width: 100, height: 100))
        self.view.addSubview(progressControl)
    }

    // 每點一次按鈕,進度 +0.1
    @IBAction func addProgressValuePressed(sender: UIButton) {
        progressControl.setProgressvalue(progressControl.getProgressValue() + 0.1)
    }
}
步驟三:成果
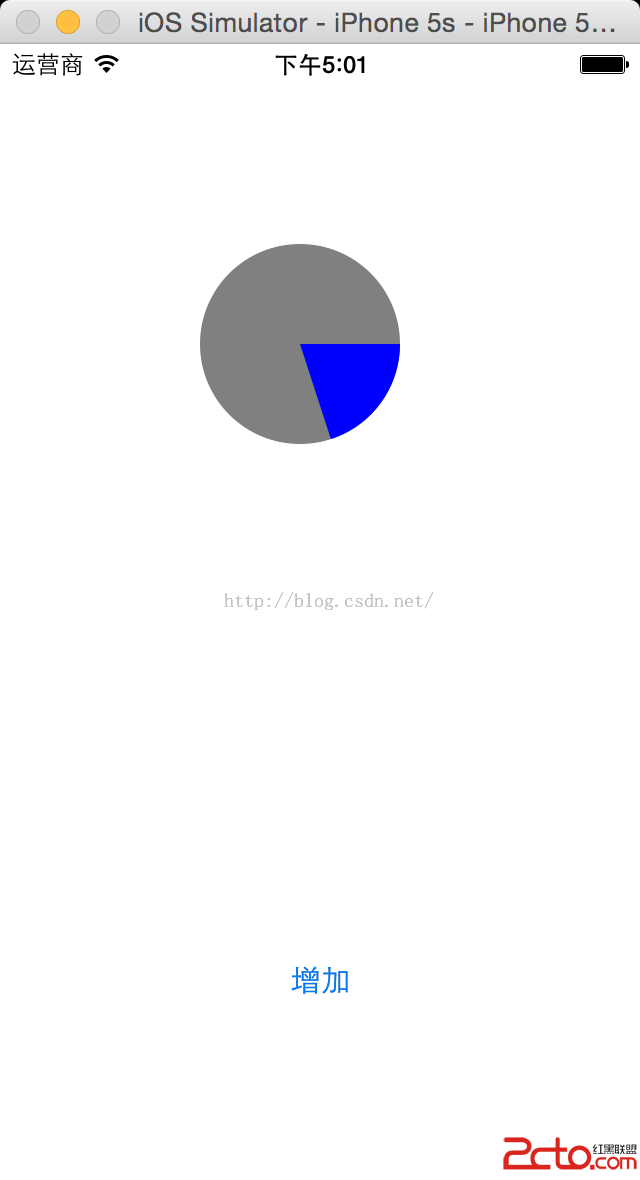
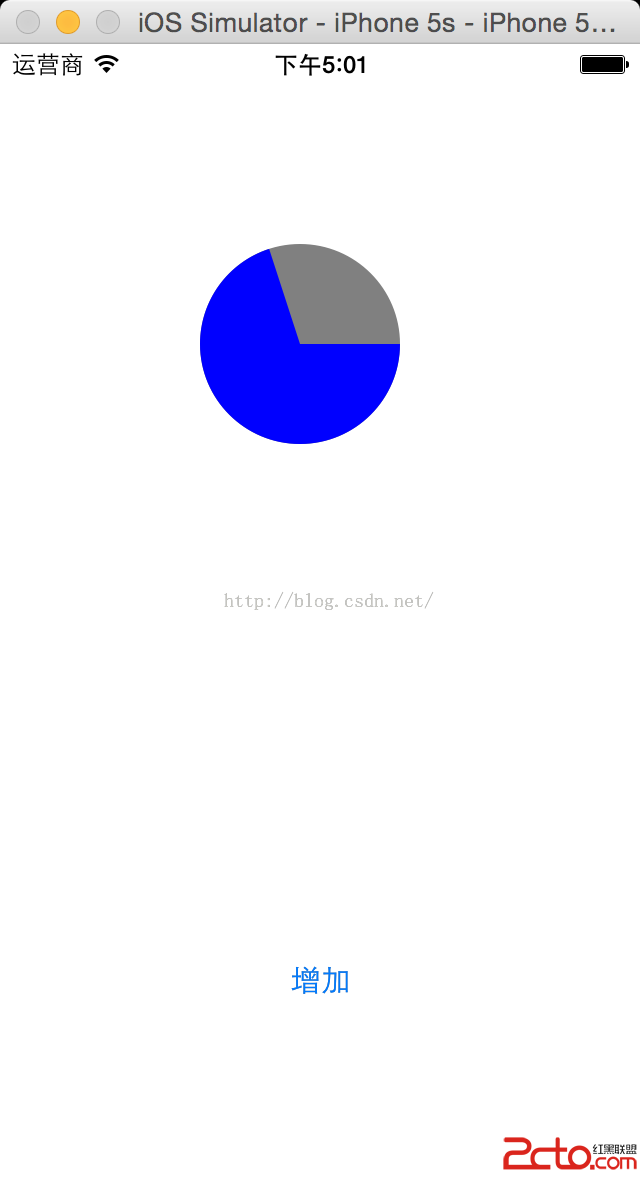
延伸應用
這個控件並不限於按鈕觸發。上傳進度、下載進度、表單完成度、倒數計時提示,凡是需要「用圓環表達比例」的場合都能直接複用。若想再進一步,可以加上 CABasicAnimation 或用 CADisplayLink 驅動連續更新,讓進度變化帶有平滑過渡,而不是一格一格跳。
- 上一篇文章: iOS 實戰:為視圖切換加上翻轉動畫
- 下一篇文章: iOS 視圖控制物件生命週期全解析