
實現 iOS 圖片等資源檔的熱更新(三):動態的資源文件夾
簡介
本文將嘗試從某個不確定的文件夾中動態載入資源檔,並持續完善自訂的 imageNamed 函數,為下一篇做好鋪墊。
這麼做的意義
正如我們常說的那樣,大多數情況下,知道「做一件事的意義」往往比「做這件事的方法」本身更有價值。意義本身通常蘊含著目的與最終需求;而方法,只是我們暫時找到的、用來達到最終目的的一種可行手段。知曉意義的好處在於,在未來的某一天,我們可能找到更合適的方法來實現同樣的目的。當知識積累到一定程度後,許多人在技能提升的過程中,多少都會有那種融會貫通、一通百通的體驗。這種豁然開朗的感覺,絕不會單靠累積程式碼行數而來,更多時候,是由於你在有意無意間對某個需求本身意義的探尋所促成的。
具體到這裡,我們為什麼需要動態的資源文件夾呢?就目前討論所透露的資訊而言,主要是因為我們的 main.bundle 被放在了 App 裡,而 iOS App 打包進去的檔案,在使用者手機上是唯讀的。這句話有三層含義:
第一,若資源檔放在 App 的 ipa 包裡,嘗試直接更新它是不可能的——至少對一個原生 iOS App 而言是如此。
第二,若你的 main.bundle 是從網路上動態下載、每次下載都放到使用者文件夾的特定位置,那你確實不需要考慮過多的動態資源文件夾問題。
第三,若某天 iOS 機制發生變化,或你為其他平台撰寫 App,而其 App 資源檔本身可寫,那也很可能用不上動態資源文件夾。
從特定的緩存目錄讀取資源檔
從特定的緩存目錄讀取資源檔,可視為動態資源文件夾的一種特殊形式,我們先處理這種單一的情況。
1. 動態拼接出特定的緩存目錄
在 iOS App 中,「固定」的緩存目錄與「特定」的緩存目錄還是有區別的,主要是因為真機上 App 每次啟動時,其對應的檔案目錄都是動態變化的。也就是說,以後若有儲存檔路徑的需求,一定要記住:只能儲存檔相對於程式沙盒主目錄 NSHomeDirectory 的相對路徑。順帶一提,主目錄下可見的子目錄有三個,分別是 Documents、Library、tmp:
Documents:Apple 建議將程式產生的檔案與瀏覽產生的資料存在此目錄,iTunes 備份與還原時會包含此目錄。
Library:儲存程式的預設設定或其他狀態資訊;其中 Library/Caches 存放緩存檔,不會被 iTunes 同步,適合放置較大且不需備份的檔案。
tmp:提供即時建立暫存檔的地方,不需持久化,App 關閉後資料會被刪除,系統也可能在程式未運行時清除它。
現在我們假設資源目錄固定放在相對路徑 Library/Caches/patch 中,名為 main.bundle。那麼在需要時,就可以這樣存取到資源文件夾:
NSArray *LibraryPaths = NSSearchPathForDirectoriesInDomains(NSLibraryDirectory, NSUserDomainMask, YES);
NSString *cacheBundleDir = [[LibraryPaths objectAtIndex:0] stringByAppendingFormat:@"/Caches/Patch/"];
NSLog(@"緩存資源目錄: %@", cacheBundleDir);
// 模擬器範例輸出:
// 緩存資源目錄: /Users/.../Library/Caches/Patch/
2. App 第一次初始化時將資源檔複製到特定緩存目錄
NSString *bundleName = @"main.bundle";
NSError *err = nil;
NSFileManager *defaultManager = [NSFileManager defaultManager];
if (![defaultManager fileExistsAtPath:cacheBundleDir]) {
    [defaultManager createDirectoryAtPath:cacheBundleDir withIntermediateDirectories:YES attributes:nil error:&err];
    if (err) { NSLog(@"初始化目錄出錯:%@", err); }
    NSString *defaultBundlePath = [[NSBundle mainBundle].resourcePath stringByAppendingPathComponent:bundleName];
    NSString *cacheBundlePath = [cacheBundleDir stringByAppendingPathComponent:bundleName];
    [defaultManager copyItemAtPath:defaultBundlePath toPath:cacheBundlePath error:&err];
    if (err) { NSLog(@"複製初始資源檔出錯:%@", err); }
}
有幾個重點值得說明:
fileExistsAtPath 用來判定緩存目錄是否存在,以此判斷是否為第一次啟動。這個邏輯在真實的補丁機制中未必嚴密,後續會用其他方式改進,此處够用即可。
createDirectoryAtPath 用於在目錄不存在時先建立目錄的層級結構,否則直接複製很可能報錯——這取決於你的目標目錄與既有目錄的層級差是否為 1。
copyItemAtPath:toPath: 的 toPath 是一個完整且不存在的目標路徑,不一定非得與來源的最後一級路徑同名;此函數甚至能同時完成複製與重新命名,例如將 main.bundle 改名為 default.bundle。
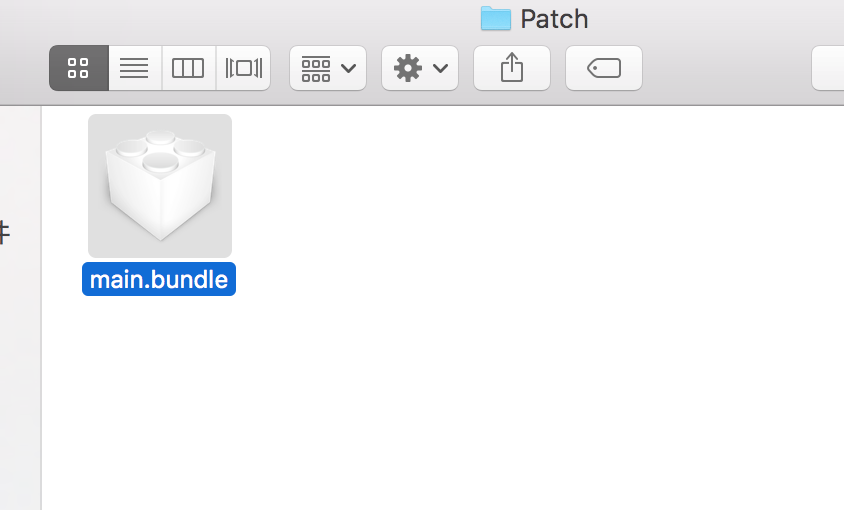
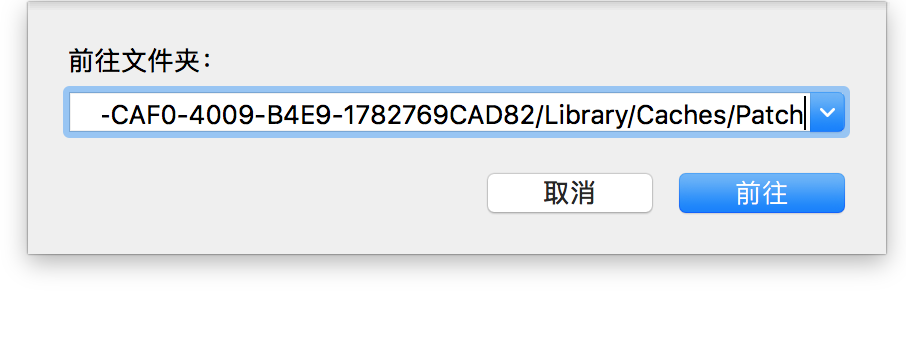
這段程式碼最好放在 AppDelegate.m 中。在模擬器上,你可以很輕易地看到執行後的效果:右擊 Finder → 前往文件夾 → 輸入 Xcode 輸出的緩存資源目錄。
3. 從特定緩存目錄載入檔案
因為目錄是特定的,我們只要每次 App 啟動後,依據相對路徑動態取得絕對路徑,進而拿到緩存目錄中 main.bundle 的資源包路徑,就能用既有的方法從 bundle 中取出圖片:
NSArray *LibraryPaths = NSSearchPathForDirectoriesInDomains(NSLibraryDirectory, NSUserDomainMask, YES);
NSString *cacheBundleDir = [[LibraryPaths objectAtIndex:0] stringByAppendingFormat:@"/Caches/Patch/"];
NSString *bundleName = @"main.bundle";
NSString *imgName = @"sample@3x";
NSString *bundlePath = [cacheBundleDir stringByAppendingPathComponent:bundleName];
NSBundle *cacheMainBundle = [NSBundle bundleWithPath:bundlePath];
NSString *imgPath = [cacheMainBundle pathForResource:imgName ofType:@"png"];
UIImage *image = [UIImage imageWithContentsOfFile:imgPath];
self.sampleImageView.image = image;
從動態的緩存目錄讀取資源檔
這裡主要是與「自訂的動態 imageNamed 類目方法」結合擴展,讓原本的類目方法支援從動態緩存目錄讀取 bundle。思路很簡單,只要修改用於確定 bundle 位置處的程式碼即可:
+ (UIImage *)imageNamed:(NSString *)imgName bundle:(NSString *)bundleName cacheDir:(NSString *)cacheDir {
    NSArray *LibraryPaths = NSSearchPathForDirectoriesInDomains(NSLibraryDirectory, NSUserDomainMask, YES);
    NSString *cacheBundleDir = [NSBundle mainBundle].resourcePath;
    if (cacheDir) {
        cacheBundleDir = [[[LibraryPaths objectAtIndex:0] stringByAppendingFormat:@"/Caches"] stringByAppendingPathComponent:cacheDir];
    }
    bundleName = [NSString stringWithFormat:@"%@.bundle", bundleName];
    imgName = [NSString stringWithFormat:@"%@@3x", imgName];
    NSString *bundlePath = [cacheBundleDir stringByAppendingPathComponent:bundleName];
    NSBundle *mainBundle = [NSBundle bundleWithPath:bundlePath];
    NSString *imgPath = [mainBundle pathForResource:imgName ofType:@"png"];
    UIImage *image;
    static NSString *model;
    if (!model) { model = [[UIDevice currentDevice] model]; }
    if ([model isEqualToString:@"iPad"]) {
        NSData *imageData = [NSData dataWithContentsOfFile:imgPath];
        image = [UIImage imageWithData:imageData scale:2.0];
    } else {
        image = [UIImage imageWithContentsOfFile:imgPath];
    }
    return image;
}
原本從 ipa 包中載入資源檔的邏輯,可以基於此方法重寫:
+ (UIImage *)imageNamed:(NSString *)imgName bundle:(NSString *)bundleName {
    return [self imageNamed:imgName bundle:bundleName cacheDir:nil];
}
其中 cacheDir 參數也支援多級目錄,例如:
UIImage *image = [UIImage imageNamed:@"sub/sample" bundle:@"main" cacheDir:@"patch/default"];
self.sampleImageView.image = image;
注意,此時初始複製到緩存目錄的邏輯,也要相應地對應子目錄變更:
NSArray *LibraryPaths = NSSearchPathForDirectoriesInDomains(NSLibraryDirectory, NSUserDomainMask, YES);
NSString *cacheBundleDir = [[LibraryPaths objectAtIndex:0] stringByAppendingFormat:@"/Caches/Patch/default/"];
NSLog(@"緩存資源目錄: %@", cacheBundleDir);
透過這套動態資源文件夾機制,你的 App 就能在不必重新上架的情況下更新圖片等資源,這正是資源熱更新的核心思路。