
iOS UICollectionView 使用綜述(二):畫廊與瀑布流展示圖片
編輯:iOS 開發綜合
效果圖
畫廊
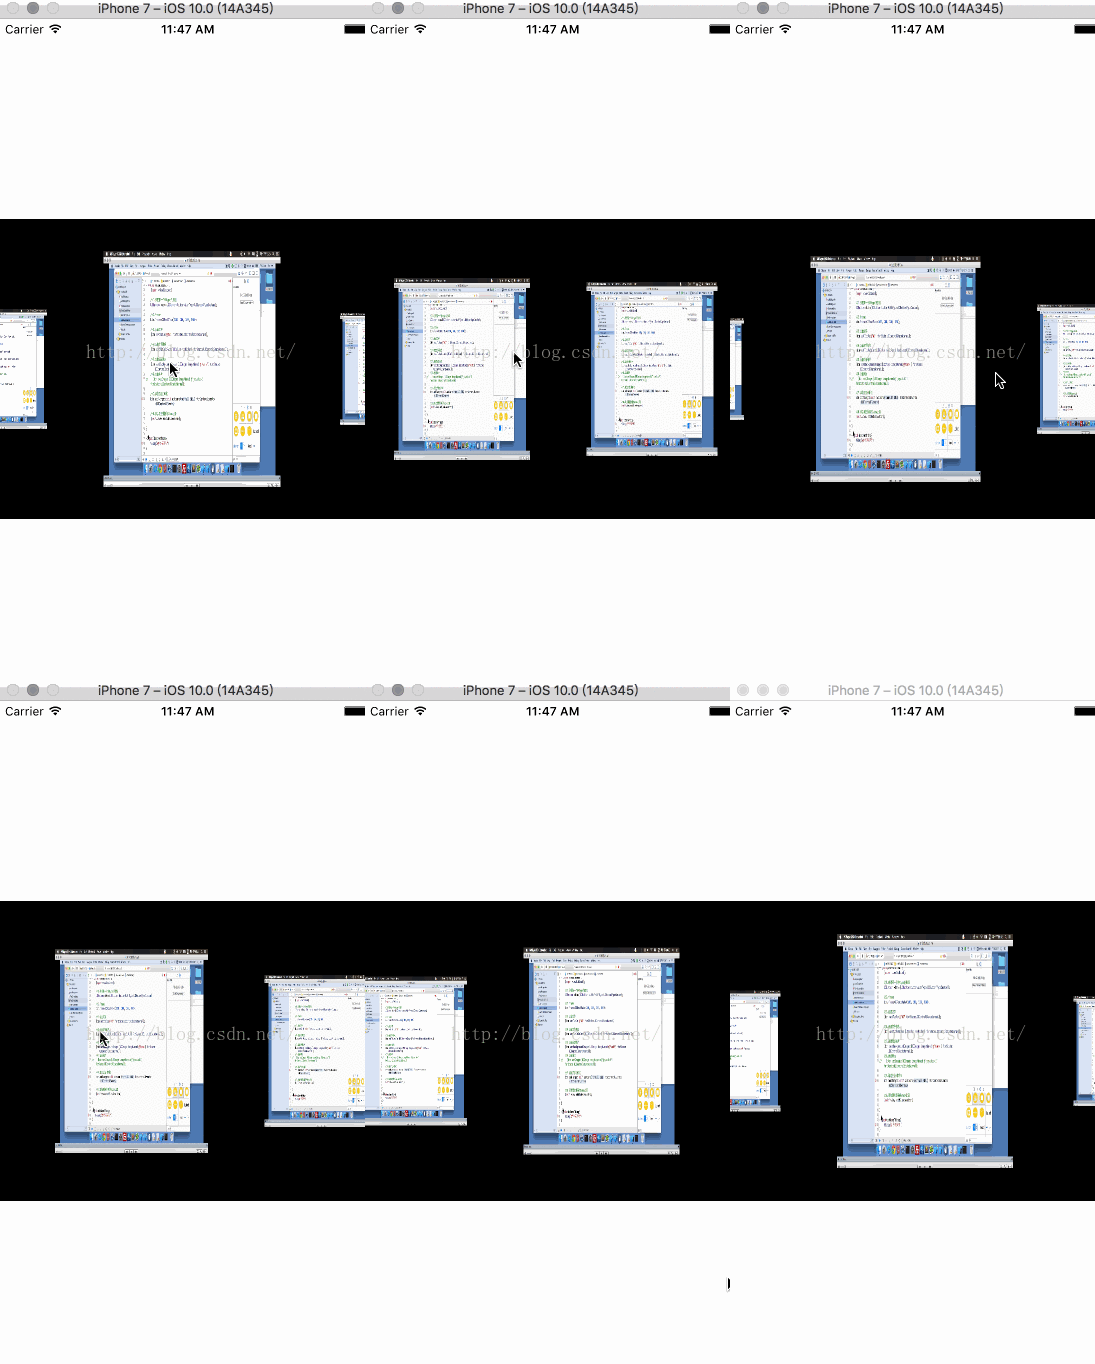
瀑布流
一、畫廊
1.1 簡述
這裡的畫廊效果是透過純程式碼的方式來添加設定的。
1.2 建立並設定 UICollectionView
#import "ViewController.h" #import "AppCell.h" #import "AppFlowLayout.h" @interface ViewController ()@end static NSString *identifier = @"cell"; @implementation ViewController - (void)viewDidLoad { [super viewDidLoad]; // 實例化一個自訂的 FlowLayout AppFlowLayout *flowlayout = [[AppFlowLayout alloc] init]; // 建立一個 CollectionView UICollectionView *collectionView = [[UICollectionView alloc] initWithFrame:CGRectMake(0, 200, 375, 300) collectionViewLayout:flowlayout]; // 設定資料來源代理 collectionView.dataSource = self; // 註冊 Cell [collectionView registerClass:[AppCell class] forCellWithReuseIdentifier:identifier]; // 加入控制器 [self.view addSubview:collectionView]; } -(NSInteger)numberOfSectionsInCollectionView:(UICollectionView *)collectionView { return 1; } -(NSInteger)collectionView:(UICollectionView *)collectionView numberOfItemsInSection:(NSInteger)section { return 10; } -(UICollectionViewCell *)collectionView:(UICollectionView *)collectionView cellForItemAtIndexPath:(NSIndexPath *)indexPath { AppCell *collection = [collectionView dequeueReusableCellWithReuseIdentifier:identifier forIndexPath:indexPath]; return collection; } @end
1.3 自訂 Cell
AppCell.h:
#import@interface AppCell : UICollectionViewCell @end
AppCell.m:
#import "AppCell.h"

@implementation AppCell
-(instancetype)initWithFrame:(CGRect)frame {
    if (self = [super initWithFrame:frame]) {
        // 建立 UIImageView
        UIImageView *imageView = [[UIImageView alloc] initWithFrame:self.contentView.bounds];
        imageView.image = [UIImage imageNamed:@"aqs"];
        [self.contentView addSubview:imageView];
    }
    return self;
}
@end
1.4 自訂流式布局
AppFlowLayout.h:
#import@interface AppFlowLayout : UICollectionViewFlowLayout @end
AppFlowLayout.m 是這個畫廊效果的核心,透過重寫布局方法來實現居中放大、兩側遞減的視覺效果:
#import "AppFlowLayout.h"

@implementation AppFlowLayout

// 此方法中 UICollectionView 尚未實例化,取不到其 frame
-(instancetype)init {
    if (self == [super init]) {
    }
    return self;
}

// 布局刷新時會自動呼叫此方法
-(void)prepareLayout {
    [super prepareLayout];
    // 將滾動方向改為水平
    self.scrollDirection = UICollectionViewScrollDirectionHorizontal;
    // 取得 UICollectionView 的 Size
    CGSize collectionSize = self.collectionView.frame.size;
    // 定義 ITEM 的寬高
    CGFloat itemWidth = collectionSize.height * 0.6;
    CGFloat itemHeight = collectionSize.height * 0.8;
    self.itemSize = CGSizeMake(itemWidth, itemHeight);
    // 設定頭尾初始間距,使第一個與最後一個 item 能居中
    CGFloat topMargin = collectionSize.width / 2 - itemWidth / 2;
    self.sectionInset = UIEdgeInsetsMake(0, topMargin, 0, topMargin);
}

// 回傳所有 Item 對應的屬性設定
-(NSArray *)layoutAttributesForElementsInRect:(CGRect)rect {
    NSArray *superAttributesArray = [super layoutAttributesForElementsInRect:rect];
    // 計算螢幕中心點
    CGFloat screenCenter = self.collectionView.contentOffset.x + self.collectionView.frame.size.width / 2;
    // 逐一設定 Item 屬性
    for (UICollectionViewLayoutAttributes *attributes in superAttributesArray) {
        CGFloat deltaMargin = ABS(screenCenter - attributes.center.x);
        CGFloat scale = 1 - deltaMargin / (self.collectionView.frame.size.width / 2 + attributes.size.width);
        attributes.transform = CGAffineTransformMakeScale(scale, scale);
    }
    return superAttributesArray;
}

// 手指離開螢幕時呼叫,讓 item 自動對齊居中
-(CGPoint)targetContentOffsetForProposedContentOffset:(CGPoint)proposedContentOffset withScrollingVelocity:(CGPoint)velocity {
    CGFloat screenCenter = proposedContentOffset.x + self.collectionView.frame.size.width / 2;
    CGRect visibleRect = CGRectZero;
    visibleRect.size = self.collectionView.frame.size;
    visibleRect.origin = proposedContentOffset;
    NSArray *visibleArray = [super layoutAttributesForElementsInRect:visibleRect];
    CGFloat minMargin = MAXFLOAT;
    for (UICollectionViewLayoutAttributes *attributes in visibleArray) {
        CGFloat deltaMargin = attributes.center.x - screenCenter;
        if (ABS(minMargin) > ABS(deltaMargin)) {
            minMargin = deltaMargin;
        }
    }
    return CGPointMake(proposedContentOffset.x + minMargin, proposedContentOffset.y);
}

// 可見範圍變化時重新刷新視圖
-(BOOL)shouldInvalidateLayoutForBoundsChange:(CGRect)newBounds {
    return YES;
}
@end
透過自訂 UICollectionViewFlowLayout,我們重寫了 prepareLayout(設定水平滾動與 item 尺寸)、layoutAttributesForElementsInRect(依據與螢幕中心的距離計算縮放比例,實現中間大兩側小的畫廊效果),以及 targetContentOffsetForProposedContentOffset(讓滾動停止時 item 自動吸附居中)等關鍵方法。這正是 UICollectionView 強大且靈活的地方——只要自訂布局,就能實現各式各樣富有巧思的展示效果。