
iOS 控件實作:UIScrollView 捲動視圖與分頁效果
編輯:iOS 相關資訊
前言
當要呈現的內容超出螢幕可視範圍時,UIScrollView 就是最直接的答案。它幾乎是所有捲動型 UI 的基礎——UITableView、UITextView 背後其實都是它。以下用兩個範例說明基本用法與分頁顯示。
案例一:捲動一張大圖
#import <UIKit/UIKit.h>

@interface ZYViewController : UIViewController <UIScrollViewDelegate>

@property (nonatomic, strong) UIImageView *myImageView;
@property (nonatomic, strong) UIScrollView *myScrollView;

@end
@synthesize myImageView;
@synthesize myScrollView;

- (void)viewDidLoad
{
    [super viewDidLoad];
    self.view.backgroundColor = [UIColor whiteColor];

    UIImage *imageToLoad = [UIImage imageNamed:@"Apple.png"];
    self.myImageView = [[UIImageView alloc] initWithImage:imageToLoad];

    self.myScrollView = [[UIScrollView alloc] initWithFrame:self.view.bounds];
    [self.myScrollView addSubview:self.myImageView];
    // 關鍵:contentSize 決定可捲動的範圍,這裡直接沿用圖片尺寸
    self.myScrollView.contentSize = self.myImageView.bounds.size;
    self.myScrollView.indicatorStyle = UIScrollViewIndicatorStyleWhite;
    myScrollView.delegate = self;
    [self.view addSubview:self.myScrollView];
}

#pragma mark UIScrollViewDelegate

// 內容捲動時持續呼叫
- (void)scrollViewDidScroll:(UIScrollView *)scrollView {
    self.myScrollView.alpha = 0.5f;
    NSLog(@"呼叫 scrollViewDidScroll 方法");
}

// 手指離開螢幕且仍在慣性滑動
- (void)scrollViewDidEndDecelerating:(UIScrollView *)scrollView {
    self.myScrollView.alpha = 1.0f;
    NSLog(@"呼叫 scrollViewDidEndDecelerating 方法");
}

// 完成拖拽
- (void)scrollViewDidEndDragging:(UIScrollView *)scrollView willDecelerate:(BOOL)decelerate {
    self.myScrollView.alpha = 1.0f;
    NSLog(@"呼叫 scrollViewDidEndDragging 方法");
}
範例刻意在捲動期間把透明度降到 0.5,用來觀察 delegate 的觸發時機。
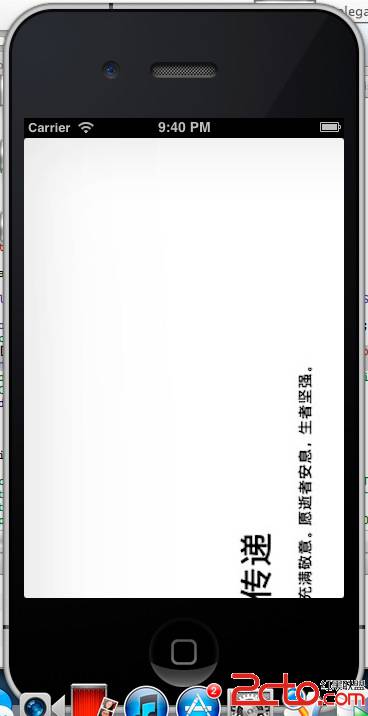
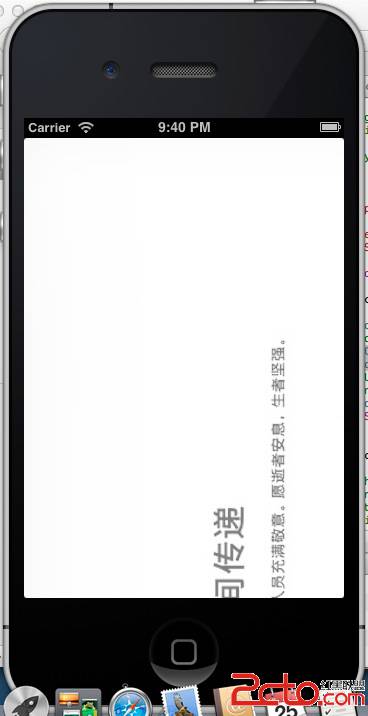
拖拽時主控台輸出:
呼叫 scrollViewDidScroll 方法
呼叫 scrollViewDidEndDragging 方法
慣性滑動時主控台輸出:
呼叫 scrollViewDidScroll 方法
呼叫 scrollViewDidEndDecelerating 方法
案例二:開啟分頁,做出左右翻頁
只要把 pagingEnabled 設為 YES,並把 contentSize 的寬度設為螢幕寬的倍數,就能得到一頁一頁吸附的效果。
- (void)viewDidLoad
{
    [super viewDidLoad];
    self.view.backgroundColor = [UIColor whiteColor];

    UIImage *iPhone     = [UIImage imageNamed:@"iPhone.png"];
    UIImage *iPod       = [UIImage imageNamed:@"iPod.png"];
    UIImage *macBookAir = [UIImage imageNamed:@"Mac.png"];

    CGRect scrollViewRect = self.view.bounds;
    self.myScrollView = [[UIScrollView alloc] initWithFrame:scrollViewRect];
    self.myScrollView.pagingEnabled = YES;
    // 寬度乘以 3,等於三頁的總寬
    self.myScrollView.contentSize = CGSizeMake(scrollViewRect.size.width * 3.0f,
                                               scrollViewRect.size.height);
    [self.view addSubview:self.myScrollView];

    CGRect imageViewRect = self.view.bounds;

    UIImageView *iPhoneImageView = [[UIImageView alloc] initWithImage:iPhone];
    [iPhoneImageView setFrame:imageViewRect];
    [self.myScrollView addSubview:iPhoneImageView];

    // 橫座標右移一個螢幕寬
    imageViewRect.origin.x += imageViewRect.size.width;

    UIImageView *iPodImageView = [[UIImageView alloc] initWithImage:iPod];
    [iPodImageView setFrame:imageViewRect];
    [self.myScrollView addSubview:iPodImageView];

    imageViewRect.origin.x += imageViewRect.size.width;

    UIImageView *macBookAirImageView = [[UIImageView alloc] initWithImage:macBookAir];
    [macBookAirImageView setFrame:imageViewRect];
    [self.myScrollView addSubview:macBookAirImageView];
}
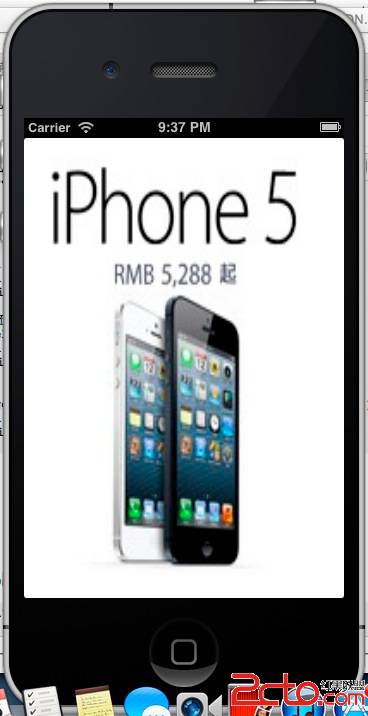
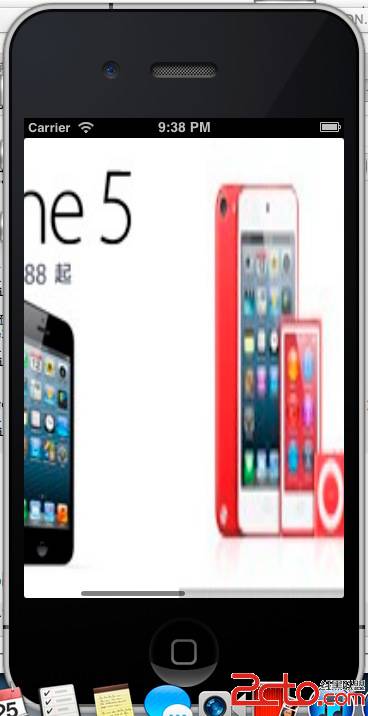

實務上要留意:UIScrollView 本身不會縮放內容,若要 pinch-to-zoom,需實作 viewForZoomingInScrollView: 並回傳要縮放的子視圖,同時把 minimumZoomScale 與 maximumZoomScale 設為大於 1 的值。