
iOS 全景瀏覽實作:把貼圖貼在球體內側
全景照片的瀏覽效果,本質上是「一台放在球心的相機,看著球內側的貼圖」。本文以 PLView 為例,說明這套做法的關鍵結構。
原理
把全景圖(pano.jpg)貼到一個球體模型上,將相機設在球心,朝球內側觀察。使用者拖曳時旋轉球體(或等價地旋轉相機視角),就得到上下左右自由轉動的瀏覽效果。
專案中的 PLView 就是顯示全景的 view 本體。
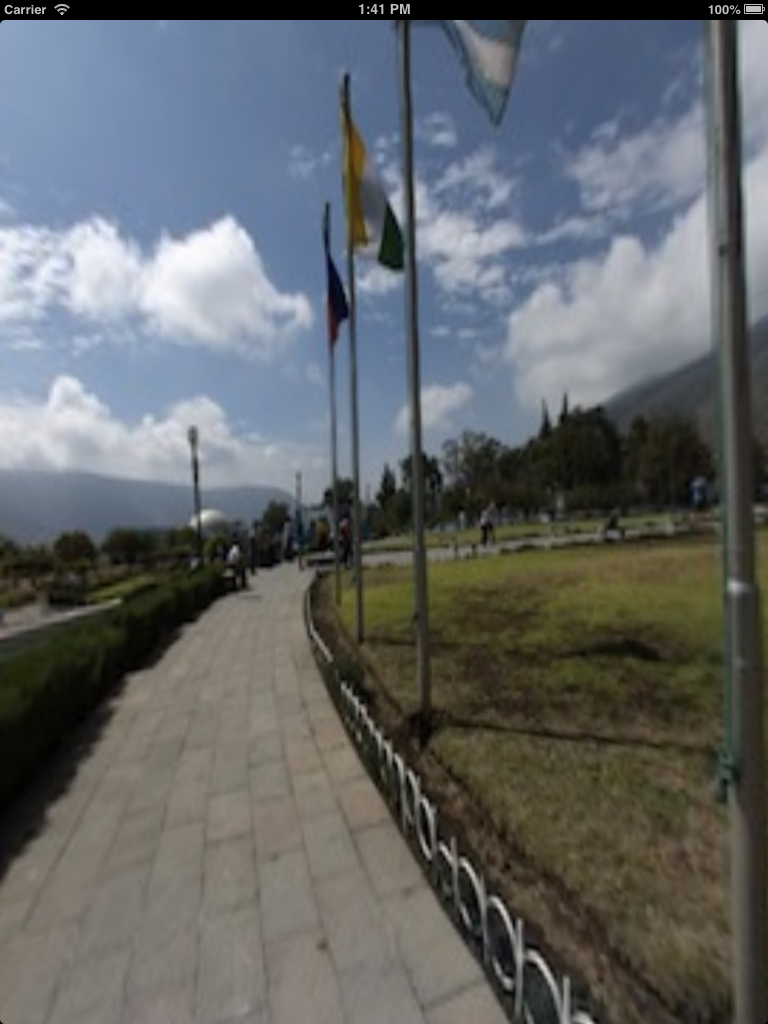
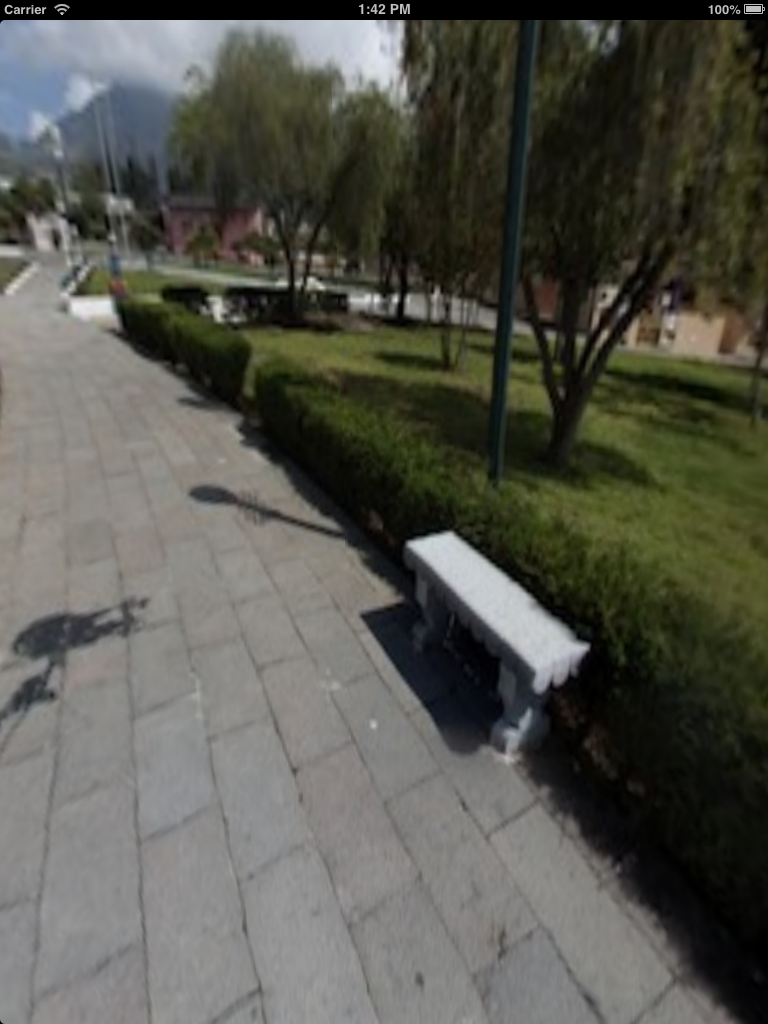
一、初始化與元件組成
- (void)allocAndInitVariables {
    [super allocAndInitVariables];
    scene = [PLScene scene];
    renderer = [PLRenderer rendererWithView:self scene:[scene retain]];
    camera = [PLCamera camera];
}

- (void)initializeValues {
    [super initializeValues];
    textures = [[NSMutableArray array] retain];
    type = PLViewTypeUnknown;
}
四個主要角色:scene 是場景容器、renderer 負責實際描繪、camera 記錄視角參數、textures 保存貼圖清單。
二、依型別建立幾何體
- (void)setType:(PLViewType)value {
    type = value;
    if (sceneElement) [sceneElement release];

    switch (value) {
        case PLViewTypeCylindrical:
            camera.fovFactorRange = PLRangeMake(kDefaultCylinderFovFactorMinValue,
                                                kDefaultCylinderFovFactorMaxValue);
            sceneElement = [PLCylinder cylinder];
            break;
        case PLViewTypeSpherical:
            camera.fovFactorRange = PLRangeMake(kDefaultFovFactorMinValue, kDefaultFovFactorMaxValue);
            sceneElement = [PLSphere sphere];
            break;
        case PLViewTypeCubeFaces:
            camera.fovFactorRange = PLRangeMake(kDefaultFovFactorMinValue, kDefaultFovFactorMaxValue);
            sceneElement = [PLCube cube];
            break;
        default:
            sceneElement = nil;
            break;
    }

    if (sceneElement) {
        sceneElement = [sceneElement retain];
        for (PLTexture *texture in textures) {
            [sceneElement addTexture:texture];
        }
        [scene addElement:sceneElement];
    }
}
這裡一個值得注意的細節:切換型別時,會把先前收集的所有貼圖重新套用到新的幾何體上。因為 textures 陣列是獨立的資料來源,sceneElement 只是它的消費者,所以換球、換圓柱、換立方體都能保留貼圖。這就是「資料與檢視分離」的實際好處。
三種型別各有用途:球體最適合完整的 360 度全景;圓柱適合只有水平環繞的場景;立方體則對應六面貼圖格式。fovFactorRange 的差異就在此——圓柱無法上下翻,視野範圍自然要限制。
三、繪製流程
- (void)drawView {
    [super drawView];
    [sceneElement clonePropertiesOf:camera];
    [scene.currentCamera cloneCameraProperties:camera];

    scene.currentCamera.rotation = PLRotationMake(0.0f, 0.0f, 0.0f);
    scene.currentCamera.position = PLPositionMake(0.0f, 0.0f, 0.0f);

    // 若不是正在縮放或改變方向,就依手勢旋轉場景
    if (!isValidForFov && !isValidForOrientation) {
        [sceneElement rotateWithStartPoint:startPoint endPoint:endPoint
                               sensitivity:camera.rotateSensitivity];
    }

    [renderer render];

    // 把場景當前的姿態讀回 camera,供下次使用
    camera.rotation = PLRotationMake(sceneElement.pitch, sceneElement.yaw, sceneElement.roll);
}
這段有兩個關鍵。第一,camera 的 rotation 與 position 每帧都被重置為零——因為旋轉實際發生在 sceneElement 上,相機保持不動,這樣做能避免矩陣運算的不斷累加誤差。第二,isValidForFov 與 isValidForOrientation 這兩個旗標用來「互斥鎖定」:使用者正在雙指縮放時,就不該同時旋轉,否則手勢會互相干擾。
四、縮放與貼圖管理
- (BOOL)calculateFov:(NSSet *)touches {
    if ([super calculateFov:touches]) {
        [camera addFovWithDistance:fovDistance];
        [scene.currentCamera addFovWithDistance:fovDistance];
        return YES;
    }
    return NO;
}

- (void)addTexture:(PLTexture *)texture {
    [textures addObject:texture];
    if (sceneElement) [sceneElement addTexture:texture];
}

- (void)removeTextureAtIndex:(NSUInteger)index {
    [textures removeObjectAtIndex:index];
    if (sceneElement) [sceneElement removeTextureAtIndex:index];
}
注意 addTexture 的雙重操作:既存進 textures 陣列,也立刻套用到目前的 sceneElement。這保證了「先加貼圖後設型別」與「先設型別後加貼圖」兩種順序都能正常運作。
五、裝置方向
- (void)orientationChanged:(UIDeviceOrientation)orientation {
    if (camera && sceneElement) {
        camera.orientation = orientation;
        sceneElement.orientation = orientation;
        camera.pitchRange = sceneElement.pitchRange;
        camera.yawRange   = sceneElement.yawRange;
        camera.rollRange  = sceneElement.rollRange;
        camera.rotation = PLRotationMake(sceneElement.pitch, sceneElement.yaw, sceneElement.roll);
    }
}
旋轉裝置時,各軸的可動範圍(range)會改變,必須同步更新,否則畫面可能出現方向錯亂或無法再拖回。
六、資源清理
- (void)dealloc {
    if (textures)     [textures release];
    if (camera)       [camera release];
    if (sceneElement) [sceneElement release];
    if (scene)        [scene release];
    if (renderer)     [renderer release];
    [super dealloc];
}
MRC 時代的標準收尾。轉到 ARC 專案時,這些 release 都要刪掉;但底層若使用 OpenGL ES 資源(材質、著色器),那些不服務於 ARC 的部分仍需自行清理。
七、現代做法
這個範例屬於 OpenGL ES 時期的 panorama 元件。若在今日實作同樣的功能,有幾條更省力的路:SceneKit 可以直接建立 skybox 並綁定貼圖,互動旋轉由系統處理;SpriteKit 雖然不是 3D 引擎,但用球面變形模擬也能勝任;若需要真正的 360 照片體驗,則可採用 Metal 自行撰寫繪製管線,效能與可控性最佳,成本也最高。
另外別忘了 CoreMotion:行動裝置上的全景瀏覽,最自然的操作其實是「拿著手機轉頭」,用陀螺儀驅動視角而非手指拖曳。這部分的權限說明與校正處理,是實作時容易被低估的一塊。