CALayer 完全指南:UIView 背后的图层,以及边框、圆角、阴影与形变实作
一、先搞清楚 UIView 与 CALayer 的关系
在 iOS 中,你能看得见摸得着的几乎都是 UIView:按钮、文本标签、输入框、图标等等。但 UIView 之所以能显示在屏幕上,靠的其实是它内部的一个图层。创建 UIView 对象时,内部会自动创建一个 CALayer,可以通过 layer 属性访问:
@property(nonatomic, readonly, retain) CALayer *layer;
当 UIView 需要显示到屏幕上时,系统会调用 drawRect: 进行绘图,把所有内容画在它自己的图层上;绘制完毕后,系统把图层拷贝到屏幕,于是完成了显示。换句话说,UIView 本身并不具备显示功能,真正拥有显示能力的是它内部的图层。
CALayer 包含在 QuartzCore 框架中,这是一个跨平台框架,既能用在 iOS 也能用在 Mac OS X。使用 Core Animation 开发动画,本质就是把 CALayer 中的内容转成位图供硬件操作,所以想熟练掌握动画,必须先熟悉 CALayer。
换个角度看:UIView 是 iOS 界面元素的基础,所有界面元素都继承自它,而它真正的绘图部分由 CALayer(Core Animation Layer)管理。UIView 更像一个 CALayer 的管理器——访问它的 frame、bounds 等绘图与坐标相关属性,内部其实都是在访问它所含 CALayer 的对应属性。
需要特别记住 CALayer 的两个设计前提:
- CALayer 的设计目标是内容展示与动画操作,它不包含在 UIKit 中,不能响应事件。
- 由于设计之初就考虑了动画,CALayer 许多属性在修改时会自动形成动画效果,这类属性称为「隐式动画属性」。但对于 UIView 的根图层而言,属性修改并不形成动画——因为根图层更多充当容器角色,如果它一动就带动画,会直接影响所有子图层。此外,根图层的创建完全由 iOS 负责,无法重建,但你可以往里面添加或移除子图层。
二、基础实作
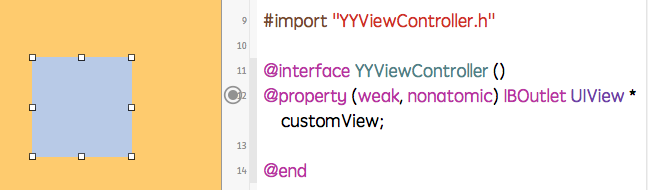
既然 UIView 的显示完全依赖内部的 CALayer,那么通过操作这个 CALayer,就能很方便地调整界面属性:阴影、圆角、边框宽度与颜色等。新建项目,在 storyboard 中放一个 view:
1. 设置边框宽度与颜色
#import "YYViewController.h"

@interface YYViewController ()
@property (weak, nonatomic) IBOutlet UIView *customView;
@end

@implementation YYViewController

- (void)viewDidLoad
{
    [super viewDidLoad];
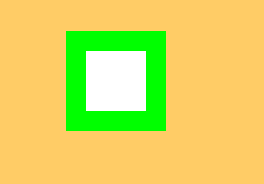
    self.customView.layer.borderWidth = 20;                    // 边框宽度
    self.customView.layer.borderColor = [UIColor greenColor].CGColor; // 边框颜色
}

@end
2. 设置圆角
// 设置 layer 的圆角半径
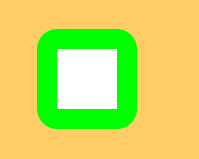
self.customView.layer.cornerRadius = 20;
3. 在图层上放一张图片
#import "YYViewController.h"

@interface YYViewController ()
@property (weak, nonatomic) IBOutlet UIView *customView;
@end

@implementation YYViewController

- (void)viewDidLoad
{
    [super viewDidLoad];
    self.customView.layer.borderWidth = 5;
    self.customView.layer.borderColor = [UIColor blackColor].CGColor;
    self.customView.layer.cornerRadius = 20;

    // contents 用于接收内容,这里让 layer 显示一张图片
    self.customView.layer.contents = (id)[UIImage imageNamed:@"me"].CGImage;
}

@end
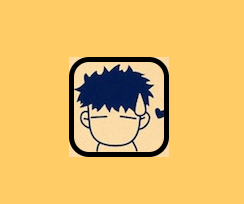
说明:contents 是 id 类型,可以接收内容。仔细观察会发现四个圆角处各露出一个角,原因如下。
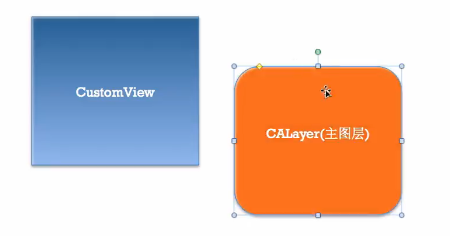
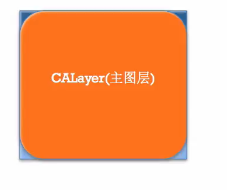
customView 上的根 layer:
UIImage 的图层:
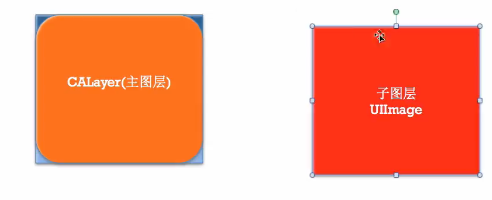
添加之后:
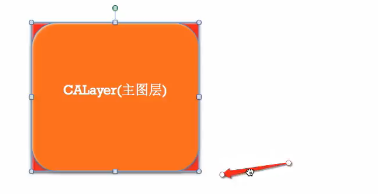
原因是设置的 image 并不是显示在主图层上,而是显示在子图层上。解决办法是设定裁剪范围,把超出主图层的部分切掉。有两种写法,推荐使用 layer 的方法(第二种):
- (void)viewDidLoad
{
    [super viewDidLoad];
    self.customView.layer.borderWidth = 5;
    self.customView.layer.borderColor = [UIColor blackColor].CGColor;
    self.customView.layer.cornerRadius = 20;

    // 把超出子图层的部分裁剪掉
    // UIKit 框架中的写法
    // self.customView.clipsToBounds = YES;
    // 推荐:layer 中的写法
    self.customView.layer.masksToBounds = YES;

    self.customView.layer.contents = (id)[UIImage imageNamed:@"me"].CGImage;
}
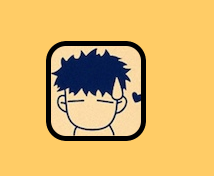
注意:layer 中不能直接接收 UIKit 框架里的对象,必须转成 Core Graphics 类型(如 .CGImage)。
4. 设置阴影
设置阴影不能只设颜色,还必须同时设置偏移量与透明度。否则阴影会与图层完全重叠,而且默认透明度为 0(完全透明),看起来就像没有阴影。
- (void)viewDidLoad
{
    [super viewDidLoad];

    // 阴影颜色
    self.customView.layer.shadowColor = [UIColor blackColor].CGColor;
    // 阴影偏移量,正数表示向右/向下偏移
    self.customView.layer.shadowOffset = CGSizeMake(15, 5);
    // 阴影透明度(0~1,0 表示完全透明)
    self.customView.layer.shadowOpacity = 0.6;
}

补充:如果同时设置了「裁剪超出主图层的部分」,阴影将无法显示。
- (void)viewDidLoad
{
    [super viewDidLoad];

    self.customView.layer.borderWidth = 5;
    self.customView.layer.borderColor = [UIColor blackColor].CGColor;
    self.customView.layer.cornerRadius = 20;
    self.customView.layer.masksToBounds = YES;   // 一旦裁剪,阴影就看不见了

    self.customView.layer.contents = (id)[UIImage imageNamed:@"me"].CGImage;

    self.customView.layer.shadowColor = [UIColor blackColor].CGColor;
    self.customView.layer.shadowOffset = CGSizeMake(15, 5);
    self.customView.layer.shadowOpacity = 0.6;
}
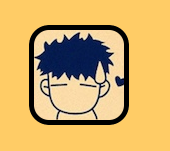
把裁剪那一行注释掉之后,阴影就能正常显示:
- (void)viewDidLoad
{
    [super viewDidLoad];

    self.customView.layer.borderWidth = 5;
    self.customView.layer.borderColor = [UIColor blackColor].CGColor;
    self.customView.layer.cornerRadius = 20;
    // self.customView.layer.masksToBounds = YES;   // 注释掉
    // self.customView.clipsToBounds = YES;

    self.customView.layer.contents = (id)[UIImage imageNamed:@"me"].CGImage;

    self.customView.layer.shadowColor = [UIColor blackColor].CGColor;
    self.customView.layer.shadowOffset = CGSizeMake(15, 5);
    self.customView.layer.shadowOpacity = 0.6;
}
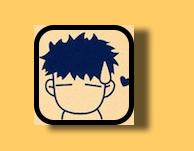
5. 所有 UIView 子类都有 layer 属性(以 UIImageView 为例)
在 storyboard 中再添加一个 UIImageView:
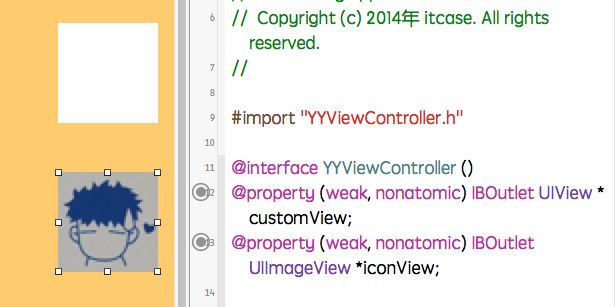
#import "YYViewController.h"

@interface YYViewController ()
@property (weak, nonatomic) IBOutlet UIView *customView;
@property (weak, nonatomic) IBOutlet UIImageView *iconView;
@end

@implementation YYViewController

- (void)viewDidLoad
{
    [super viewDidLoad];

    // 设置图片 layer 的边框宽度与颜色
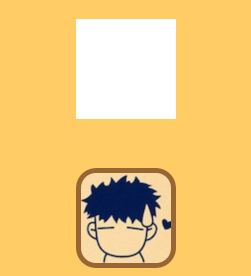
    self.iconView.layer.borderColor = [UIColor brownColor].CGColor;
    self.iconView.layer.borderWidth = 5;

    // 圆角
    self.iconView.layer.cornerRadius = 20;
    // 裁剪超出部分,让圆角生效
    self.iconView.layer.masksToBounds = YES;
}

@end
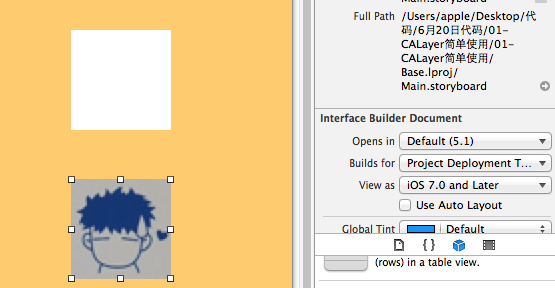
如果要设置 bounds 属性,需要先把 storyboard 中的自动布局约束取消掉:
6. 形变(transform)
@implementation YYViewController

-(void)touchesBegan:(NSSet *)touches withEvent:(UIEvent *)event
{
    // 通过 UIView 设置(只有 2D 效果)
    // self.iconView.transform = CGAffineTransformMakeTranslation(0, -100);

    // 通过 layer 设置(3D 效果,可做 x / y / z 三个方向的位移)
    self.iconView.layer.transform = CATransform3DMakeTranslation(100, 20, 0);
}

@end
通过 UIView 设置(2D 效果):
通过 layer 设置(3D 效果):
7. 用 KVC 设置形变
-(void)touchesBegan:(NSSet *)touches withEvent:(UIEvent *)event
{
    // 整体设置 CATransform3D
    NSValue *v = [NSValue valueWithCATransform3D:CATransform3DMakeTranslation(100, 20, 0)];
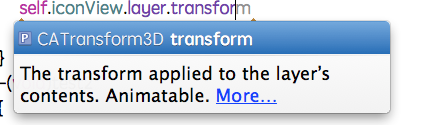
    [self.iconView.layer setValue:v forKeyPath:@"transform"];

    // 只设置某一个方向上的位移也可以,例如在 x 方向向左移动 100
    [self.iconView.layer setValue:@(-100) forKeyPath:@"transform.translation.x"];
}
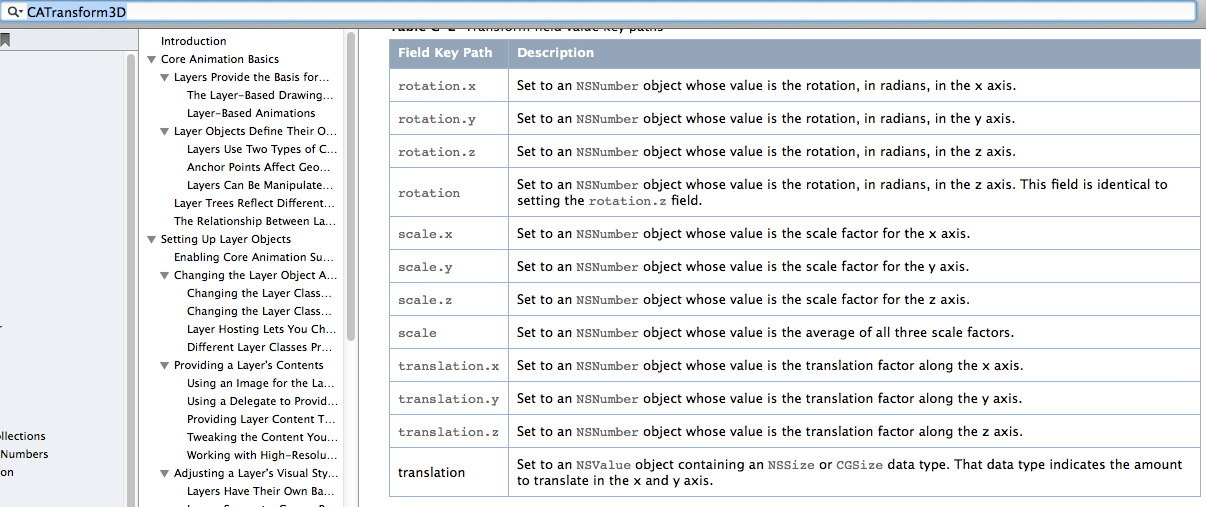
查阅苹果官方文档可知,下面这些属性都可以通过 KVC 设置:
8. 旋转
-(void)touchesBegan:(NSSet *)touches withEvent:(UIEvent *)event
{
    // 绕指定轴旋转,这里旋转 45 度(M_PI_4)
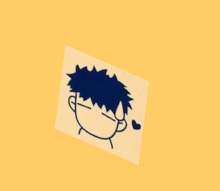
    self.iconView.layer.transform = CATransform3DMakeRotation(M_PI_4, 1, 1, 0.5);
}
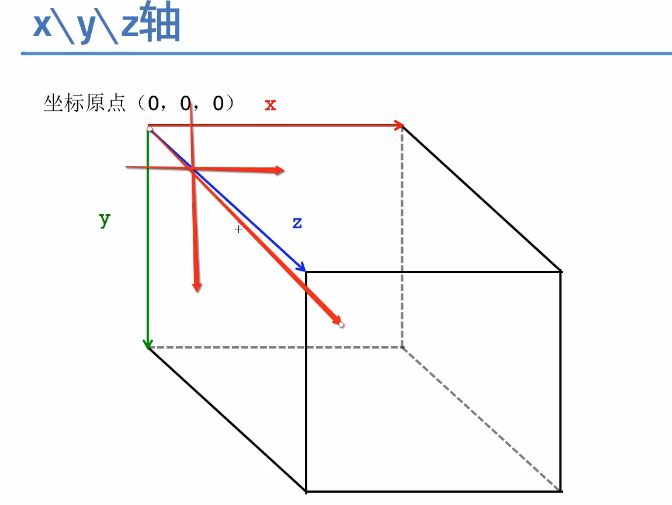
补充:三维坐标系