
Quartz2D 進階應用:圖片遮罩剪切與視圖截屏存相簿
編輯:iOS 開發綜合
一、圖片剪切
1. 先把圖片畫到 view 上
最單純的做法是按原始尺寸,把圖片繪製到指定的座標點。
- (void)drawRect:(CGRect)rect
{
    UIImage *image2 = [UIImage imageNamed:@"me"];
    [image2 drawAtPoint:CGPointMake(100, 100)];
}
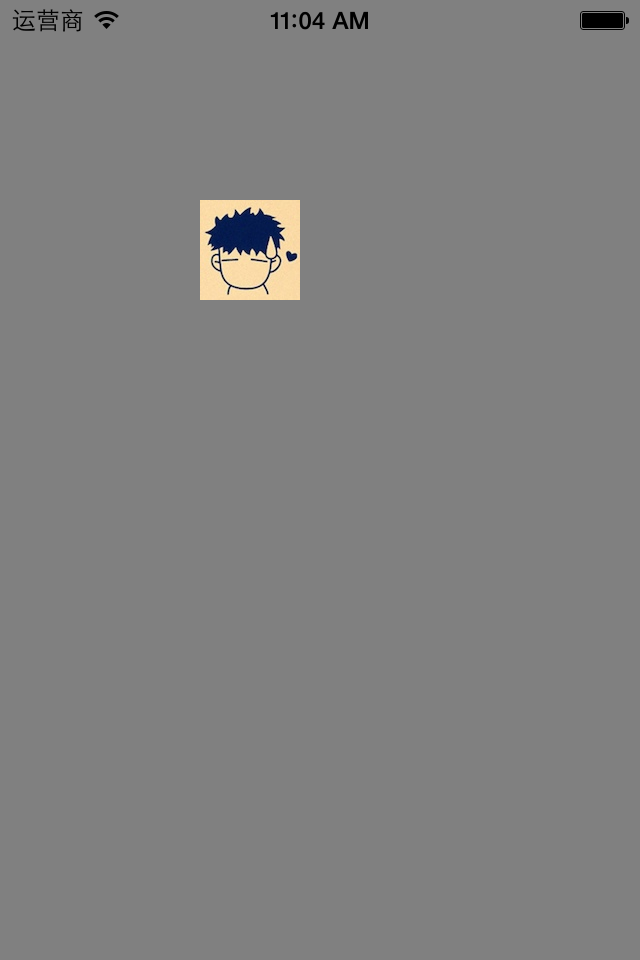
2. 剪切為圓形
思路是先畫一個圓,把可顯示的範圍限制在圓內,超出部分自然就不會被畫出來。
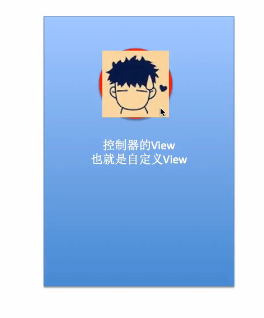
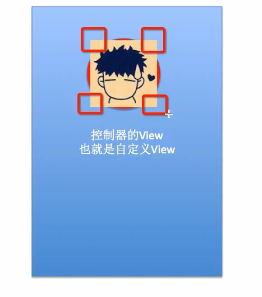
關鍵觀念:顯示範圍被限制在指定的剪切區域內,之後無論往上下文畫什麼,超出範圍的內容都不會出現。
- (void)drawRect:(CGRect)rect
{
    CGContextRef ctx = UIGraphicsGetCurrentContext();

    // 1. 畫圓,作為後續的顯示範圍
    CGContextAddEllipseInRect(ctx, CGRectMake(100, 100, 50, 50));

    // 2. 把上下文的可顯示範圍限制為該圓
    CGContextClip(ctx);

    // 3. 再畫圖片
    UIImage *image2 = [UIImage imageNamed:@"me"];
    [image2 drawAtPoint:CGPointMake(100, 100)];
}
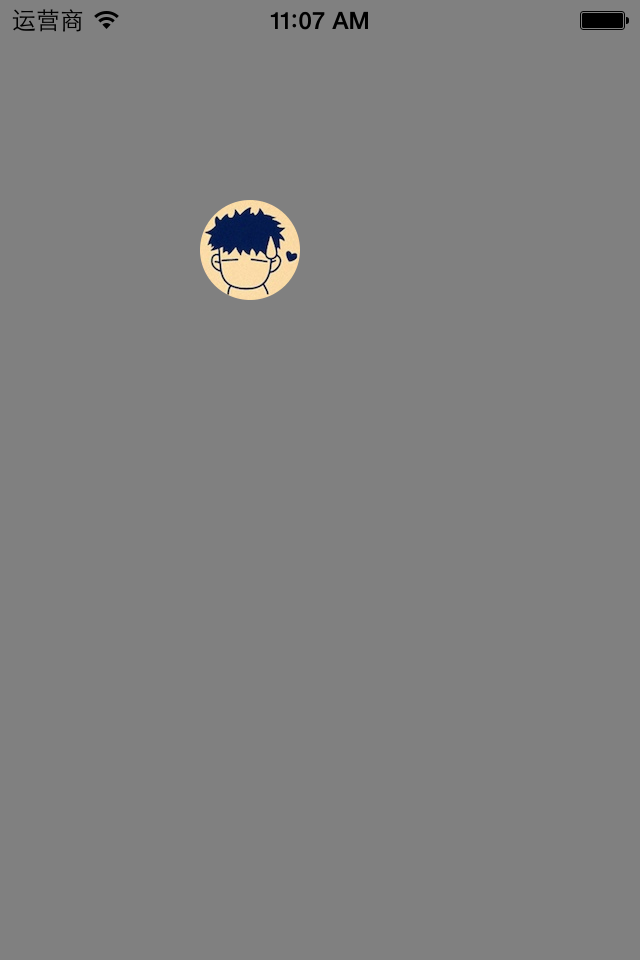
3. 剪切為三角形
把邊界換成任意路徑即可,這裡用三段線段閉合成三角形。
- (void)drawRect:(CGRect)rect
{
    CGContextRef ctx = UIGraphicsGetCurrentContext();

    // 1. 畫三角形路徑
    CGContextMoveToPoint(ctx, 100, 100);
    CGContextAddLineToPoint(ctx, 60, 150);
    CGContextAddLineToPoint(ctx, 140, 150);
    CGContextClosePath(ctx);

    // 2. 注意:指定剪切範圍一定要在繪圖之前呼叫
    CGContextClip(ctx);

    // 3. 畫圖片
    UIImage *image2 = [UIImage imageNamed:@"me"];
    [image2 drawAtPoint:CGPointMake(100, 100)];
}
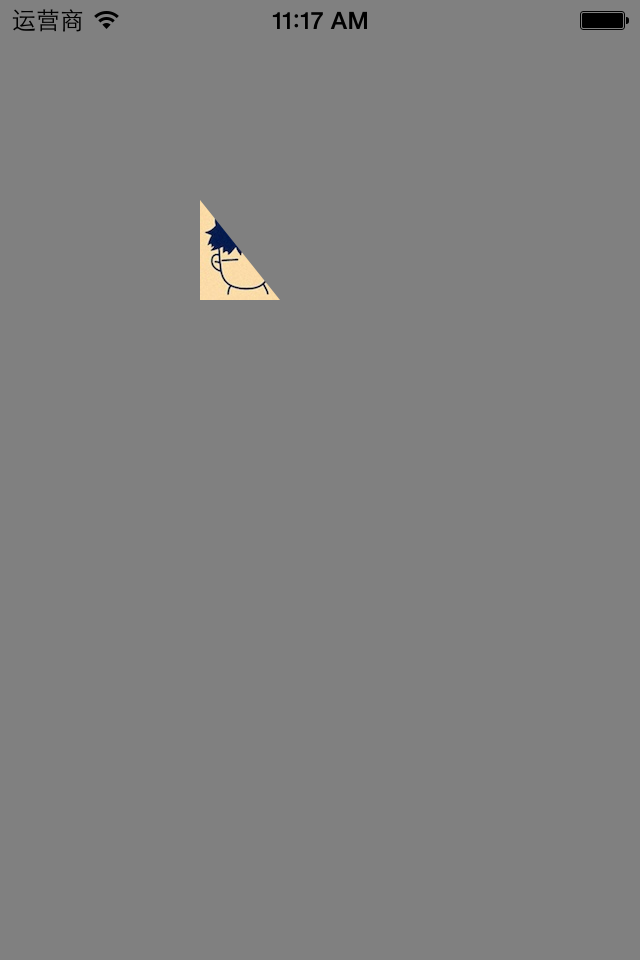
順序是這個技巧最容易出錯的地方:CGContextClip 必須在實際繪製內容之前呼叫,寫在後面就完全沒有作用。
二、截屏
1. 應用場景
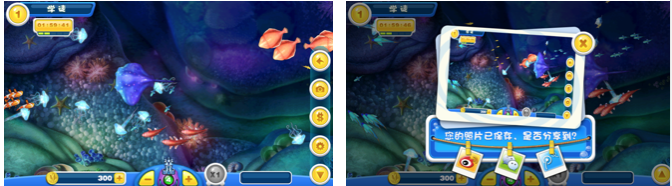
有些功能需要截取畫面上的某一塊區域,例如捕魚達人這類遊戲的分享截圖。
2. 介面與程式碼
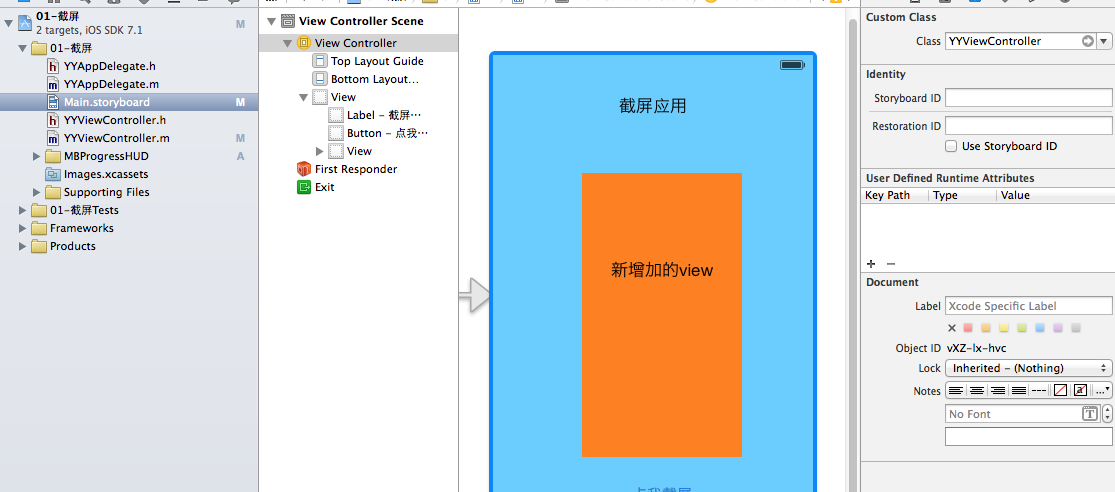
// YYViewController.m
- (IBAction)BtnClick:(UIButton *)sender {
    // 延遲兩秒再存,方便使用者先完成畫面上的操作
    dispatch_after(dispatch_time(DISPATCH_TIME_NOW, (int64_t)(2.0 * NSEC_PER_SEC)),
                   dispatch_get_main_queue(), ^{
        // 1. 建立 bitmap 上下文(可只截指定的子 view)
        UIGraphicsBeginImageContext(self.contentView.frame.size);

        // 2. 把 view 的 layer 渲染到上下文中
        [self.contentView.layer renderInContext:UIGraphicsGetCurrentContext()];

        // 3. 從上下文取出截好的圖片
        UIImage *newImage = UIGraphicsGetImageFromCurrentImageContext();

        // 4. 存入相簿
        UIImageWriteToSavedPhotosAlbum(newImage, self,
            @selector(image:didFinishSavingWithError:contextInfo:), nil);
    });
}

// 系統推薦的回呼,用來處理成功/失敗
- (void)image:(UIImage *)image didFinishSavingWithError:(NSError *)error
   contextInfo:(void *)contextInfo
{
    if (error) {
        [MBProgressHUD showError:@"保存失敗,請檢查是否擁有相關的權限"];
    } else {
        [MBProgressHUD showSuccess:@"保存成功!"];
    }
}
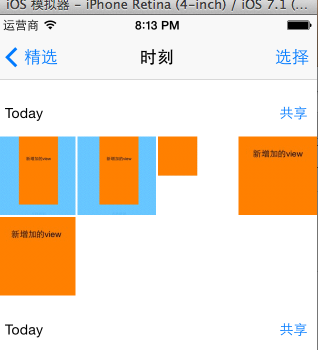
整段邏輯可以濃縮成四步:建立 bitmap 上下文 → 把畫面渲染進上下文 → 從上下文取出圖片 → 保存圖片。
3. 改成寫入檔案
如果不存相簿,而是寫成沙盒中的檔案,只要把最後一步換掉:
UIImage *newImage = UIGraphicsGetImageFromCurrentImageContext();
NSData *data = UIImagePNGRepresentation(newImage);

NSString *path = [[NSSearchPathForDirectoriesInDomains(NSDocumentDirectory,
                  NSUserDomainMask, YES) lastObject]
                  stringByAppendingPathComponent:@"abc.png"];
[data writeToFile:path atomically:YES];
4. 補充:失敗的兩個常見原因
保存失敗通常是兩種情況:記憶體不足,或權限被拒絕。特別要注意的是,如果使用者先前已明確拒絕過本應用存取相簿,後續再要求權限系統會直接回絕,此時應該引導使用者到「設定」中手動開啟,而不是無限重試。因此 didFinishSavingWithError: 這個回呼一定要實作,讓使用者知道到底成功還失敗。