
Quartz2D 繪圖路徑與信紙條紋:CGPath 用法與背景平鋪技巧
一、繪圖路徑(CGPath)
我們呼叫 CGContextMoveToPoint、CGContextAddLineToPoint 時,這些點其實並不是直接進到 view,而是先被放進一條 path 裡。理解這件事,就能更精細地控制繪圖流程。
完整流程可以拆成三步:建立路徑(CGMutablePathRef,用來保存繪圖資訊)→ 把繪圖資訊加入路徑 → 把路徑加入上下文。之所以有「隱藏」的 path,是因為圖形上下文內部本來就預留了一塊空間(型別正是 CGMutablePathRef)專門存放繪圖資訊。
兩種等價寫法
// 寫法一:直接對 ctx 操作
- (void)drawRect:(CGRect)rect
{
    CGContextRef ctx = UIGraphicsGetCurrentContext();
    CGContextMoveToPoint(ctx, 20, 20);       // 起點
    CGContextAddLineToPoint(ctx, 200, 300);  // 終點
    CGContextStrokePath(ctx);                // 渲染
}

// 寫法二:明確使用 path
- (void)drawRect:(CGRect)rect
{
    CGContextRef ctx = UIGraphicsGetCurrentContext();

    // 注意:凡是透過 Quartz2D 中 create/copy/retain 建立的值都必須手動釋放
    CGMutablePathRef path = CGPathCreateMutable();
    CGPathMoveToPoint(path, NULL, 20, 20);
    CGPathAddLineToPoint(path, NULL, 200, 300);
    CGContextAddPath(ctx, path);

    CGContextStrokePath(ctx);

    CGPathRelease(path);   // 也可以改用 CFRelease(path)
}
什麼時候該用 path?
寫法一的可讀性較差,多個圖形混在一起難以區分。若要在同一個上下文中繪製多個圖形,建議改用 path:一條 path 代表一個圖形,語意清楚。
- (void)drawRect:(CGRect)rect
{
    CGContextRef ctx = UIGraphicsGetCurrentContext();

    // a. 畫直線
    CGMutablePathRef path = CGPathCreateMutable();
    CGPathMoveToPoint(path, NULL, 20, 20);
    CGPathAddLineToPoint(path, NULL, 200, 300);
    CGContextAddPath(ctx, path);

    // b. 畫圓(各自獨立的一條 path)
    CGMutablePathRef path1 = CGPathCreateMutable();
    CGPathAddEllipseInRect(path1, NULL, CGRectMake(50, 50, 100, 100));
    CGContextAddPath(ctx, path1);

    // 渲染
    CGContextStrokePath(ctx);

    // 釋放
    CGPathRelease(path);
    CGPathRelease(path1);
}
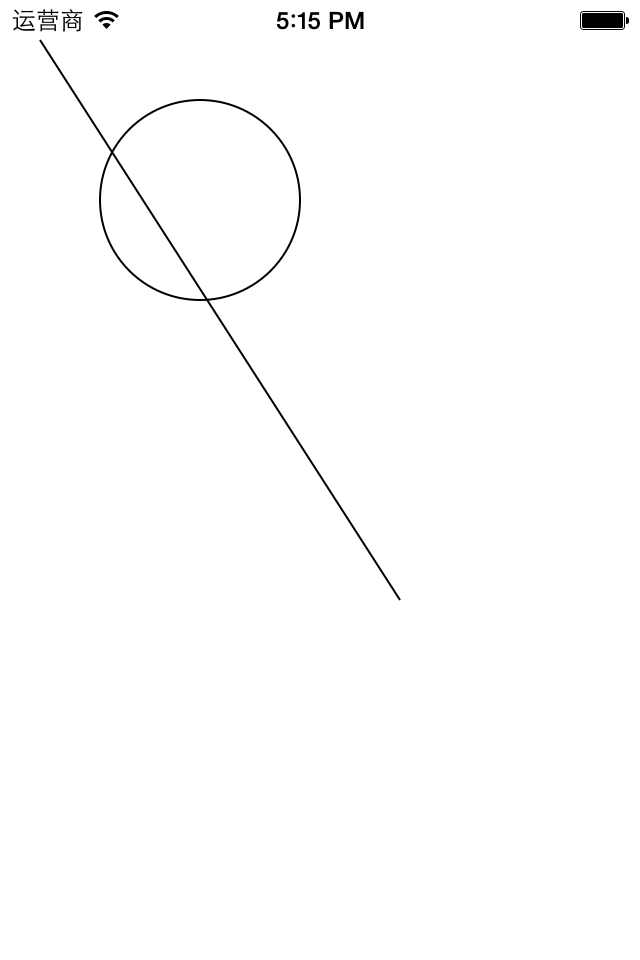
釋放有兩種方式:CGPathRelease(path) 或 CFRelease(path),後者屬於更底層的 CoreFoundation 框架。
補充:畫四边形的五種方法
- (void)drawRect:(CGRect)rect
{
    CGContextRef ctx = UIGraphicsGetCurrentContext();

    // 第一種:連接四個固定的點
    // CGContextMoveToPoint(ctx, 0, 20);
    // CGContextAddLineToPoint(ctx, ...);  // 共三次

    // 第二種:指定起點與寬高
    // CGContextAddRect(ctx, CGRectMake(20, 20, 200, 100));
    // CGContextStrokePath(ctx);

    // 第三種:把前兩步合併(空心)
    // CGContextStrokeRect(ctx, CGRectMake(20, 20, 200, 100));
    // 合併後的實心版本
    // CGContextFillRect(ctx, CGRectMake(20, 20, 200, 100));

    // 第四種:OC 的方法,只能畫實心
    UIRectFill(CGRectMake(20, 20, 200, 100));

    // 第五種:畫一條粗線條,線條只能是空心,但因此可以畫出歪斜的四边形
    // CGContextMoveToPoint(ctx, 20, 20);
    // CGContextAddLineToPoint(ctx, 100, 200);
    // CGContextSetLineWidth(ctx, 50);
    // CGContextStrokePath(ctx);
}
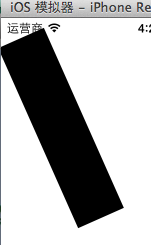
第五種技巧值得記住:藉由加粗線條,就能畫出任意角度的實心四邊形,這是 CGContextAddRect 做不到的。
二、信紙條紋效果
1. 先來個暖身:圖片平鋪
只要幾行程式碼,就能讓一張小圖在整個 view 上平鋪:
- (void)viewDidLoad
{
    [super viewDidLoad];
    UIImage *image = [UIImage imageNamed:@"me"];
    UIColor *color = [UIColor colorWithPatternImage:image];
    self.view.backgroundColor = color;
}
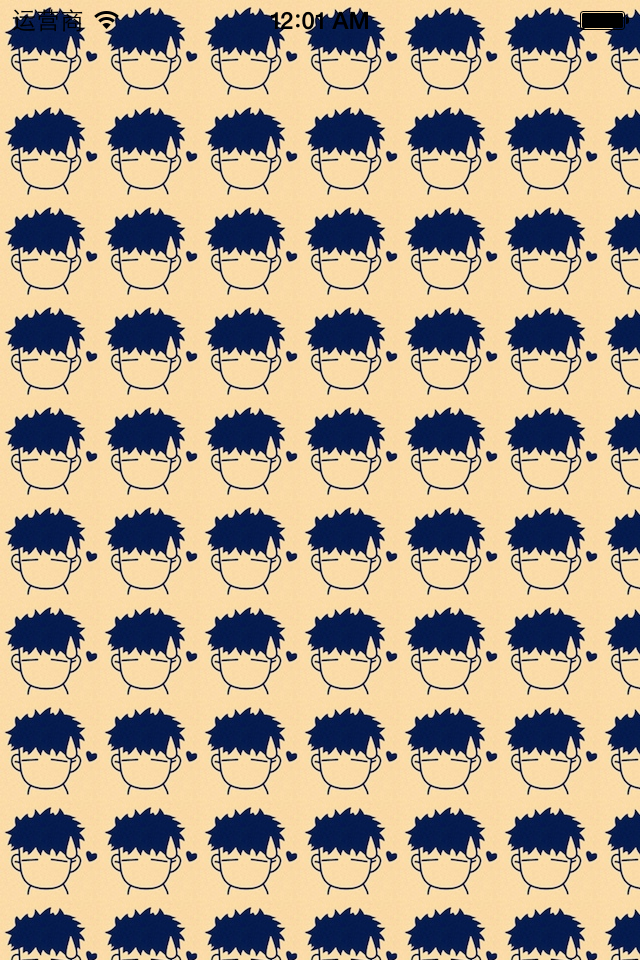
2. 做出橫線紋理
預設的 view 沒有分隔線,要加上有兩種思路:請設計師做一張完整背景圖,缺點是文章長度不確定、背景圖尺寸難以拿捏;或者更聰明的做法——只畫一小張帶橫線的圖,再用平鋪鋪滿整個畫面。
實作分兩步:先畫矩形底色,再畫線條,最後從上下文取出圖片設為背景色。
- (void)viewDidLoad
{
    [super viewDidLoad];

    // 1. 建立一張用於平鋪的小圖片
    CGSize size = CGSizeMake(self.view.frame.size.width, 35);
    UIGraphicsBeginImageContextWithOptions(size, NO, 0);

    // 2. 畫矩形底色
    CGContextRef ctx = UIGraphicsGetCurrentContext();
    CGFloat height = 35;
    CGContextAddRect(ctx, CGRectMake(0, 0, self.view.frame.size.width, height));
    [[UIColor whiteColor] set];
    CGContextFillPath(ctx);

    // 3. 畫底部分隔線
    CGFloat lineWidth = 2;
    CGFloat lineY = height - lineWidth;
    CGContextMoveToPoint(ctx, 0, lineY);
    CGContextAddLineToPoint(ctx, 320, lineY);
    [[UIColor blackColor] set];
    CGContextStrokePath(ctx);

    // 4. 取出圖片並平鋪為背景
    UIImage *image = UIGraphicsGetImageFromCurrentImageContext();
    self.view.backgroundColor = [UIColor colorWithPatternImage:image];
}
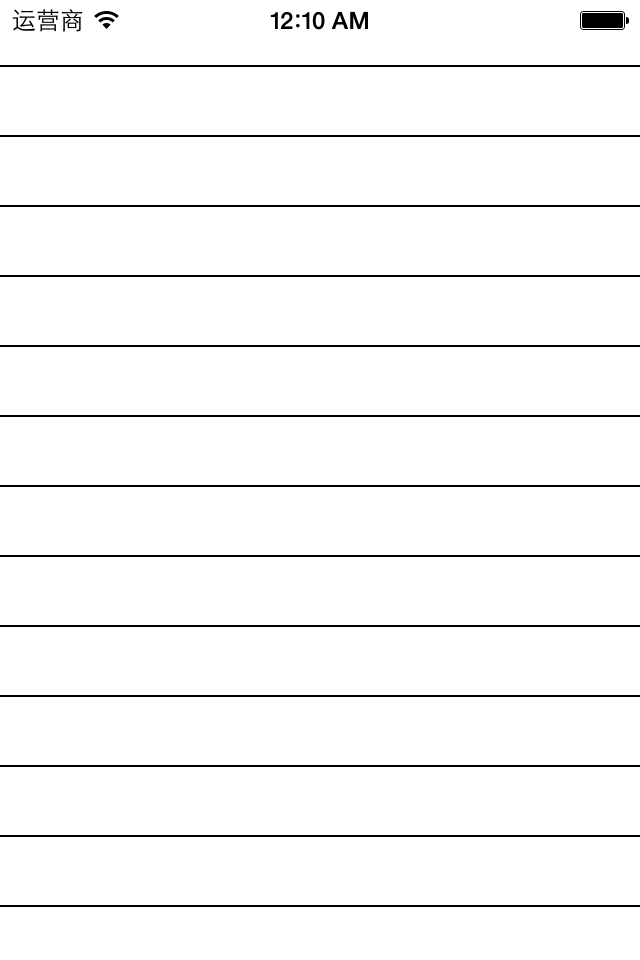
如果取出的圖片看起來黑成一片,通常是把背景設到了 view 上、而沒有設到實際要顯示內容的元件上,或是未設定底色導致透明處露出預設的黑色。
3. 延伸應用:簡陋的電子書閱讀器
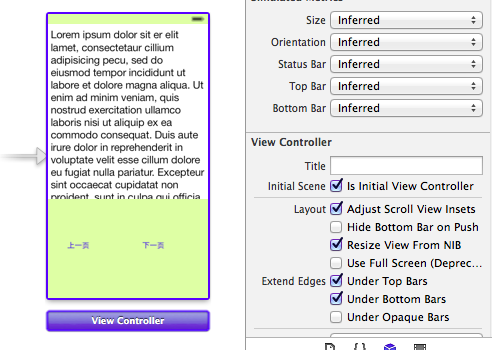
把同样的紋理設到 UITextView 的背景,再換頁時加上翻頁動畫,就是一個最小可用的閱讀器。
@interface YYViewController ()
@property (weak, nonatomic) IBOutlet UITextView *textview;
- (IBAction)perBtnClick:(UIButton *)sender;
- (IBAction)nextBtnClick:(UIButton *)sender;
@property (nonatomic, assign) int index;
@end

@implementation YYViewController

- (void)viewDidLoad
{
    [super viewDidLoad];

    CGSize size = CGSizeMake(self.view.frame.size.width, 26);
    UIGraphicsBeginImageContextWithOptions(size, NO, 0);

    CGContextRef ctx = UIGraphicsGetCurrentContext();
    CGFloat height = 26;
    CGContextAddRect(ctx, CGRectMake(0, 0, self.view.frame.size.width, height));
    [[UIColor brownColor] set];
    CGContextFillPath(ctx);

    CGFloat lineWidth = 2;
    CGFloat lineY = height - lineWidth;
    CGContextMoveToPoint(ctx, 0, lineY);
    CGContextAddLineToPoint(ctx, 320, lineY);
    [[UIColor blackColor] set];
    CGContextStrokePath(ctx);

    UIImage *image = UIGraphicsGetImageFromCurrentImageContext();
    self.textview.backgroundColor = [UIColor colorWithPatternImage:image];
}

// 上一頁 / 下一頁共用同一套翻頁邏輯
- (IBAction)nextBtnClick:(UIButton *)sender {
    self.index++;
    self.textview.text = [NSString stringWithFormat:@"第%d頁", self.index];

    CATransition *ca = [[CATransition alloc] init];
    ca.type = @"pageCurl";
    [self.textview.layer addAnimation:ca forKey:nil];
}
@end
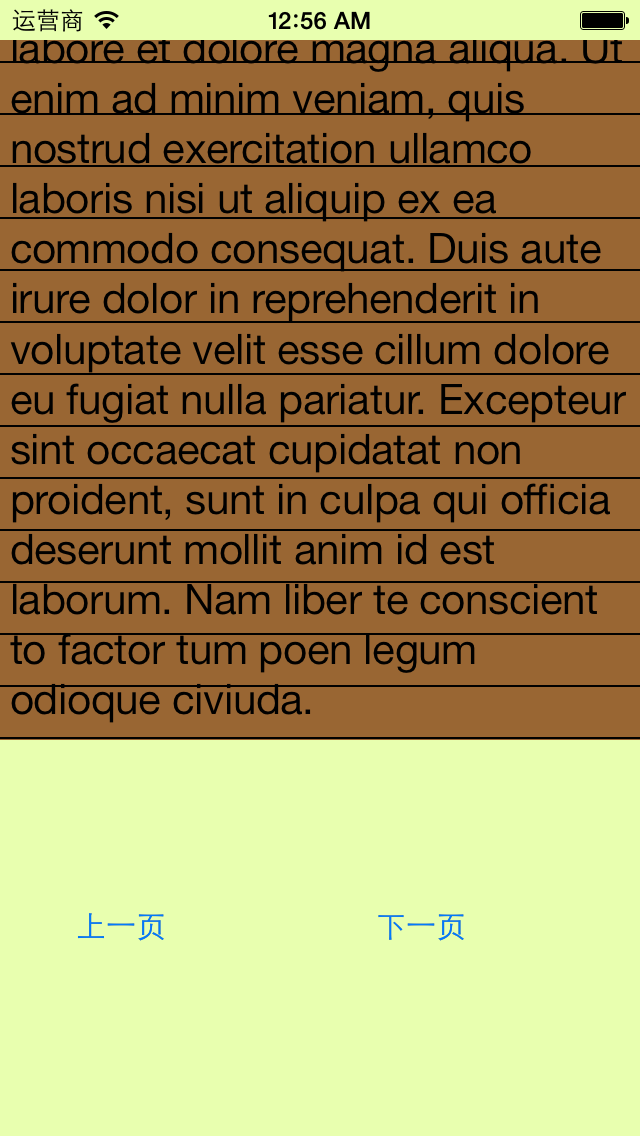
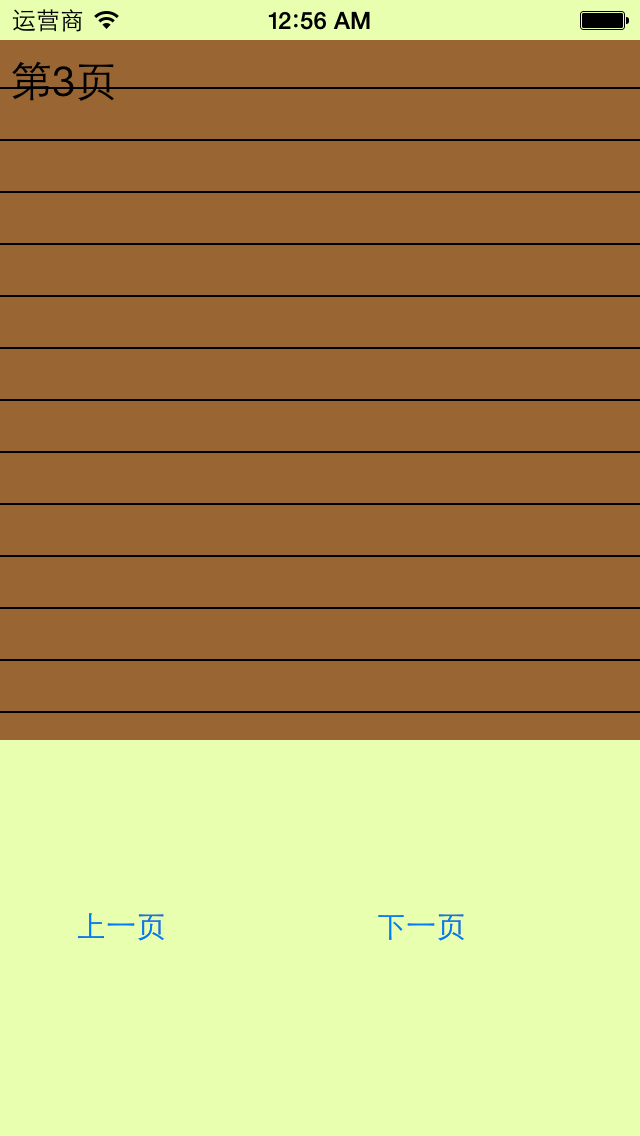
這個範例示範了一個很實用的組合技:用程式動態產生小紋理再平鋪,比準備一張大圖省記憶體,也能自由調整行距與配色。