
用 MMDrawerController 實作 iOS 側拉抽屜菜單
編輯:iOS 開發綜合
本文示範如何借助第三方類庫 MMDrawerController,在 iOS 專案裡做出左右側拉的抽屜效果。這個元件相當有彈性:你可以只開放左側欄、只開放右側欄,也可以兩側同時開放,取決於初始化時傳入的參數。
先準備好依賴的第三方類庫:
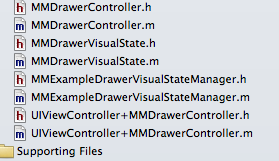
抽屜效果所需的第三方類庫可至其官方專案下載。
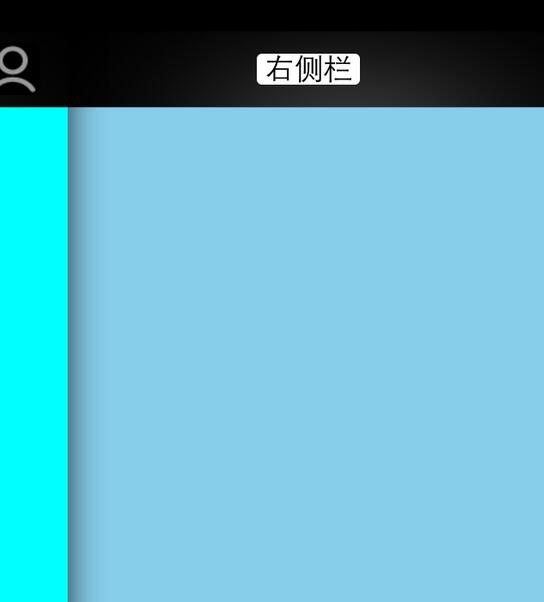
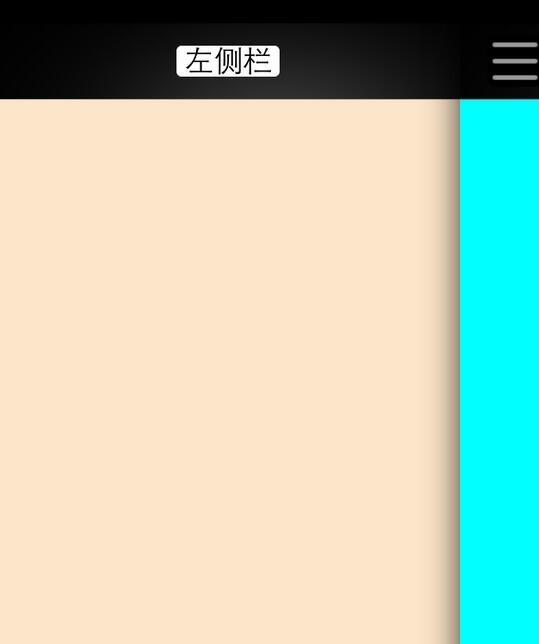
核心邏輯都在 AppDelegate
抽屜的整套結構其實就是「中間一個主視圖 + 左右兩個側欄視圖」,把它們交給 MMDrawerController 管理即可。
AppDelegate.h:
#import <UIKit/UIKit.h>

@interface YJFAppDelegate : UIResponder <UIApplicationDelegate>
@property (strong, nonatomic) UIWindow *window;
@end
AppDelegate.m:
#import "YJFAppDelegate.h"
#import "CustomizedNavigationController.h"
#import "FirstViewController.h"
#import "SecondViewController.h"
#import "ThirdViewController.h"

@implementation YJFAppDelegate

- (BOOL)application:(UIApplication *)application didFinishLaunchingWithOptions:(NSDictionary *)launchOptions {
    self.window = [[UIWindow alloc] initWithFrame:[[UIScreen mainScreen] bounds]];

    // 中間的主視圖
    FirstViewController  *firstVC  = [[FirstViewController alloc] init];
    // 左側欄
    SecondViewController *secondVC = [[SecondViewController alloc] init];
    // 右側欄
    ThirdViewController  *thirdVC  = [[ThirdViewController alloc] init];

    // 各自包一層導航控制器,方便側欄內部做頁面跳轉
    CustomizedNavigationController *navigationVC      = [[CustomizedNavigationController alloc] initWithRootViewController:firstVC];
    CustomizedNavigationController *leftNavigationVC  = [[CustomizedNavigationController alloc] initWithRootViewController:secondVC];
    CustomizedNavigationController *rightNavigationVC = [[CustomizedNavigationController alloc] initWithRootViewController:thirdVC];

    // 建立抽屜管理器:同時支援左右兩側
    MMDrawerController *rooVC = [[MMDrawerController alloc] initWithCenterViewController:navigationVC
                                                                 leftDrawerViewController:leftNavigationVC
                                                                rightDrawerViewController:rightNavigationVC];

    // 若只要左側欄,可改用:
    // MMDrawerController *rooVCLeft = [[MMDrawerController alloc] initWithCenterViewController:navigationVC
    //                                                                    leftDrawerViewController:firstVC];
    // 若只要右側欄,可改用:
    // MMDrawerController *rooVCRight = [[MMDrawerController alloc] initWithCenterViewController:navigationVC
    //                                                                     rightDrawerViewController:thirdVC];

    self.window.rootViewController = rooVC;

    [rooVC setMaximumLeftDrawerWidth:270];                            // 側欄寬度
    [rooVC setOpenDrawerGestureModeMask:MMOpenDrawerGestureModeAll];   // 允許哪些手勢打開
    [rooVC setCloseDrawerGestureModeMask:MMCloseDrawerGestureModeAll]; // 允許哪些手勢關閉

    // 側欄的呈現動畫;改成 MMDrawerAnimationTypeSlide 等其他值可獲得不同效果
    [[MMExampleDrawerVisualStateManager sharedManager] setRightDrawerAnimationType:MMDrawerAnimationTypeNone];
    [[MMExampleDrawerVisualStateManager sharedManager] setLeftDrawerAnimationType:MMDrawerAnimationTypeNone];

    // 若想自訂側欄的視覺狀態(例如加上縮放、陰影),可實作 drawerVisualStateBlock:
    // [rooVC setDrawerVisualStateBlock:^(MMDrawerController *drawerController,
    //                                    MMDrawerSide drawerSide, CGFloat percentVisible) {
    //     MMDrawerControllerDrawerVisualStateBlock block =
    //         [[MMExampleDrawerVisualStateManager sharedManager] drawerVisualStateBlockForDrawerSide:drawerSide];
    //     if (block) block(drawerController, drawerSide, percentVisible);
    // }];

    self.window.backgroundColor = [UIColor whiteColor];
    [self.window makeKeyAndVisible];
    return YES;
}
幾個實務上值得注意的細節:maximumLeftDrawerWidth 決定側欄拉出來的寬度,通常抓螢幕寬度的七到八成比較符合手感;openDrawerGestureModeMask 與 closeDrawerGestureModeMask 則控制哪些區域、哪個方向的手勢可以驅動抽屜,例如只允許從螢幕左緣右滑開啟,可以減少與 ScrollView 的橫向手勢衝突。若想替側欄加上視差、縮放或遮罩層,實作 drawerVisualStateBlock 是最直接的做法。
以上就是完整實作,希望對正在做 iOS 抽屜選單的你有所幫助。