
Masonry 入門實戰:用鏈式語法優雅地寫 Auto Layout
Masonry 是一個輕量級的 iOS / OS X 布局框架,用鏈式語法封裝 Auto Layout,寫起來簡潔、可讀性高,等於是用程式碼描述約束的更好方式。專案位址:https://github.com/SnapKit/Masonry
基本語法
核心是 mas_makeConstraints,用來為 view 添加約束。約束類型包括邊距、寬、高、左上右下的間距、基線等。加完之後還可以做修正:offset(位移)與 multipliedBy(倍率)。
典型寫法:
make.equalTo(...) / make.greaterThanOrEqualTo(...) / make.lessThanOrEqualTo(...) + 倍數與位移修正
三個必記的注意事項
1. 先加入父視圖。使用 mas_makeConstraints 的 view 必須已經被 addSubview,例如 [self.view addSubview:view];,否則約束無從建立。
2. mas_equalTo 與 equalTo 的差別。mas_equalTo 多了一層型別轉換。多數情況兩者通用,但數值元素建議用 mas_equalTo;物件或多屬性處理用 equalTo。特別是多屬性時必須用 equalTo:
make.left.and.right.equalTo(self.view);
3. with 和 and 是裝飾用的。這兩個方法什麼都不做,只是返回物件本身,存在的唯一目的是可讀性。make.left.and.right.equalTo(self.view) 與 make.left.right.equalTo(self.view) 完全等價,但加了 and 明顯更好讀。
實戰:三個佔位視圖
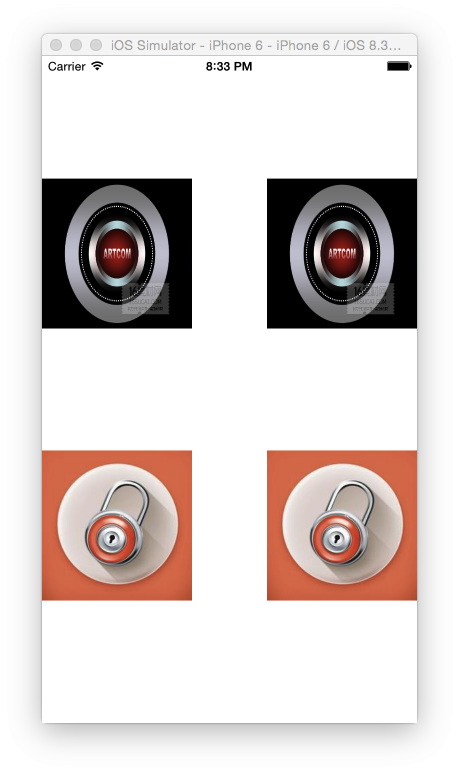
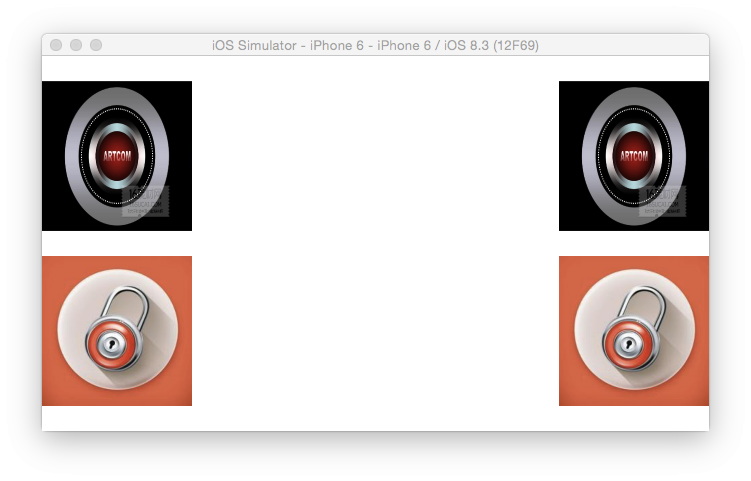
需求是這樣:已知控件的寬高與左右邊距,上下要自動適應;畫面上要放四個控件。
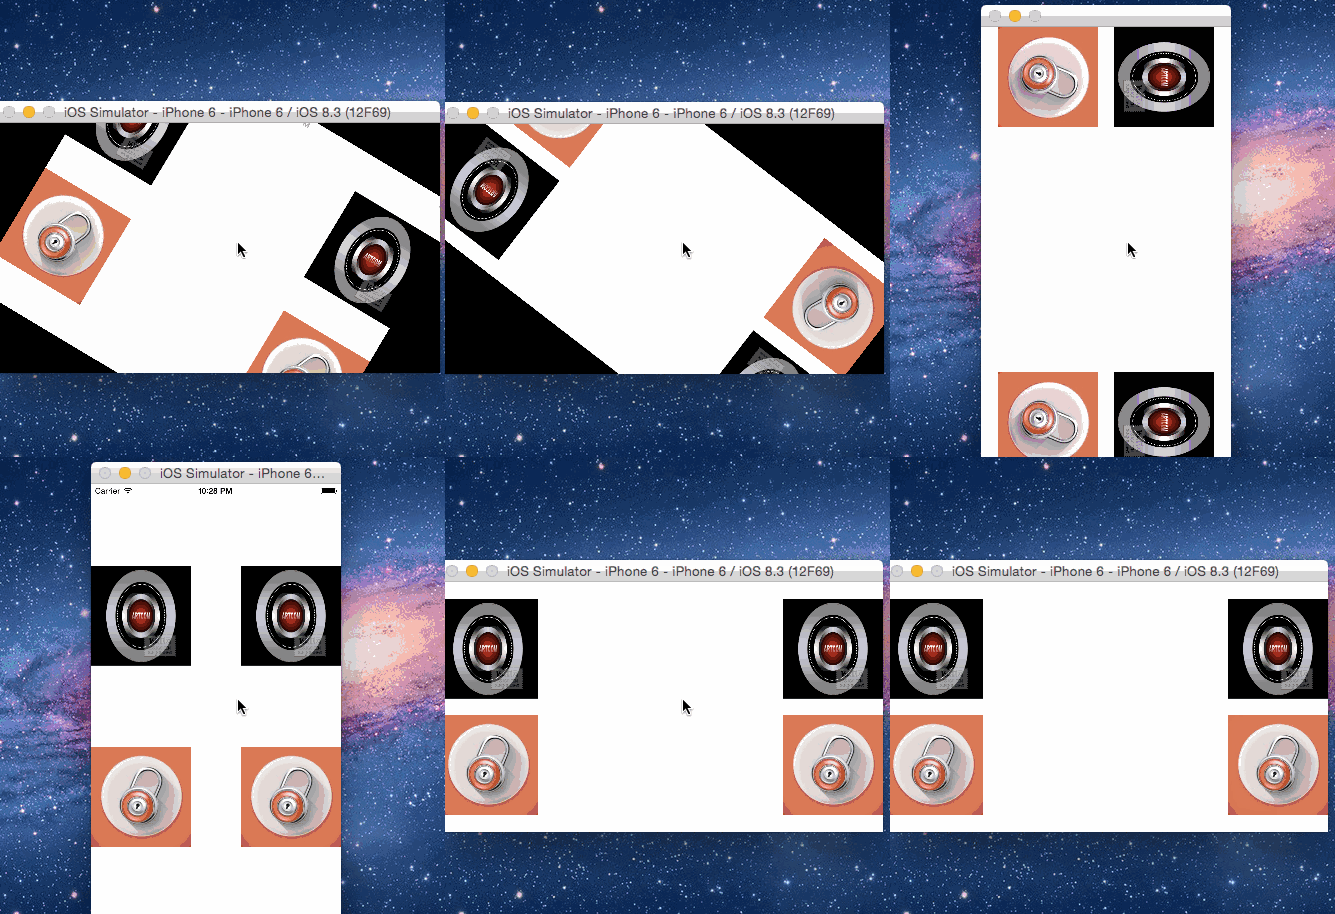
豎屏效果:
橫屏效果:
第一步:引入標頭。
#define MAS_SHORTHAND
#define MAS_SHORTHAND_GLOBALS
#import "Masonry.h"
第二步:建立三個佔位視圖並上色。
// 上方佔位視圖
UIView *topView = UIView.new;
topView.backgroundColor = [UIColor redColor];
[self.view addSubview:topView];

// 中間佔位視圖
UIView *centerView = UIView.new;
centerView.backgroundColor = [UIColor grayColor];
[self.view addSubview:centerView];

// 下方佔位視圖
UIView *bottomView = UIView.new;
bottomView.backgroundColor = [UIColor blackColor];
[self.view addSubview:bottomView];
第三步:逐一添加約束。
// 上方視圖:頂部與左邊為 0,與另外兩個等高,寬度 100
[topView makeConstraints:^(MASConstraintMaker *make) {
    make.top.left.equalTo(self.view).offset(0);
    make.height.equalTo(@[centerView, bottomView]);
    make.width.equalTo(100);
}];

// 中間視圖:左邊為 0,與另外兩個等寬,距上方視圖 150
[centerView makeConstraints:^(MASConstraintMaker *make) {
    make.left.equalTo(self.view).offset(0);
    make.width.equalTo(@[topView, bottomView]);
    make.top.equalTo(topView.bottom).offset(150);
}];

// 下方視圖:左與下為 0,距中間視圖 150
[bottomView makeConstraints:^(MASConstraintMaker *make) {
    make.left.bottom.equalTo(self.view).offset(0);
    make.top.equalTo(centerView.bottom).offset(150);
}];
跑一下:
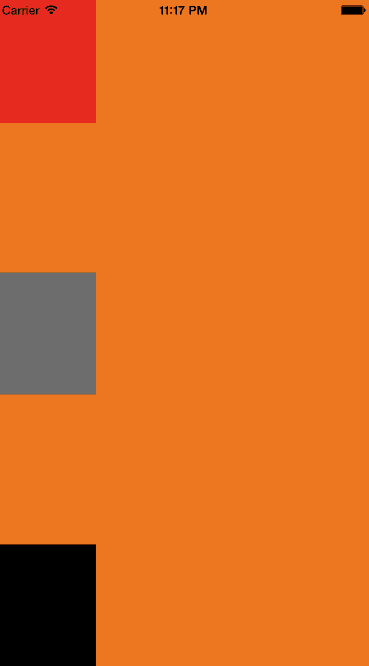
中間留白處正是控件要落的位置。
擺放左側的兩個控件
UIImageView *imageView1 = [[UIImageView alloc] initWithImage:[UIImage imageNamed:@"a"]];
[self.view addSubview:imageView1];
UIImageView *imageView2 = [[UIImageView alloc] initWithImage:[UIImage imageNamed:@"b"]];
[self.view addSubview:imageView2];

[imageView1 makeConstraints:^(MASConstraintMaker *make) {
    make.width.height.equalTo(150);
    make.left.equalTo(self.view).offset(0);
    make.top.equalTo(topView.bottom).offset(0);
    make.bottom.equalTo(centerView.top).offset(0);
}];

[imageView2 makeConstraints:^(MASConstraintMaker *make) {
    make.width.height.equalTo(150);
    make.left.equalTo(self.view).offset(0);
    make.top.equalTo(centerView.bottom).offset(0);
    make.bottom.equalTo(bottomView.top).offset(0);
}];
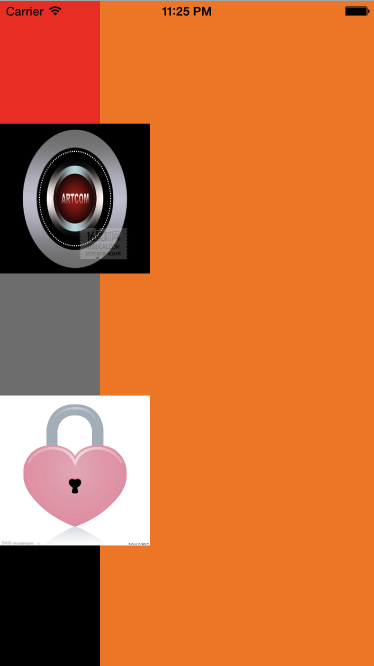
擺放右側的兩個控件
右邊只需要寬高、右邊距,以及與左側控件的 centerY 對齊即可:
UIImageView *imageView3 = [[UIImageView alloc] initWithImage:[UIImage imageNamed:@"a"]];
[self.view addSubview:imageView3];
UIImageView *imageView4 = [[UIImageView alloc] initWithImage:[UIImage imageNamed:@"b"]];
[self.view addSubview:imageView4];

[imageView3 makeConstraints:^(MASConstraintMaker *make) {
    make.width.height.equalTo(150);
    make.right.equalTo(self.view).offset(0);
    make.centerY.equalTo(imageView1);
}];

[imageView4 makeConstraints:^(MASConstraintMaker *make) {
    make.width.height.equalTo(150);
    make.right.equalTo(self.view).offset(0);
    make.centerY.equalTo(imageView2);
}];
最後把三個佔位視圖的背景改回透明:
// 另外兩個也一樣
bottomView.backgroundColor = [UIColor clearColor];
完成:
小結
不管是 Storyboard 拉線還是純程式碼布局,本質都是在處理「與父控件的關係」和「與其他控件的關係」。佔位視圖這個小技巧很值得學:先用佔位 view 把版面切塊,再把真正的內容擺進留白處,複雜畫面立刻變得可控。如果你曾經手寫 NSLayoutConstraint,就會明白 Masonry 有多省心。而它真正強大的功能還遠不只這些,剩下的就留給各位自行探索了。
- 上一篇文章: 告別手算高度:iOS 自適應 Cell 的實作全攻略
- 下一篇文章: iOS 百度地圖導航功能接入步驟詳解