
從零實作自訂 UITableViewCell(含 Xib)
編輯:iOS 開發綜合
1. 建立專案
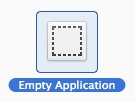
先建立一個空白專案。

2. 建立 UITableViewController 並勾選 Xib
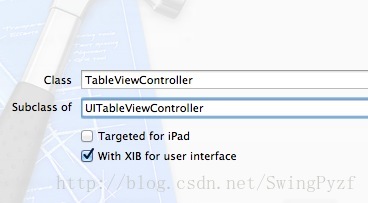
3. 設定根控制器
在 AppDelegate.m 中把 window 的根控制器指向剛建立的 TableViewController:
- (BOOL)application:(UIApplication *)application didFinishLaunchingWithOptions:(NSDictionary *)launchOptions {
    self.window = [[UIWindow alloc] initWithFrame:[[UIScreen mainScreen] bounds]];
    TableViewController *tableViewController = [[[TableViewController alloc] init] autorelease];
    //設置根控制器
    self.window.rootViewController = tableViewController;
    [self.window makeKeyAndVisible];
    return YES;
}
4. 建立自訂的 UITableViewCell 類
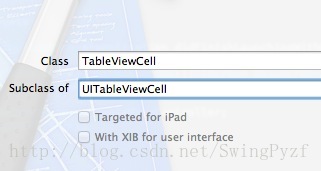
5. 建立 cell 的 Xib 並排版
新增 Xib 時選擇 User Interface。
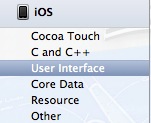
建立空白 Xib。
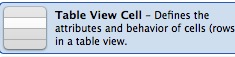
從物件庫拖入一個 Table View Cell。
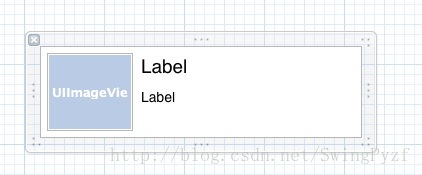
完成 cell 內部控件的排版。
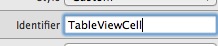
設定 cell 的 Identifier(這一步很重要, reuse 時靠它匹配)。
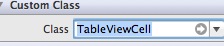
把 Xib 的 class 綁定到自訂的 TableViewCell,並將各控件的 outlet 關聯到 TableViewCell.h。
6. 在 TableViewController 中使用它
#import "TableViewController.h"
#import "TableViewCell.h"

@interface TableViewController (){
    NSMutableArray *tableData;   //表格數據
}
@end

@implementation TableViewController

- (id)initWithStyle:(UITableViewStyle)style {
    self = [super initWithStyle:style];
    if (self) {
        // Custom initialization
    }
    return self;
}

- (void)viewDidLoad {
    [super viewDidLoad];
    //初始化表格數據
    tableData = [[NSMutableArray alloc] init];
    for (int i = 0; i < 10; i++) {
        [tableData addObject:[NSString stringWithFormat:@"MyCellDemon%i", i]];
    }
    //設置row的高度為自定義cell的高度
    self.tableView.rowHeight = 90;
}

- (void)didReceiveMemoryWarning {
    [super didReceiveMemoryWarning];
}

#pragma mark - Table view data source

- (NSInteger)numberOfSectionsInTableView:(UITableView *)tableView {
    return 1;
}

- (NSInteger)tableView:(UITableView *)tableView numberOfRowsInSection:(NSInteger)section {
    return [tableData count];
}

- (UITableViewCell *)tableView:(UITableView *)tableView cellForRowAtIndexPath:(NSIndexPath *)indexPath {
    //指定cellIdentifier為自定義的cell
    static NSString *CellIdentifier = @"TableViewCell";
    //自定義cell類
    TableViewCell *cell = [tableView dequeueReusableCellWithIdentifier:CellIdentifier];
    if (cell == nil) {
        //通過xib的名稱加載自定義的cell
        cell = [[[NSBundle mainBundle] loadNibNamed:@"TableViewCell" owner:self options:nil] lastObject];
    }
    //添加測試數據
    cell.titleLabel.text = [tableData objectAtIndex:indexPath.row];
    cell.content.text = @"這是一些測試數據";
    //測試圖片
    cell.iamge.image = [UIImage imageNamed:@"testImage.jpg"];
    return cell;
}

#pragma mark - Table view delegate

- (void)tableView:(UITableView *)tableView didSelectRowAtIndexPath:(NSIndexPath *)indexPath {
}

@end
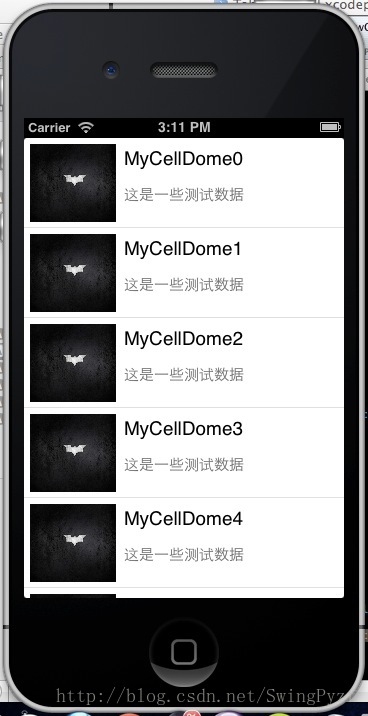
最終效果:
幾個容易忽略的環節
Xib 中的 cell 必須把 Identifier 填成與程式碼一致(本例為 TableViewCell),否則 dequeueReusableCellWithIdentifier: 永遠拿不到可重用的實例,每次都會重新從 Xib 載入,滾動時會明顯掉幀。
loadNibNamed:owner:options: 回傳的是陣列,取 lastObject 才是那個 cell 實例。這種寫法在 iOS 8 之前是標準做法;若使用較新的 SDK,直接註冊 registerNib:forCellReuseIdentifier: 就能省掉 if 判斷與手動載入,代碼更乾淨。
另外,rowHeight 也可以改為 UITableViewAutomaticDimension 並在自訂 cell 中實作 Auto Layout 約束,讓系統自動計算高度——這在內容長度不固定的場景下比寫死數值可靠得多。
- 上一篇文章: iOS 導覽列返回按鈕的常用寫法
- 下一篇文章: AFNetworking 走 HTTPS 單向與雙向驗證的完整實作