
iOS 圖片拉伸的 4 種方法(附完整對照)
編輯:iOS 開發綜合
一張 128 × 112 的按鈕背景圖,被硬塞進 200 × 50 的按鈕裡,結果慘不忍睹。這是每個 iOS 新手都會遇到的場景。下面用同一張圖、同一組尺寸,示範四種解法並比較效果。
原始素材如下,尺寸 128 × 112:

按鈕背景圖片.png
先直接用程式碼把它設為背景圖,按鈕尺寸給 200 × 50:
//
//  ViewController.m
//  iOS 圖片拉伸總結
//
//  Created by Sunshine on 15/6/29.
//  Copyright (c) 2015年 YotrolZ. All rights reserved.
//

#import "ViewController.h"

@interface ViewController ()
@end

@implementation ViewController

- (void)viewDidLoad {
    [super viewDidLoad];
    // 建立一個按鈕
    UIButton *btn = [UIButton buttonWithType:UIButtonTypeCustom];
    // 設定 frame
    btn.frame = CGRectMake(100, 300, 200, 50);
    // 載入圖片
    UIImage *image = [UIImage imageNamed:@"chat_send_nor"];
    // 設為背景圖
    [btn setBackgroundImage:image forState:UIControlStateNormal];
    // 加到畫面上
    [self.view addSubview:btn];
}

- (void)didReceiveMemoryWarning {
    [super didReceiveMemoryWarning];
    // Dispose of any resources that can be recreated.
}

@end
跑起來的結果大概會讓人傻眼:
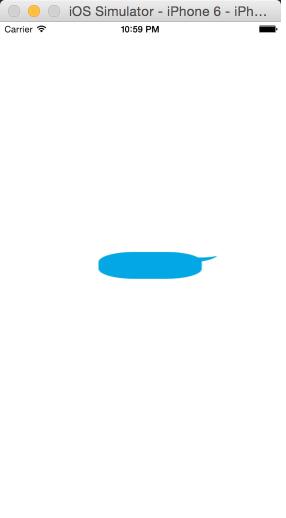
執行效果圖1.png
原因很單純:一張 128 × 112 的圖被整張拉成 200 × 50,四個圓角全被扯爛了。
可行的解法有兩條:一是請設計師重畫一張更大的圖,但包體積會變大,按鈕尺寸一改就得重畫,顯然不現實;二是用 iOS 提供的拉伸 API,程式碼就能搞定。
方式一(iOS 5 之前):stretchableImageWithLeftCapWidth
設定 topCapHeight、leftCapWidth 之後,系統會自動推算另外兩側,中間黑色區域才是真正會被拉伸的範圍。
// 官方 API 說明
// - stretchableImageWithLeftCapWidth:topCapHeight:(iOS 5.0)
// Creates and returns a new image object with the specified cap values.
這個方法只有兩個參數:leftCapWidth 是左端蓋寬度,topCapHeight 是上端蓋高度。右端蓋與底端蓋由系統自動算出:
// 系統自動計算 rightCapWidth
rightCapWidth = image.width - leftCapWidth - 1;
// 系統自動計算 bottomCapHeight
bottomCapHeight = image.height - topCapHeight - 1;
也就是說,實際可拉伸的區域只有 1 × 1,所以怎麼拉都不會破壞外觀。
// 載入圖片
UIImage *image = [UIImage imageNamed:@"chat_send_nor"];
// 左端蓋寬度
NSInteger leftCapWidth = image.size.width * 0.5;
// 上端蓋高度
NSInteger topCapHeight = image.size.height * 0.5;
UIImage *newImage = [image stretchableImageWithLeftCapWidth:leftCapWidth topCapHeight:topCapHeight];
// 設為按鈕背景圖
[btn setBackgroundImage:newImage forState:UIControlStateNormal];
執行結果:
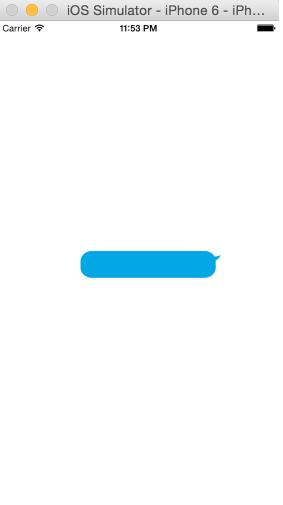
執行效果圖2.png
方式二(iOS 5):resizableImageWithCapInsets
// 官方 API 說明
- (UIImage *)resizableImageWithCapInsets:(UIEdgeInsets)capInsets NS_AVAILABLE_IOS(5_0);
// create a resizable version of this image. the interior is tiled when drawn.

typedef struct UIEdgeInsets {
    CGFloat top, left, bottom, right; // 各邊的內縮量(正值),負值則是往外擴
} UIEdgeInsets;
這次四個端蓋都能自訂,順序是 top、left、bottom、right(逆時針)。
// 載入圖片
UIImage *image = [UIImage imageNamed:@"chat_send_nor"];
// 設定四邊端蓋
CGFloat top = image.size.height * 0.5;
CGFloat left = image.size.width * 0.5;
CGFloat bottom = image.size.height * 0.5;
CGFloat right = image.size.width * 0.5;
UIEdgeInsets edgeInsets = UIEdgeInsetsMake(top, left, bottom, right);
// 拉伸圖片
UIImage *newImage = [image resizableImageWithCapInsets:edgeInsets];
// 設為按鈕背景圖
[btn setBackgroundImage:newImage forState:UIControlStateNormal];
執行結果:
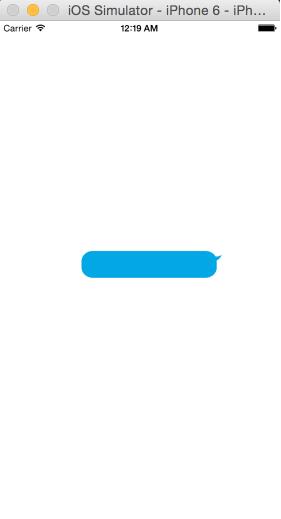
執行效果圖3.png
方式三(iOS 6):多一個 resizingMode
- (UIImage *)resizableImageWithCapInsets:(UIEdgeInsets)capInsets resizingMode:(UIImageResizingMode)resizingMode NS_AVAILABLE_IOS(6_0);
// the interior is resized according to the resizingMode
相比 iOS 5 的版本,多了 resizingMode 參數:
typedef NS_ENUM(NSInteger, UIImageResizingMode) {
    UIImageResizingModeTile,    // 平鋪:重複貼上 UIEdgeInsets 指定的矩形區域
    UIImageResizingModeStretch, // 拉伸:把 UIEdgeInsets 指定的矩形區域拉開
};
// 載入圖片
UIImage *image = [UIImage imageNamed:@"chat_send_nor"];
// 設定端蓋
CGFloat top = image.size.height * 0.5;
CGFloat left = image.size.width * 0.5;
CGFloat bottom = image.size.height * 0.5;
CGFloat right = image.size.width * 0.5;
UIEdgeInsets edgeInsets = UIEdgeInsetsMake(top, left, bottom, right);
// 指定拉伸模式
UIImageResizingMode mode = UIImageResizingModeStretch;
// 拉伸圖片
UIImage *newImage = [image resizableImageWithCapInsets:edgeInsets resizingMode:mode];
// 設為按鈕背景圖
[btn setBackgroundImage:newImage forState:UIControlStateNormal];
執行結果:
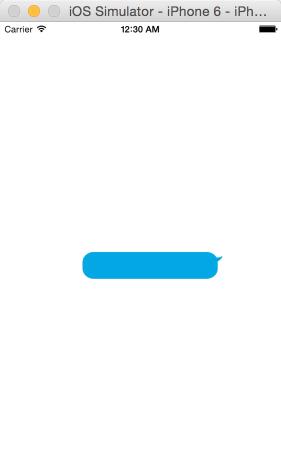
執行效果圖4.png
方式四:直接設定 slicing 屬性
最輕鬆的一種,連程式碼都不用寫。
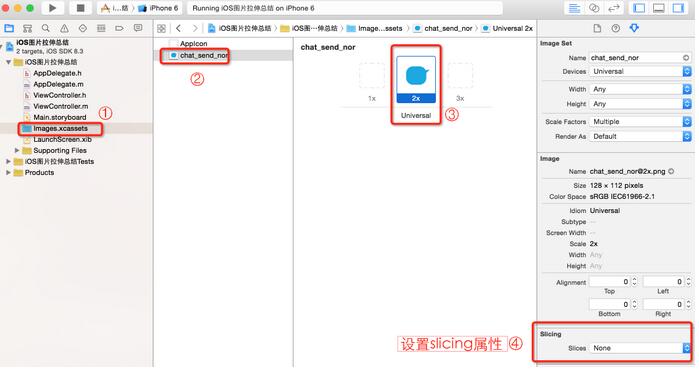
設定 slicing 屬性.png
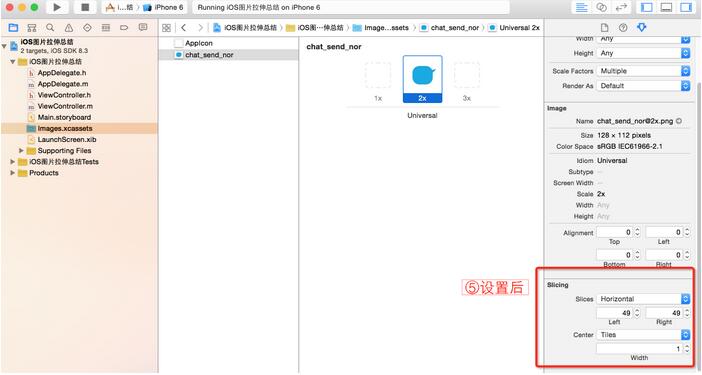
設定後.png
是不是 So easy~
執行結果:
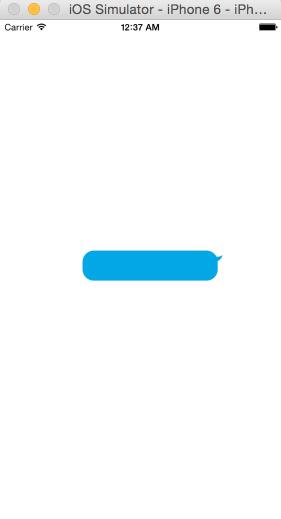
執行效果5.png
備註:以上所有透過程式碼拉伸的方法,回傳的都是一張全新的 UIImage,原圖並不會被改動。