
把 DataSource 抽出去:打造更輕量的 UIViewController
objccn.io 早期有一篇〈Lighter View Controllers〉,核心主張是:View Controller 之所以肥腫,往往是因為它同時扛了「資料」與「資料怎麼顯示」兩份責任。本文照著那個思路實際做一遍,用 UITableView 當實驗對象。
問題所在
最常見的寫法是讓 ViewController 同時 conform UITableViewDataSource 與 UITableViewDelegate,於是 numberOfRows、cellForRow、didSelect 全部塞進同一個檔案。當表格有兩三種 cell、資料來源又不止一處時,這個檔案很快就失控。
第一步:建立 ArrayDataSource
// ArrayDataSource.h
typedef void (^TableViewCellConfigureBlock)(id cell, id item);

@interface ArrayDataSource : NSObject <UITableViewDataSource>
- (id)initWithItems:(NSArray *)anItems
      cellIdentifier:(NSString *)aCellIdentifier
  configureCellBlock:(TableViewCellConfigureBlock)aConfigureCellBlock;
- (id)itemAtIndexPath:(NSIndexPath *)indexPath;
@end
// ArrayDataSource.m
@interface ArrayDataSource ()
@property (nonatomic, strong) NSArray *items;
@property (nonatomic, copy) NSString *cellIdentifier;
@property (nonatomic, copy) TableViewCellConfigureBlock configureCellBlock;
@end

@implementation ArrayDataSource

- (id)init {
    return nil;      // 必須走指定初始化器
}

- (id)initWithItems:(NSArray *)anItems
      cellIdentifier:(NSString *)aCellIdentifier
  configureCellBlock:(TableViewCellConfigureBlock)aConfigureCellBlock {
    self = [super init];
    if (self) {
        self.items = anItems;
        self.cellIdentifier = aCellIdentifier;
        self.configureCellBlock = [aConfigureCellBlock copy];
    }
    return self;
}

- (id)itemAtIndexPath:(NSIndexPath *)indexPath {
    return self.items[(NSUInteger)indexPath.row];
}

#pragma mark UITableViewDataSource

- (NSInteger)tableView:(UITableView *)tableView numberOfRowsInSection:(NSInteger)section {
    return self.items.count;
}

- (UITableViewCell *)tableView:(UITableView *)tableView cellForRowAtIndexPath:(NSIndexPath *)indexPath {
    UITableViewCell *cell = [tableView dequeueReusableCellWithIdentifier:self.cellIdentifier
                                                          forIndexPath:indexPath];
    id item = [self itemAtIndexPath:indexPath];
    self.configureCellBlock(cell, item);
    return cell;
}
@end
這個類接受三個參數:
- items:包在 NSArray 裡的模型物件。DataSource 關心的是「有幾筆」,而不關心型別,所以取出時一律用
id。 - cellIdentifier:cell 的重複使用識別碼,建立與註冊 cell 時指定。
- configureCellBlock:把 model 的資料填進 cell 的區塊。因為 DataSource 不知道 item 的具體結構,這個責任就交回給最了解它的人。
這三個參數的分工,就是整個重構的精華:DataSource 只負責「數量」與「取出」,外觀交給 block。
第二步:自訂 cell 與 model
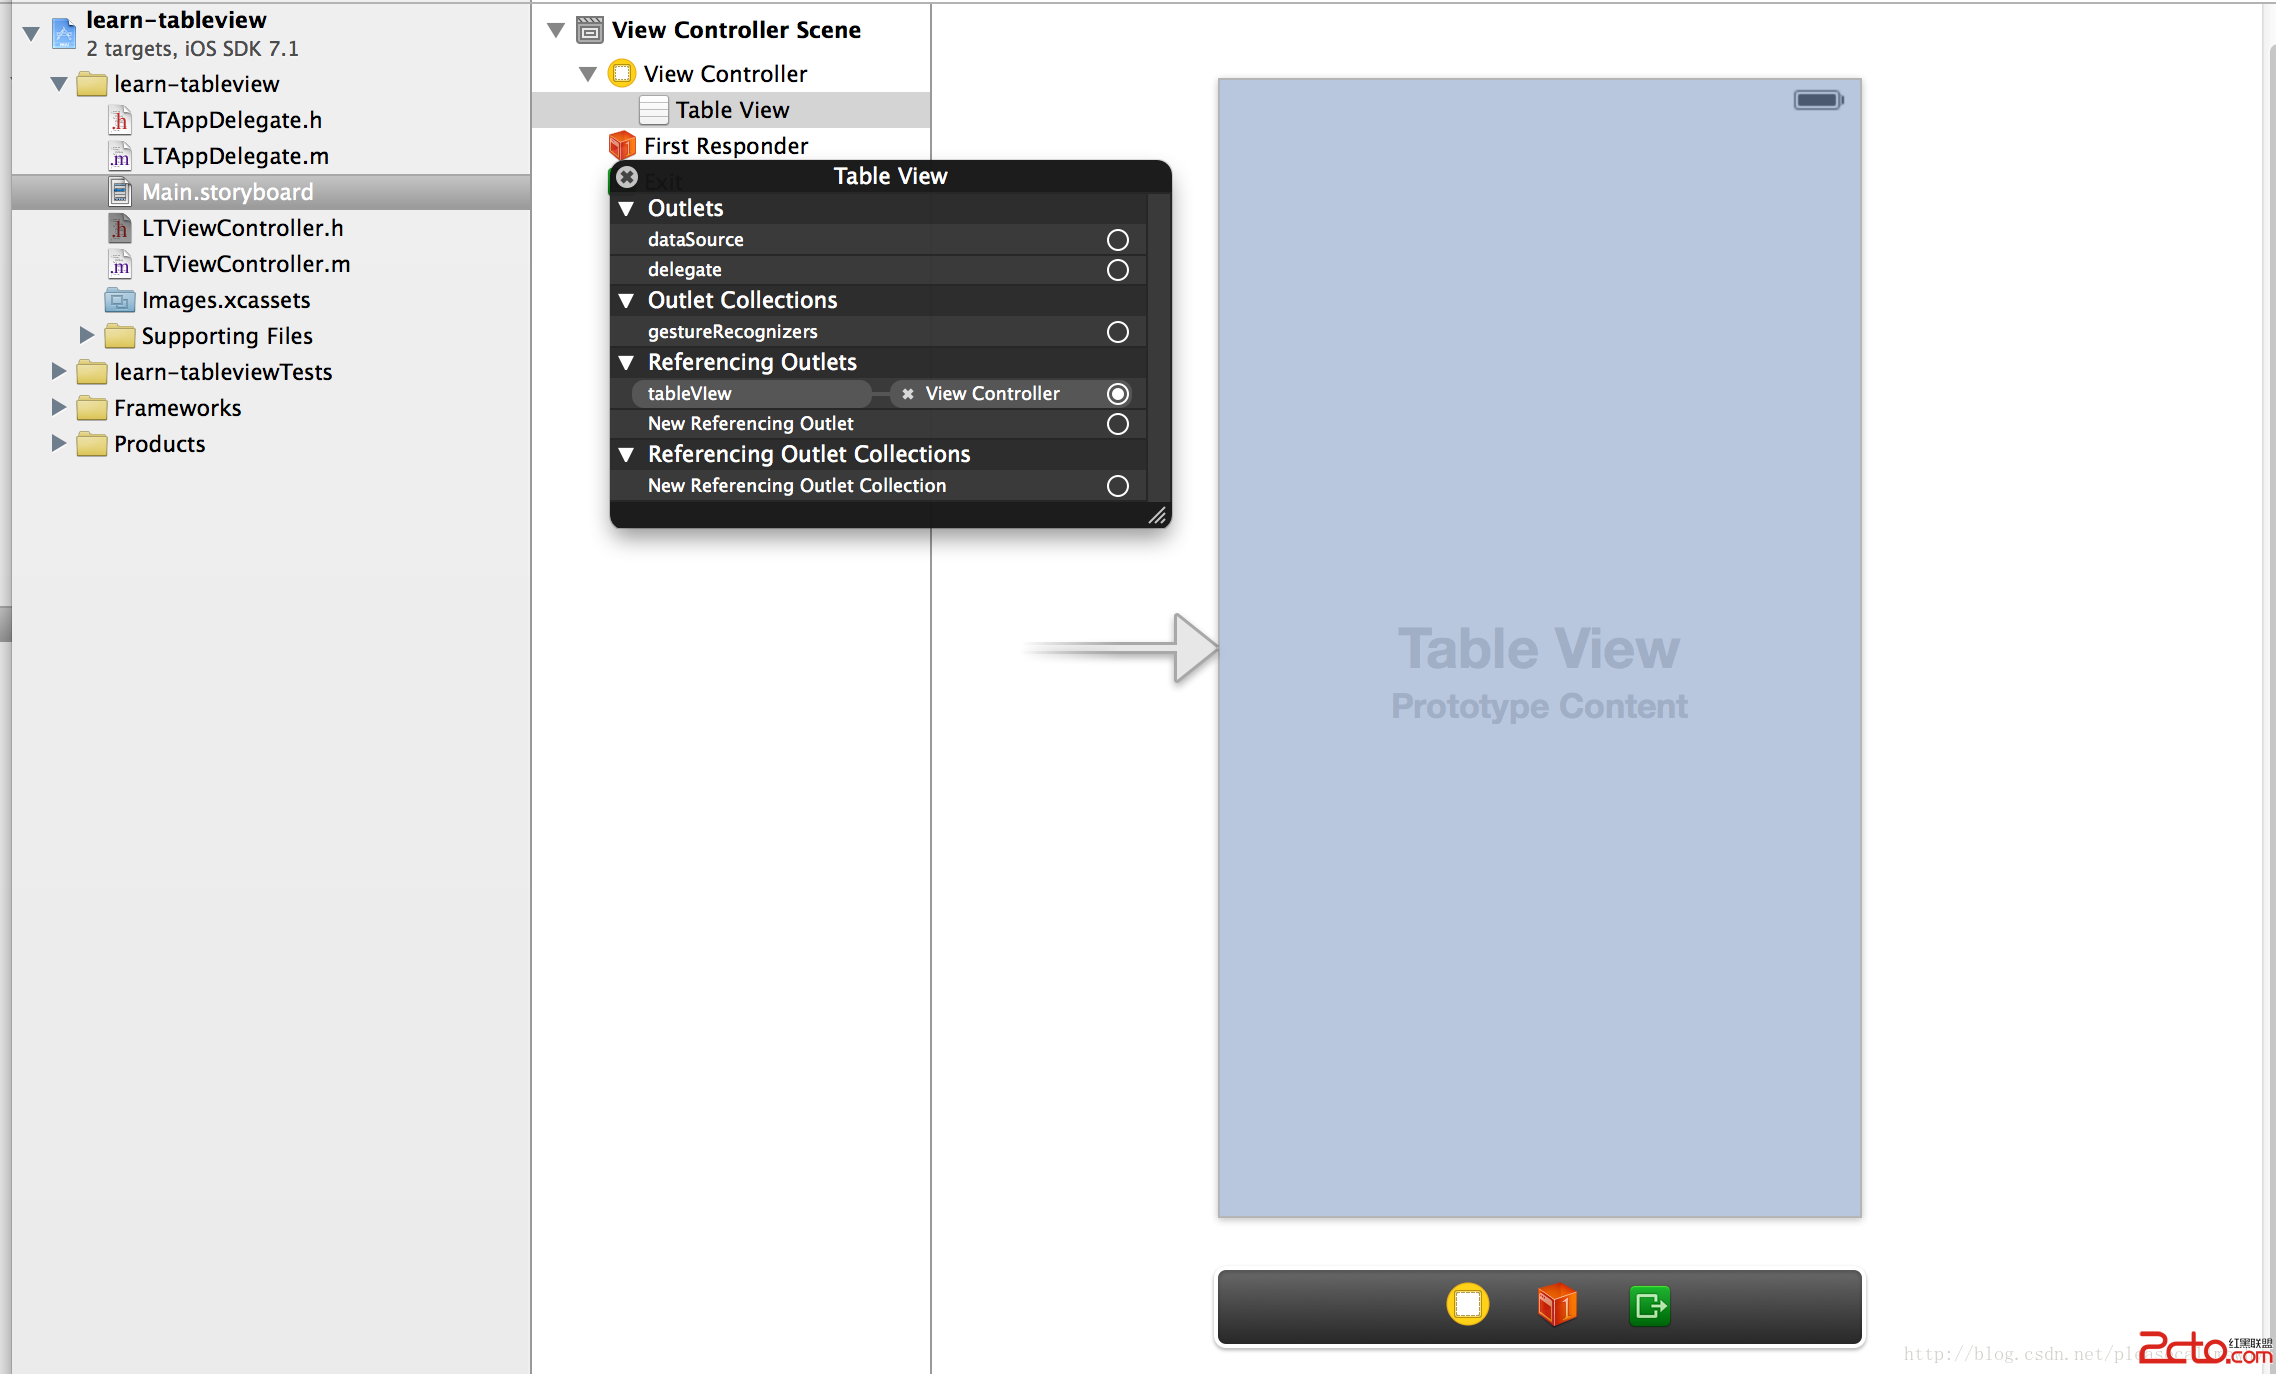
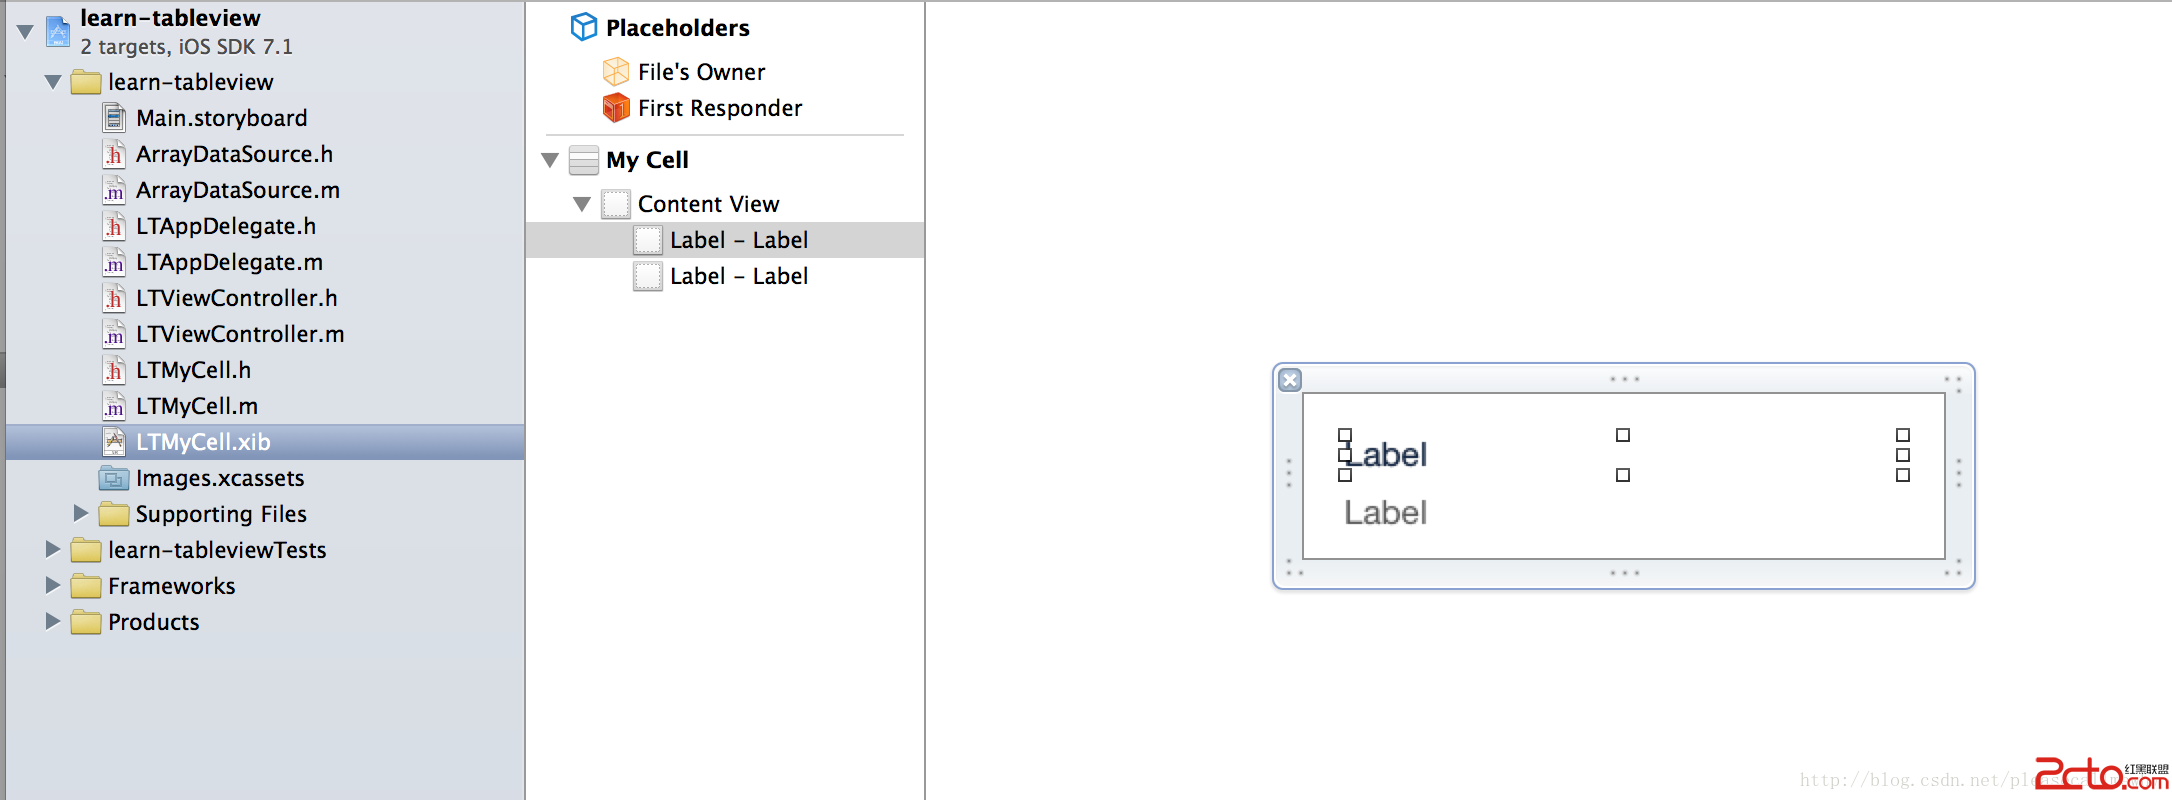
// LTMyCell.h
+ (UINib *)nib;
@property (weak, nonatomic) IBOutlet UILabel *photoTitleLabel;
@property (weak, nonatomic) IBOutlet UILabel *photoDateLabel;

// LTMyCell.m
+ (UINib *)nib {
    return [UINib nibWithNibName:@"PhotoCell" bundle:nil];
}

- (void)setHighlighted:(BOOL)highlighted animated:(BOOL)animated {
    [super setHighlighted:highlighted animated:animated];
    if (highlighted) {
        self.photoTitleLabel.shadowColor = [UIColor darkGrayColor];
        self.photoTitleLabel.shadowOffset = CGSizeMake(3, 3);
    } else {
        self.photoTitleLabel.shadowColor = nil;
    }
}
// LTPhoto.h
@interface LTPhoto : NSObject <NSCoding>
@property (nonatomic, copy) NSString *name;
@property (nonatomic, strong) NSDate *creationDate;
@end

// LTPhoto.m
static NSString * const NameKey = @"name";
static NSString * const CreationDateKey = @"creationDate";

@implementation LTPhoto

- (void)encodeWithCoder:(NSCoder *)coder {
    [coder encodeObject:self.name forKey:NameKey];
    [coder encodeObject:self.creationDate forKey:CreationDateKey];
}

- (BOOL)requiresSecureCoding {
    return YES;
}

- (id)initWithCoder:(NSCoder *)coder {
    self = [super init];
    if (self) {
        self.name = [coder decodeObjectOfClass:[NSString class] forKey:NameKey];
        self.creationDate = [coder decodeObjectOfClass:[NSDate class] forKey:CreationDateKey];
    }
    return self;
}
@end
第三步:用 Category 把「怎麼填」獨立出來
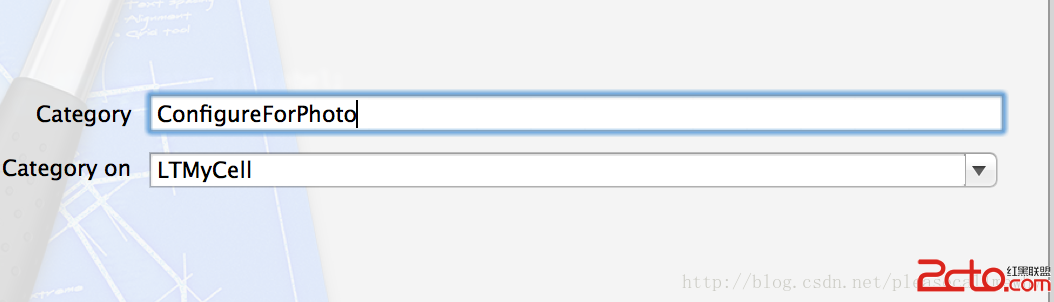
// LTMyCell+ConfigureForPhoto.h
@class LTPhoto;

@interface LTMyCell (ConfigureForPhoto)
- (void)configureForPhoto:(LTPhoto *)photo;
@end

// LTMyCell+ConfigureForPhoto.m
#import "LTMyCell+ConfigureForPhoto.h"
#import "LTPhoto.h"

@implementation LTMyCell (ConfigureForPhoto)

- (void)configureForPhoto:(LTPhoto *)photo {
    self.photoTitleLabel.text = photo.name;
    self.photoDateLabel.text = [self.dateFormatter stringFromDate:photo.creationDate];
}

- (NSDateFormatter *)dateFormatter {
    static NSDateFormatter *dateFormatter;
    static dispatch_once_t onceToken;
    dispatch_once(&onceToken, ^{
        dateFormatter = [[NSDateFormatter alloc] init];
        dateFormatter.timeStyle = NSDateFormatterMediumStyle;
        dateFormatter.dateStyle = NSDateFormatterMediumStyle;
    });
    return dateFormatter;
}
@end
把格式化邏輯放在 Category 而不是 cell 本體,是為了讓 LTMyCell 保持單純——它只負責呈現,不認識 LTPhoto。日期格式化物件用 dispatch_once 起來,也順手解決了原本每次呼叫都新建一個的浪費。
第四步:ViewController 只剩下組裝
static NSString * const PhotoCellIdentifier = @"LTMyCell";

@interface LTViewController () <UITableViewDelegate>
@property (nonatomic, strong) ArrayDataSource *photosArrayDataSource;
@end

@implementation LTViewController

- (void)viewDidLoad {
    [super viewDidLoad];
    [self setupTableView];
}

- (void)setupTableView {
    TableViewCellConfigureBlock configureCell = ^(LTMyCell *cell, LTPhoto *photo) {
        [cell configureForPhoto:photo];
    };

    NSMutableArray *photos = [[NSMutableArray alloc] init];
    for (int i = 0; i < 10; i++) {
        LTPhoto *photo = [[LTPhoto alloc] init];
        photo.name = @"Hello";
        photo.creationDate = [NSDate date];
        [photos addObject:photo];
    }

    self.photosArrayDataSource = [[ArrayDataSource alloc]
        initWithItems:photos
        cellIdentifier:PhotoCellIdentifier
        configureCellBlock:configureCell];

    _tableView.dataSource = self.photosArrayDataSource;
    [_tableView registerNib:[LTMyCell nib] forCellReuseIdentifier:PhotoCellIdentifier];
}

#pragma mark UITableViewDelegate

- (void)tableView:(UITableView *)tableView didSelectRowAtIndexPath:(NSIndexPath *)indexPath {
    LTPhoto *photo = [self.photosArrayDataSource itemAtIndexPath:indexPath];
    NSLog(@"點擊了 %@", photo.name);
}
@end
重構後,ViewController 裡再也沒有 numberOfRows 與 cellForRow。它現在只做三件事:準備資料、組好 DataSource、處理互動。想加一個「搜尋後的結果列表」,只要再生一個 DataSource 實例換掉原本的即可,完全不必動 ViewController 的資料源程式碼。
這套思路的現代版本
概念完全成立,但 API 該更新了。新專案可以考慮三條路:一是讓 DataSource 泛型化(ArrayDataSource<T>)以拿回型別安全;二是改用 UITableViewDiffableDataSource,把「資料的增刪移如何對應到畫面動畫」這段最容易寫錯的程式碼交給系統;三是引入 view model 層,讓 cell 的設定邏輯從 Category 搬到 view model,職責會更清楚。無論走哪一條,「把資料源從 ViewController 抽出去」這個第一步都不會白做。