
iOS 毛玻璃效果實作:UIVisualEffectView 詳解
編輯:iOS 開發綜合
從 iOS 8 開始,蘋果提供了製作毛玻璃效果的官方 API——UIVisualEffectView。透過它我們可以輕鬆為介面加入模糊與透亮質感,效果既優雅又容易實現。
核心用法是用 initWithEffect: 進行初始化,而傳入的 effect 有兩種,都繼承自 UIVisualEffect:分別是 UIBlurEffect 與 UIVibrancyEffect。父類本身不需要理會,重點看這兩個子類。
兩種效果的差異
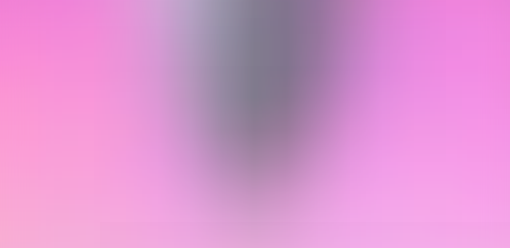
UIBlurEffect:作用在毛玻璃「後方」的視圖上,負責把背後內容模糊化。
UIVibrancyEffect:作用在毛玻璃「上方」的視圖上,讓顯示於模糊層之上的內容更為醒目。
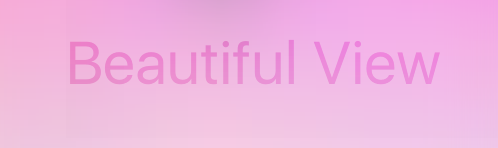
製作毛玻璃下方(模糊背景)的效果
先初始化一個 UIBlurEffect 對象,它有三種風格:
typedef NS_ENUM(NSInteger, UIBlurEffectStyle) {
    UIBlurEffectStyleExtraLight,
    UIBlurEffectStyleLight,
    UIBlurEffectStyleDark
};
前面展示的效果是以 UIBlurEffectStyleLight 製作的。
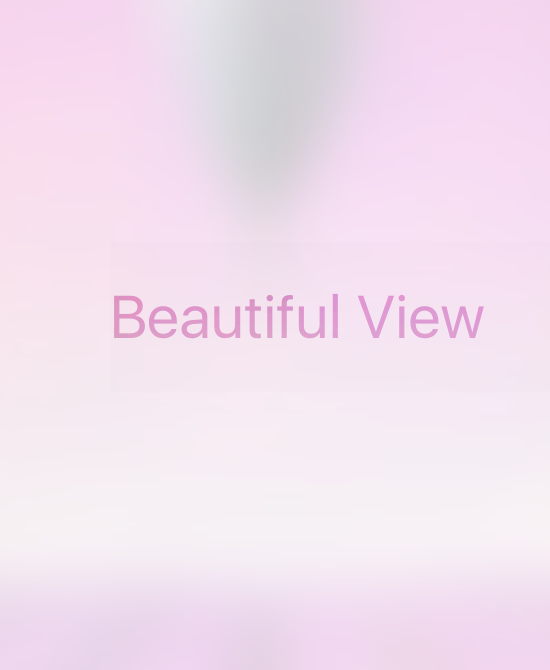
UIBlurEffectStyleExtraLight 的效果如下:
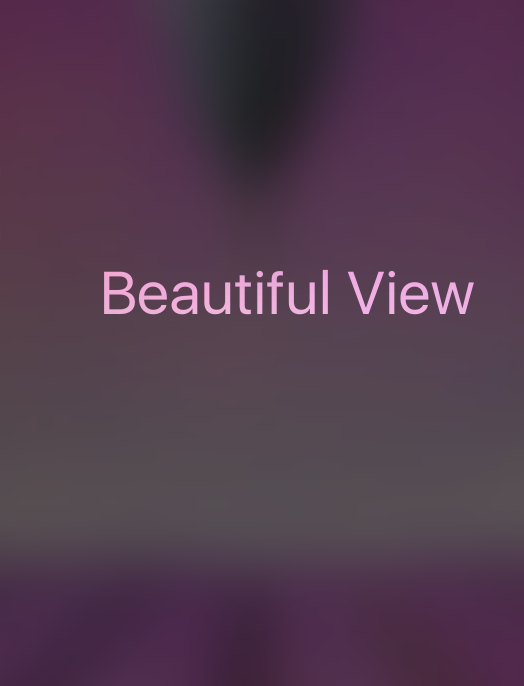
UIBlurEffectStyleDark 的效果如下:
接著用這個 blur 對象創建一個 UIVisualEffectView,並將它作為「需要被模糊化的視圖」的子視圖添加進去即可。
製作毛玻璃上方(內容層)的效果
創建一個 UIVibrancyEffect 對象,用前面創建的 blur 去初始化;再用這個 vibrancy 對象創建一個 UIVisualEffectView,最後把想要呈現的子視圖添加到它的 contentView 上就可以了。
完整程式碼
// UIBlurEffect 效果
UIImageView *imageView = [[UIImageView alloc] initWithFrame:self.view.frame];
imageView.image = [UIImage imageNamed:@"pic"];

UIBlurEffect *blur = [UIBlurEffect effectWithStyle:UIBlurEffectStyleLight];
UIVisualEffectView *ev = [[UIVisualEffectView alloc] initWithEffect:blur];
ev.frame = self.view.frame;
[imageView addSubview:ev];

// UIVibrancyEffect 效果
UIVibrancyEffect *vibrancyEffect = [UIVibrancyEffect effectForBlurEffect:blur];
UIVisualEffectView *ano = [[UIVisualEffectView alloc] initWithEffect:vibrancyEffect];
ano.frame = self.view.frame;

UILabel *label = [[UILabel alloc] init];
label.font = [UIFont systemFontOfSize:40];
label.frame = CGRectMake(100, 100, 400, 100);
label.text = @"Beautiful View";

[ev.contentView addSubview:ano];
[ano.contentView addSubview:label];
[self.view addSubview:imageView];
透過 blur 與 vibrancy 的搭配,就能輕鬆做出既模糊又通透的毛玻璃質感,是不是很漂亮呢?
- 上一篇文章: iOS 開發系列:打造無限循環的圖片浏覽器
- 下一篇文章: OC iOS 動效設計:用 UITableView 實現滾動視差效果