iOS 基於 Bmob 的實時通訊實現
最近剛完成一個基於 Bmob 後台的項目,用到了實時通訊功能,整個過程頗為浩大,這裡把關鍵步驟與重點記錄下來。
下載安裝 BmobIMSDK
首先從官網下載最新的 BmobIMSDK,導入到項目工程中。
引入相關庫文件
若項目已包含 BmobSDK 數據服務 SDK,可不添加新框架;否則需添加 SystemConfiguration.framework、CoreFoundation.framework、Foundation.framework、CFNetwork.framework、CoreGraphics.framework、sqlite3.tbd。
初始化
在 AppDelegate.m 中引入相關頭文件,填入申請的授權 Key(SDK 使用的是應用密鑰裡的 Application ID):
- (BOOL)application:(UIApplication *)application didFinishLaunchingWithOptions:(NSDictionary *)launchOptions {
    // 初始化 BmobSDK
    [Bmob registerWithAppKey:@"Application ID"];
    self.sharedIM = [BmobIM sharedBmobIM];
    [self.sharedIM registerWithAppKey:@"Application ID"];
    [UIApplication sharedApplication].statusBarStyle = UIStatusBarStyleLightContent;

    BmobUser *user = [BmobUser getCurrentUser];
    if (user) {
        // 已有用戶,無需推送服務時可直接連接服務器
        self.userId = user.objectId;
        [self connectToServer];
    } else {
        // 用戶未登錄,監聽登錄/登出通知
        [[NSNotificationCenter defaultCenter] addObserver:self selector:@selector(userLogin:) name:@"Login" object:nil];
        [[NSNotificationCenter defaultCenter] addObserver:self selector:@selector(userLogout:) name:@"Logout" object:nil];
    }
    self.sharedIM.delegate = self;
    return YES;
}
若需要推送服務,可在相關代理中調用 [self.sharedIM setupDeviceToken:@"xxxx"] 後再連接服務器,同時需在管理後台上傳對應 Bundle ID 的 p12 文件(請勿加密)。
-(void)application:(UIApplication *)application didFailToRegisterForRemoteNotificationsWithError:(NSError *)error {
    BmobUser *user = [BmobUser getCurrentUser];
    if (user) {
        [self connectToServer];
    }
}

-(void)application:(UIApplication *)application didRegisterForRemoteNotificationsWithDeviceToken:(NSData *)deviceToken {
    BmobUser *user = [BmobUser getCurrentUser];
    if (user) {
        NSString *string = [[NSString alloc] initWithData:deviceToken encoding:NSUTF8StringEncoding];
        self.token = [[[string stringByReplacingOccurrencesOfString:@" " withString:@""] stringByReplacingOccurrencesOfString:@"<" withString:@""] stringByReplacingOccurrencesOfString:@">" withString:@""];
        [self connectToServer];
    }
}
登錄與登出的通知處理:
-(void)userLogin:(NSNotification *)noti {
    NSString *userId = noti.object;
    self.userId = userId;
    [self connectToServer];
}

-(void)userLogout:(NSNotification *)noti {
    [self.sharedIM disconnect];
}

-(void)connectToServer {
    [self.sharedIM setupBelongId:self.userId];
    [self.sharedIM setupDeviceToken:self.token];
    [self.sharedIM connect];
}
應用進入前台或後台時可重新連接或斷開:
- (void)applicationWillEnterForeground:(UIApplication *)application {
    if (self.userId && self.userId.length > 0) {
        [self connectToServer];
    }
}

- (void)applicationDidEnterBackground:(UIApplication *)application {
    if ([self.sharedIM isConnected]) {
        [self.sharedIM disconnect];
    }
}
需說明的是,連接服務器建立一次即可,時機由開發者自行掌控;建立連接前必須先設置 appKey 和 belongId,否則會拋出異常。
注册推送
可在 didFinishLaunchingWithOptions 中添加推送相關代碼:
CGFloat version = [[[UIDevice currentDevice] systemVersion] floatValue];
if (version >= 10.0) {
    // iOS 10 推送
    UNUserNotificationCenter *center = [UNUserNotificationCenter currentNotificationCenter];
    [center requestAuthorizationWithOptions:UNAuthorizationOptionCarPlay | UNAuthorizationOptionSound | UNAuthorizationOptionBadge | UNAuthorizationOptionAlert completionHandler:^(BOOL granted, NSError * _Nullable error) {
        if (granted) {
            NSLog(@" iOS 10 request notification success");
        }
    }];
} else if (version >= 8.0) {
    // iOS 8、9 推送
    UIUserNotificationSettings *userNotifiSetting = [UIUserNotificationSettings settingsForTypes:(UIUserNotificationTypeAlert|UIUserNotificationTypeBadge|UIUserNotificationTypeSound) categories:nil];
    [[UIApplication sharedApplication] registerUserNotificationSettings:userNotifiSetting];
    [[UIApplication sharedApplication] registerForRemoteNotifications];
}
接收消息
初始化時已設置 self.sharedIM 的 delegate,只需在對應代理方法中處理業務邏輯即可。連接服務器時,SDK 會主動拉取離線消息並存入本地數據庫。此處可能需要知道是哪些人發來了消息,並下載相關人物信息:
-(void)didGetOfflineMessagesWithIM:(BmobIM *)im {
    NSArray *objectIds = [self.sharedIM allConversationUsersIds];
    if (objectIds && objectIds.count > 0) {
        [UserService loadUsersWithUserIds:objectIds completion:^(NSArray *array, NSError *error) {
            if (array && array.count > 0) {
                [self.sharedIM saveUserInfos:array];
                [[NSNotificationCenter defaultCenter] postNotificationName:kNewMessageFromer object:nil];
            }
        }];
    }
}
已連接服務器時,收到他人發送的消息則在另一方法中處理:
-(void)didRecieveMessage:(BmobIMMessage *)message withIM:(BmobIM *)im {
    BmobIMUserInfo *userInfo = [self.sharedIM userInfoWithUserId:message.fromId];
    if (!userInfo) {
        [UserService loadUserWithUserId:message.fromId completion:^(BmobIMUserInfo *result, NSError *error) {
            if (result) {
                [self.sharedIM saveUserInfo:result];
                [[NSNotificationCenter defaultCenter] postNotificationName:kNewMessageFromer object:nil];
            }
            [[NSNotificationCenter defaultCenter] postNotificationName:kNewMessagesNotifacation object:message];
        }];
    } else {
        [[NSNotificationCenter defaultCenter] postNotificationName:kNewMessagesNotifacation object:message];
    }
}
注册
BmobUser *user = [[BmobUser alloc] init];
user.username = self.usernameTextField.text;
user.password = self.passwordTextField.text;
[user signUpInBackgroundWithBlock:^(BOOL isSuccessful, NSError *error) {
    if (isSuccessful) {
        [[NSNotificationCenter defaultCenter] postNotificationName:@"Login" object:user.objectId];
        [self dismissViewControllerAnimated:YES completion:nil];
    } else {
        [self showInfomation:error.description];
    }
}];
登陸
[BmobUser loginWithUsernameInBackground:self.usernameTextField.text password:self.passwordTextField.text block:^(BmobUser *user, NSError *error) {
    if (user) {
        [[NSNotificationCenter defaultCenter] postNotificationName:@"Login" object:user.objectId];
        [self dismissViewControllerAnimated:YES completion:nil];
    } else {
        [self showInfomation:error.description];
    }
}];
獲取好友列表
通過 UserService 的 friendsWithCompletion 拿到好友關係後,遍歷構建 BmobIMUserInfo 數組並刷新列表。
添加好友
[UserService addFriendNoticeWithUserId:self.userInfo.userId completion:^(BOOL isSuccessful, NSError *error) {
    if (error) {
        [self showInfomation:error.localizedDescription];
    } else {
        [self showInfomation:@"已發送添加好友請求"];
    }
}];
消息發送
通過 IMSDK,用戶既可與陌生人聊天,也可與好友聊天,由我們自行控制。發起聊天時,需建立一個 BmobIMConversation 對象來管理:
BmobIMConversation *conversation = [BmobIMConversation conversationWithId:self.userInfo.userId conversationType:BmobIMConversationTypeSingle];
conversation.conversationTitle = self.userInfo.name; // 聊天對象名,顯示到 title 上
查看聊天記錄
加載第一頁時將 message 設為 nil,並按消息更新時間排序:
NSArray *array = [self.conversation queryMessagesWithMessage:nil limit:10]; // 每次顯示 10 條
加載更早的歷史消息,可把 message 參數設為當前最早一條消息,即可向前翻頁。
發送消息
發送文本消息:
BmobIMTextMessage *message = [BmobIMTextMessage messageWithText:textField.text attributes:nil];
message.conversationType = BmobIMConversationTypeSingle;
message.createdTime = (uint64_t)([[NSDate date] timeIntervalSince1970] * 1000);
message.updatedTime = message.createdTime;
[self.conversation sendMessage:message completion:^(BOOL isSuccessful, NSError *error) {
    // 刷新對應行
}];
發送圖片:流程是先把拍照或相冊圖片轉成 Data,通過 Bmob 文件上傳接口上傳,拿到文件地址等信息後,構造 BmobIMImageMessage 對象發送。可封裝一個直接傳入 image 的方法:
+ (void)uploadImage:(UIImage *)image completion:(uploadBlock)block progress:(BmobProgressBlock)progressBlock {
    BmobFile *file = [[BmobFile alloc] initWithFileName:[NSString stringWithFormat:@"%.0f.png", [[NSDate date] timeIntervalSinceReferenceDate]] withFileData:UIImagePNGRepresentation(image)];
    [file saveInBackgroundByDataSharding:^(BOOL isSuccessful, NSError *error) {
        BmobIMImageMessage *message = nil;
        if (!error) {
            message = [BmobIMImageMessage messageWithUrl:file.url attributes:@{KEY_METADATA:@{KEY_HEIGHT:@(image.size.height), KEY_WIDTH:@(image.size.width)}}];
            message.conversationType = BmobIMConversationTypeSingle;
            message.createdTime = (uint64_t)([[NSDate date] timeIntervalSince1970] * 1000);
            message.updatedTime = message.createdTime;
        }
        if (block) { block(message, error); }
    } progressBlock:^(CGFloat progress) {
        if (progressBlock) { progressBlock(progress); }
    }];
}
發送語音(模擬器不支持,需真機並配置錄音權限白名單):流程是把錄音 Data 轉為 AMR 格式保存本地,再通過 Bmob 文件接口上傳,構造 BmobIMAudioMessage 發送。封裝方法類似,傳入 NSData 與時長即可。
接收消息
[[NSNotificationCenter defaultCenter] addObserver:self selector:@selector(receiveMessage:) name:kNewMessagesNotifacation object:nil];

-(void)receiveMessage:(NSNotification *)noti {
    BmobIMMessage *message = noti.object;
    // 若消息來源是當前聊天用戶,則加載並顯示
    if ([message.fromId isEqualToString:self.conversation.conversationId]) {
        [self.messagesArray addObject:message];
        [self.tableView reloadData];
        [self.tableView scrollToRowAtIndexPath:[NSIndexPath indexPathForRow:self.messagesArray.count-1 inSection:0] atScrollPosition:UITableViewScrollPositionBottom animated:YES];
    }
}
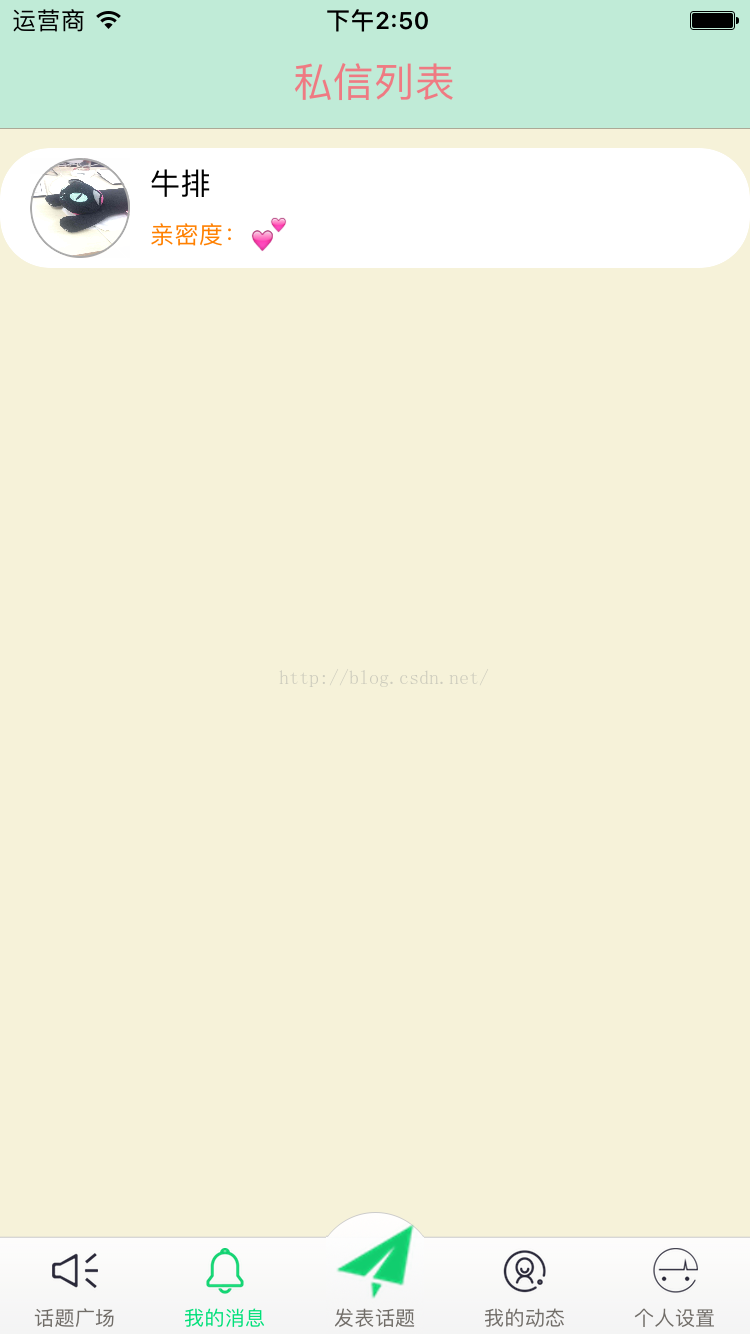
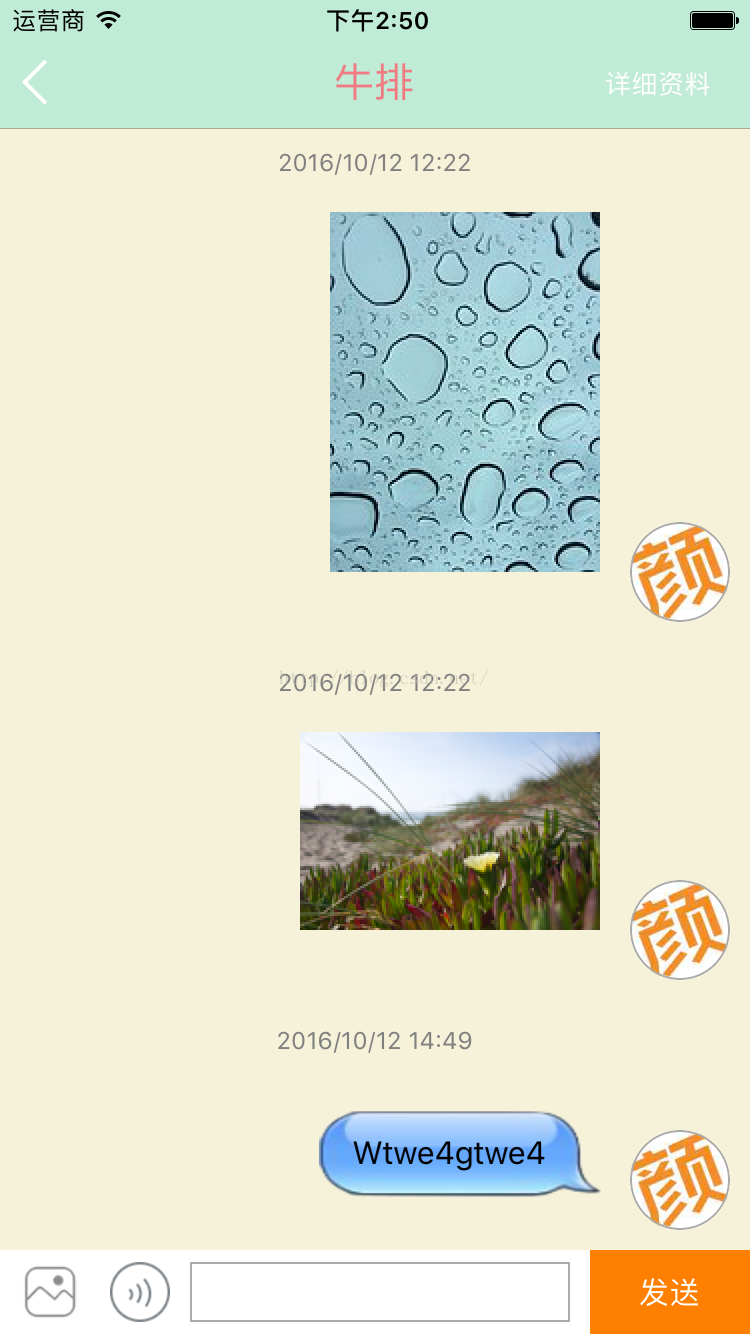
由於這是個龐大的模塊,一些細節(如用 UITableView 實現聊天排版、通過雙方 id 區分左右氣泡、根據 id 拉取用戶信息展示等)未完全展開。項目中的效果截圖如下: