
Xcode 8.1 新建 iOS 項目的完整配置詳解
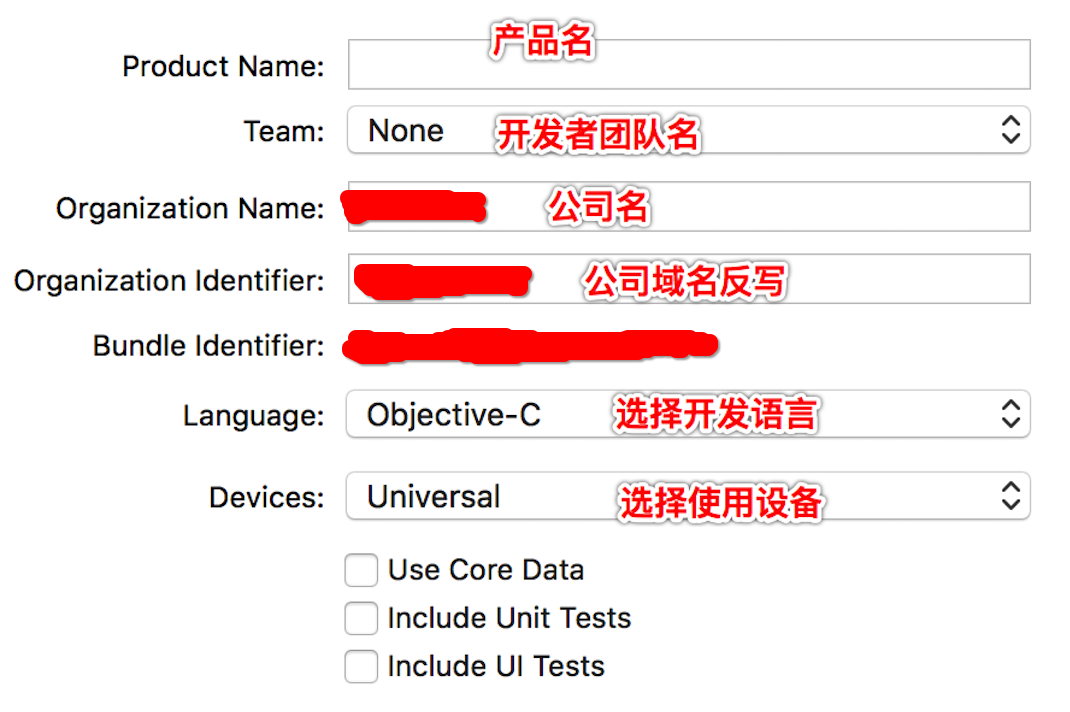
一、創建項目
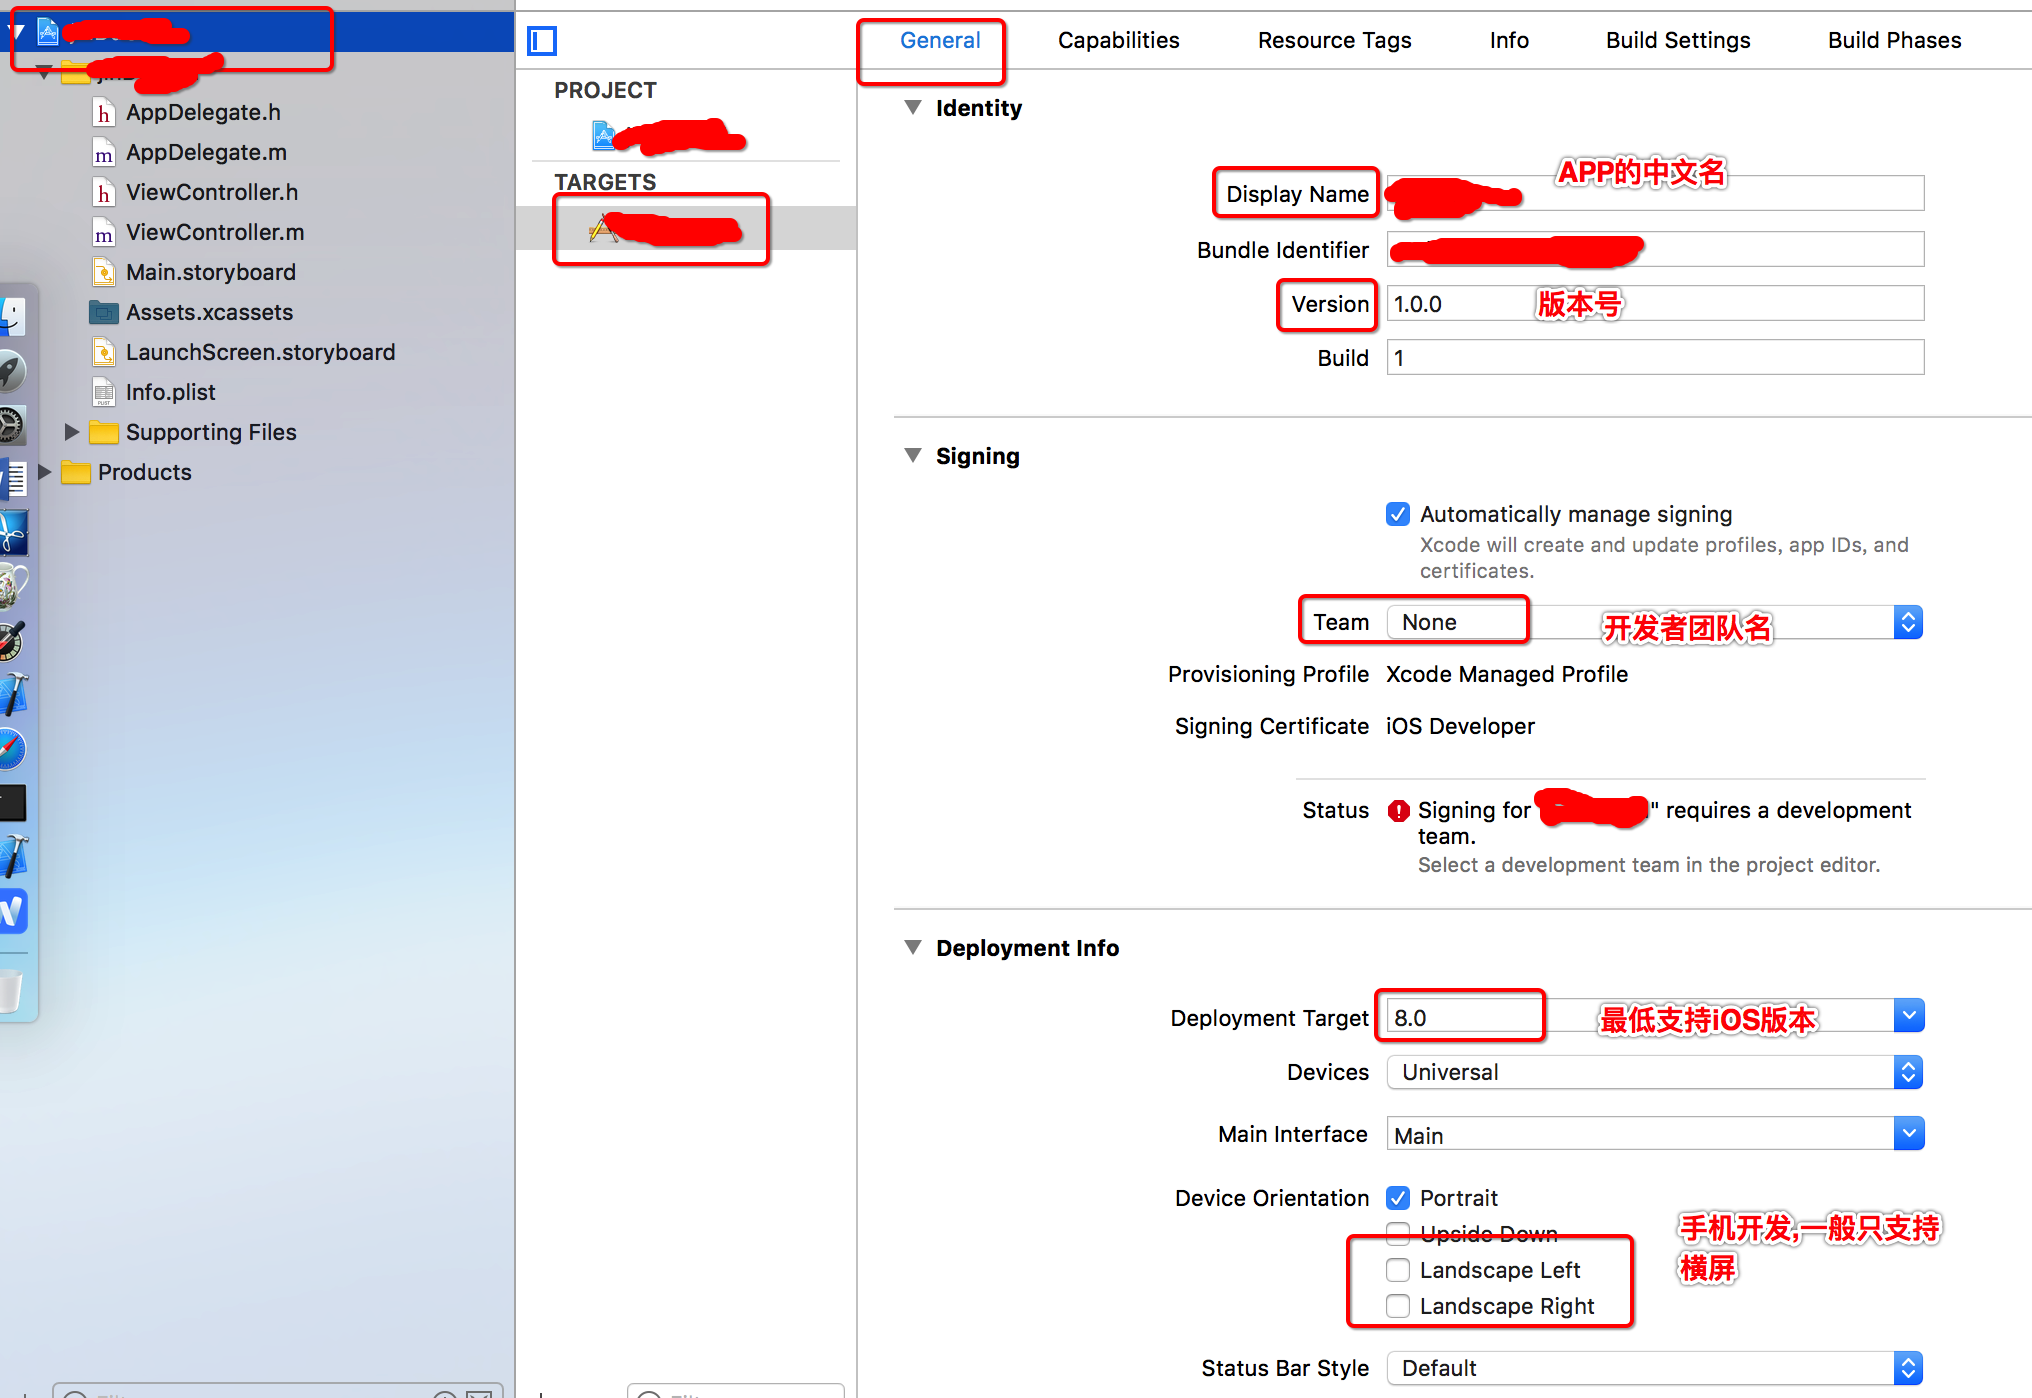
二、TARGETS → General 設置
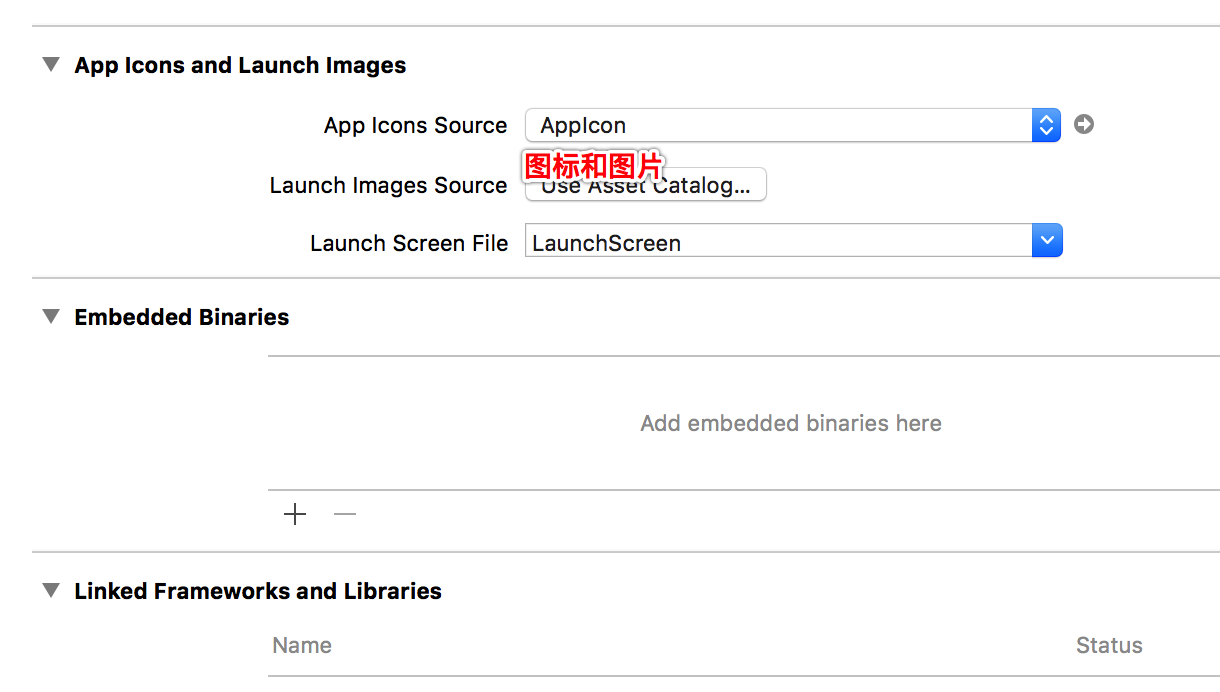
這一頁主要完成圖標、啟動圖與基本信息的配置。需要重點關注 info.plist 中的幾個鍵值:Bundle display name(顯示名稱)、Bundle versions string, short(版本號)、Supported interface orientations(支持的屏幕方向,一般勾選三個方向),並確認部署目標(Deployment Target)設為 8.0 以上。
// 圖標、啟動圖片:直接拖入資源
// info.plist 關鍵項:
//   Bundle display name
//   Bundle versions string, short
//   Supported interface orientations(三個方向)
// 路徑:項目 → TARGETS → General → 部署目標 8.0 以上
三、.pch 文件的設置
新建一個 PCH 文件(iOS → Other → PCH File),或直接拖入已寫好的文件。配置路徑為:項目 → TARGETS → Build Settings → All,搜索 Prefix Header,雙擊填入相對路徑 ./項目名稱/pch文件名.pch。
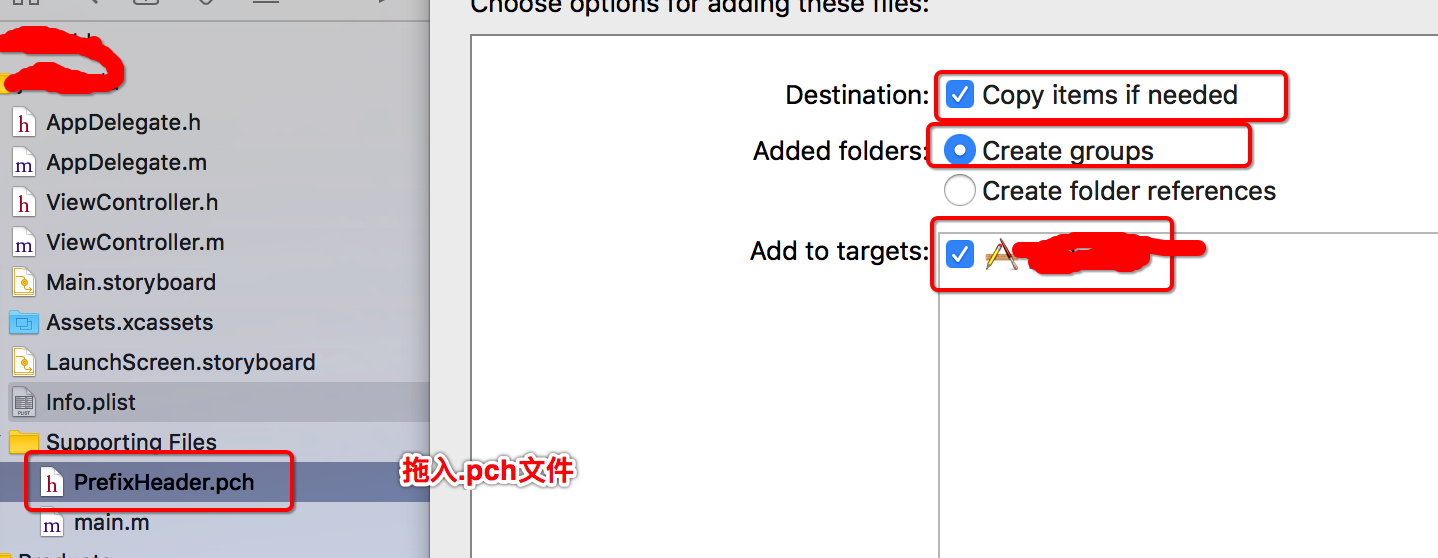
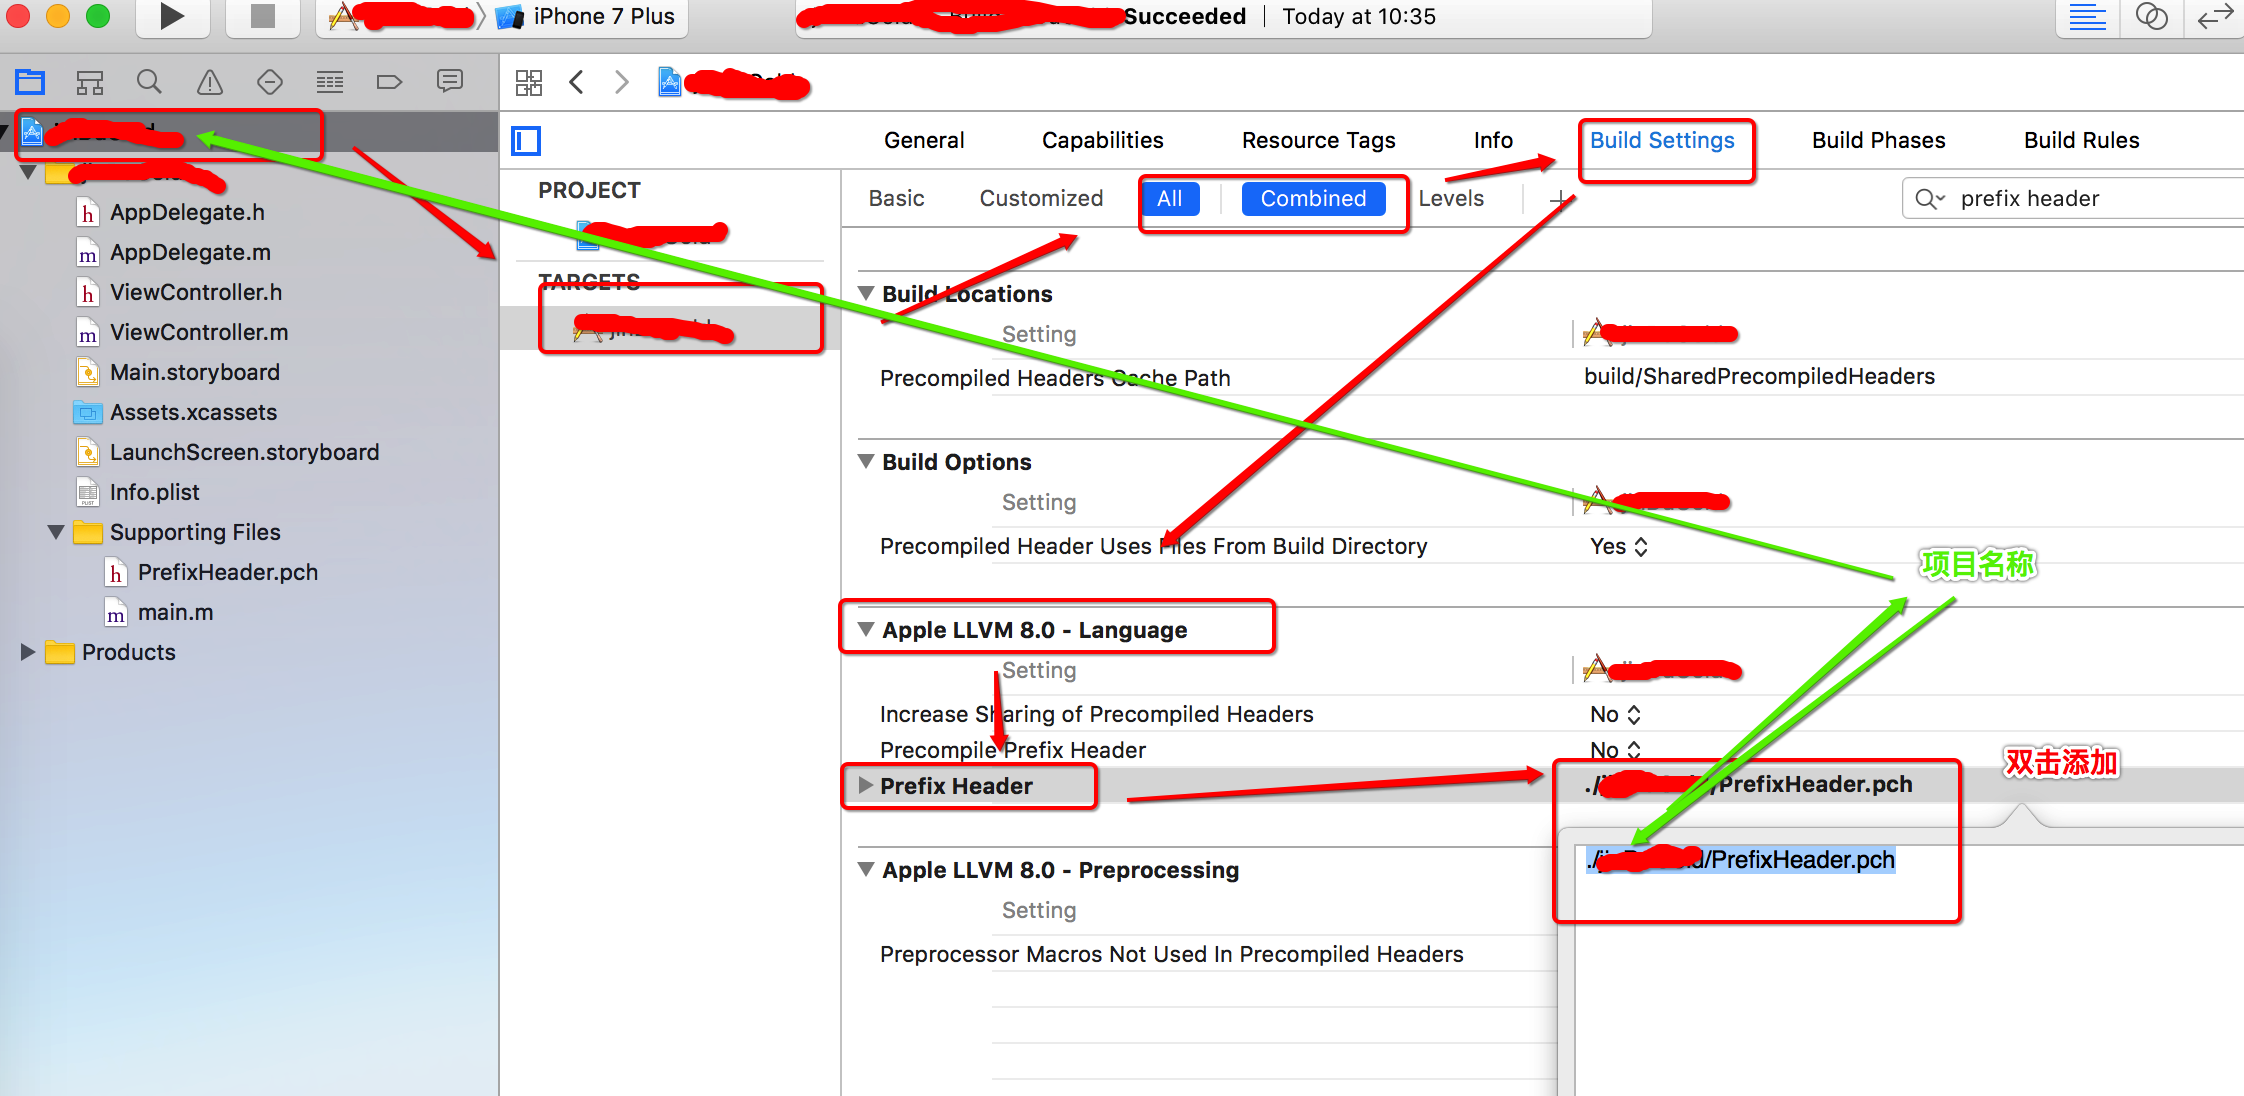
一個典型的 PCH 文件內容如下,主要用來屏蔽 C 文件、集中管理宏定義與自定義日誌:
#ifndef PrefixHeader_pch
#define PrefixHeader_pch

// 僅在 OC 代碼中生效,主要用於屏蔽 C 文件
#ifdef __OBJC__
#define JDGUITextFieldHeight 40.0
#define KUIScreenSize [UIScreen mainScreen].bounds.size
#define KUIScreenWidth [UIScreen mainScreen].bounds.size.width
#define KUIScreenHeight [UIScreen mainScreen].bounds.size.height
#define BackGroundColor(R,G,B) [UIColor colorWithRed:R/255.0 green:G/255.0 blue:B/255.0 alpha:1.0]

// 自定義日誌:僅在開發調試階段輸出
#ifdef DEBUG
#define ZYLog(...) NSLog(__VA_ARGS__)
#else
#define ZYLog(...)
#endif
#endif

#endif /* PrefixHeader_pch */
四、設置圖片資源
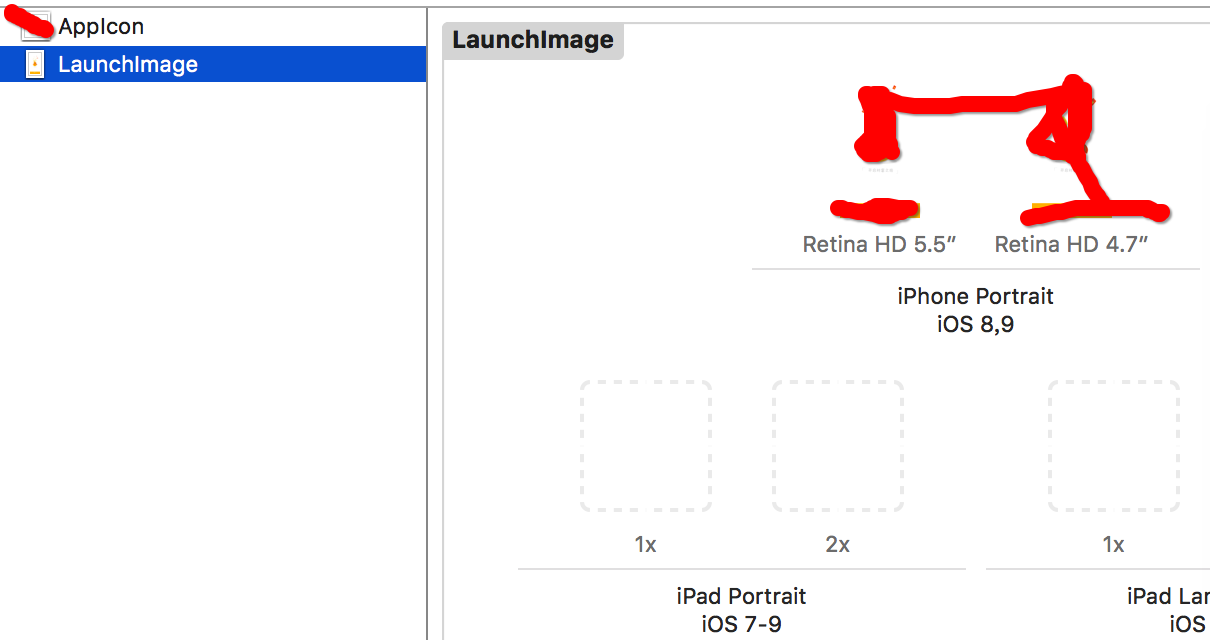
刪除不需要的 LaunchScreen.storyboard,改用啟動圖標和啟動圖片的方式配置。
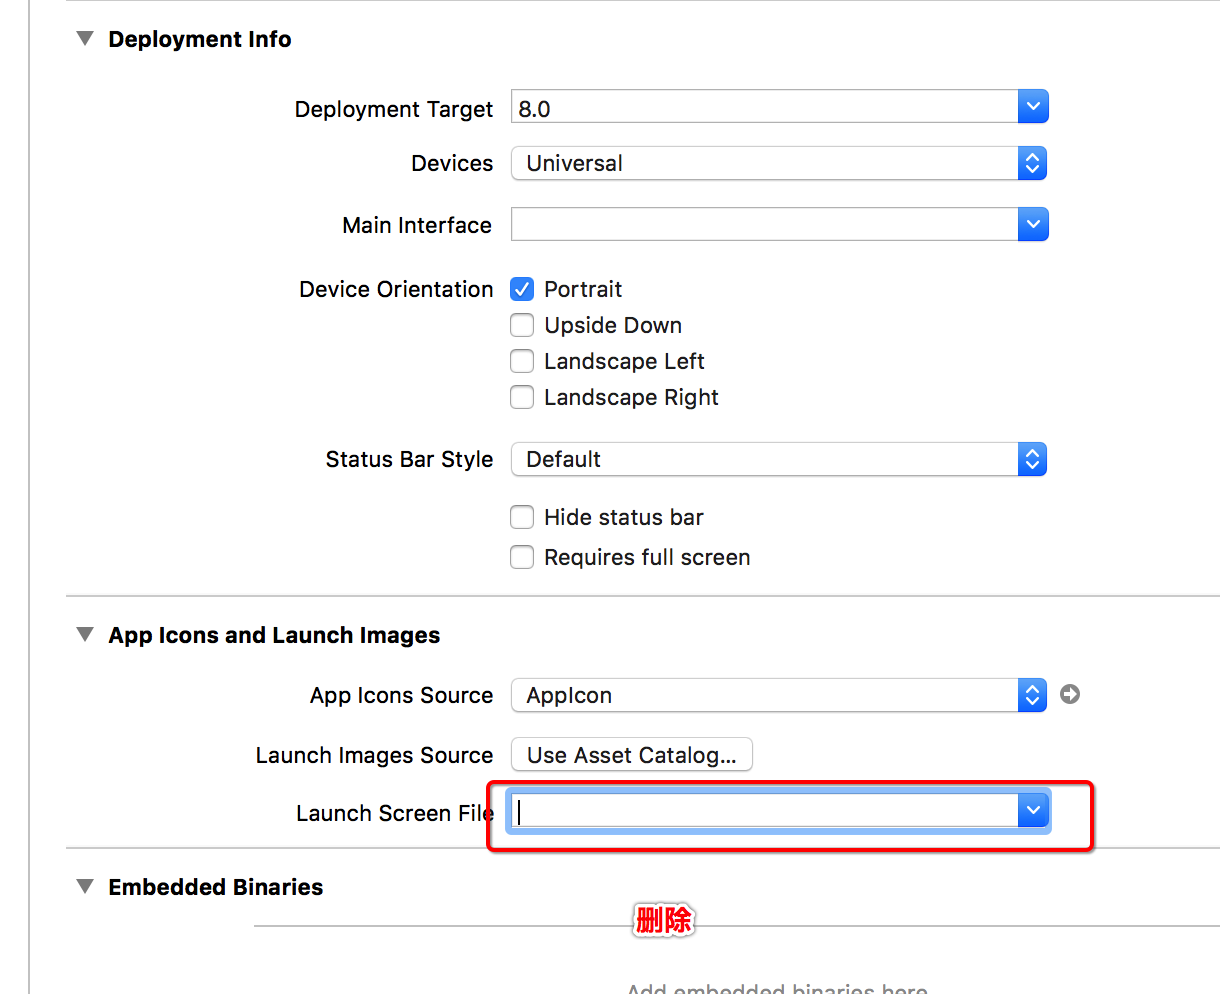
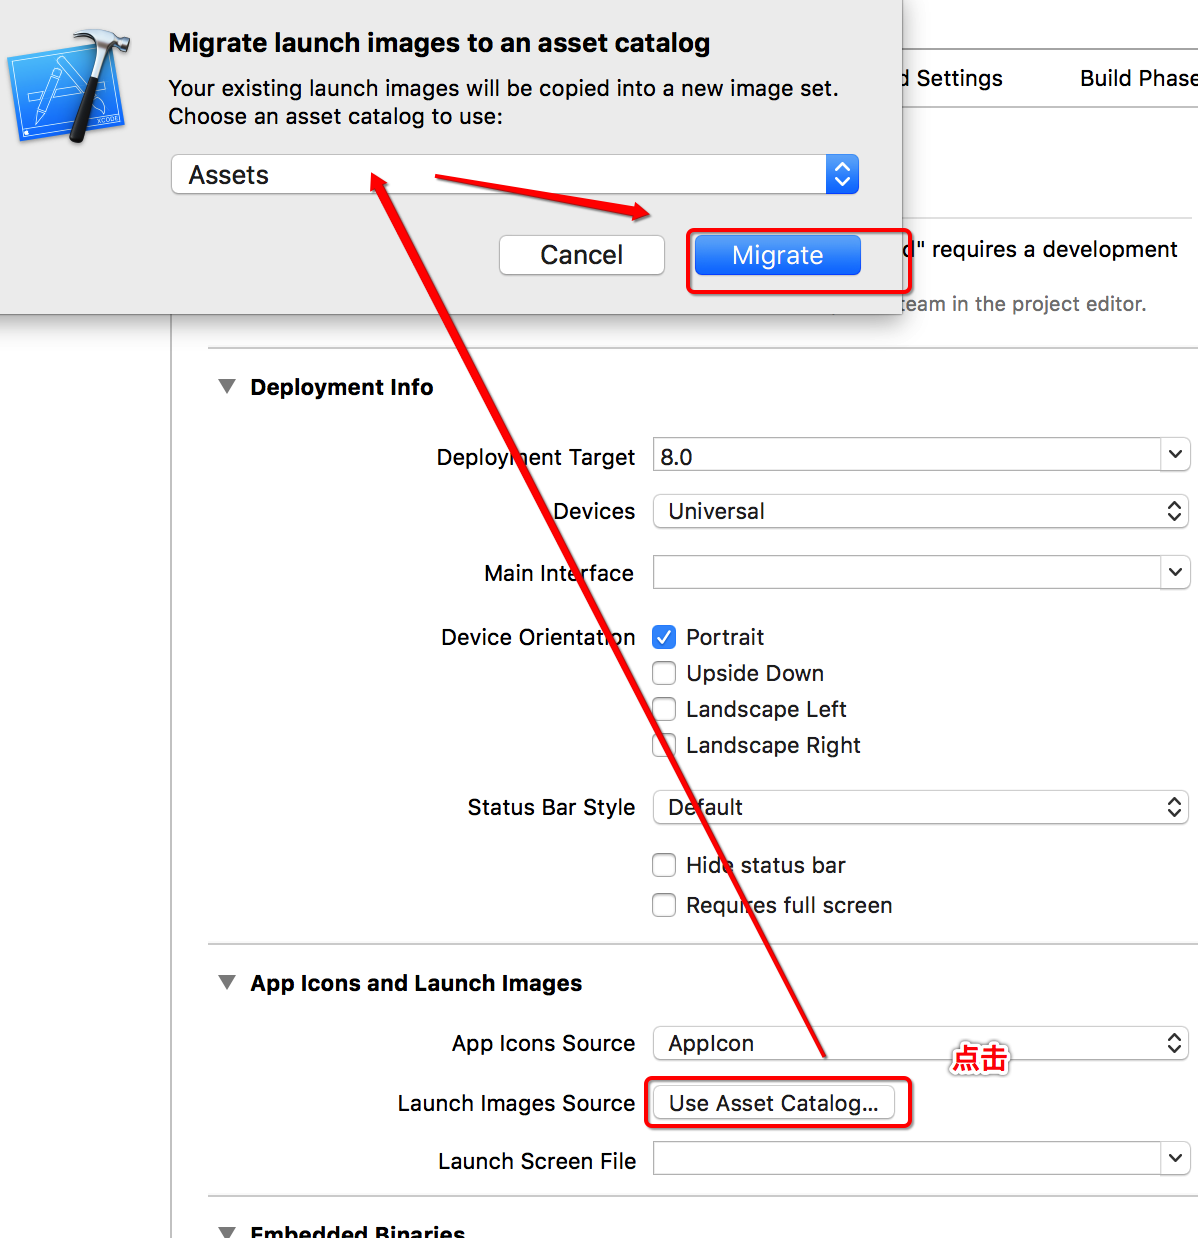
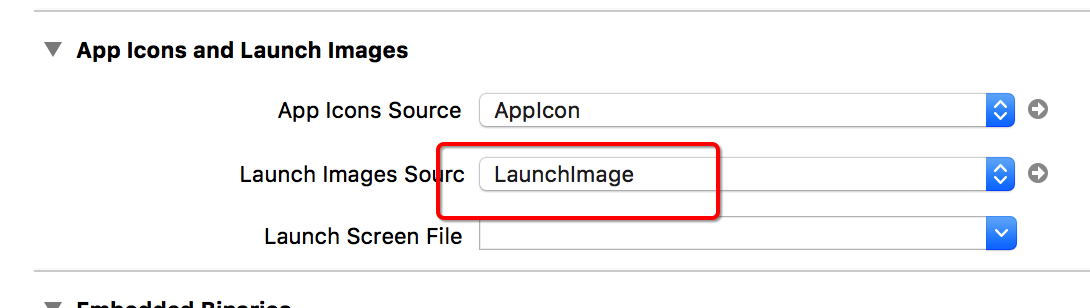
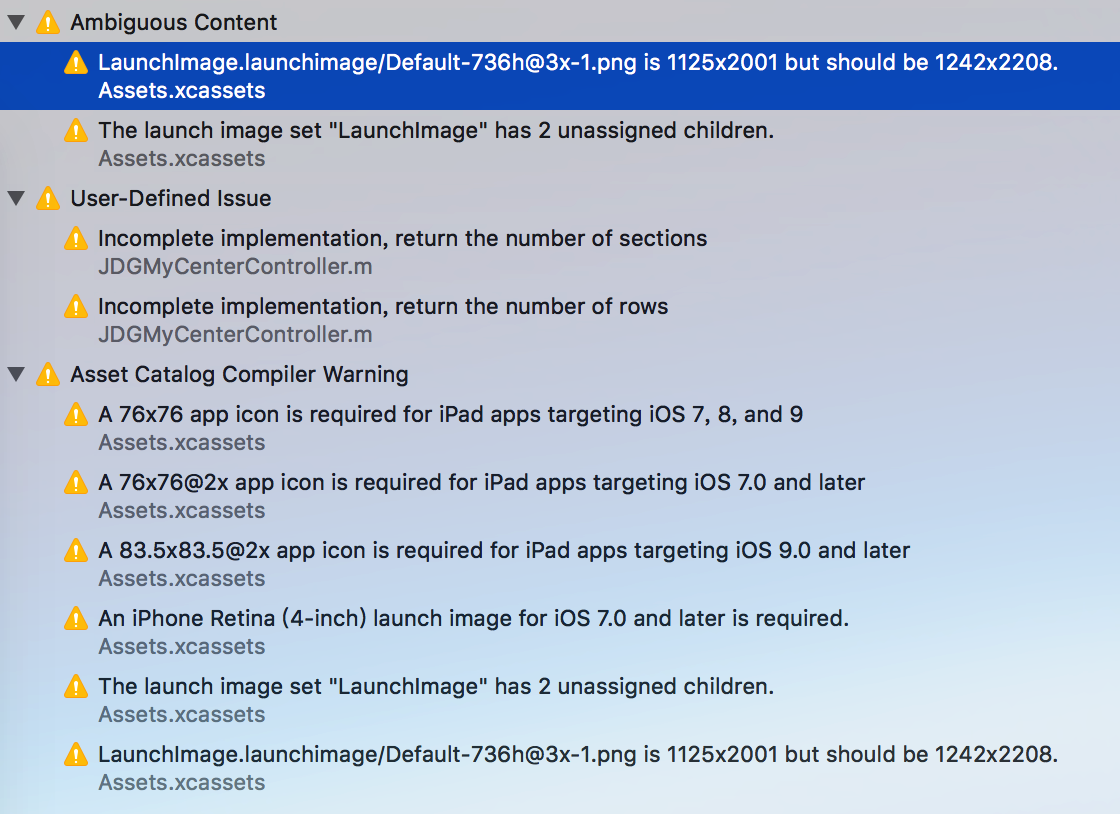
隨後設置啟動圖標與 APP 圖標。
五、隱私權限設置
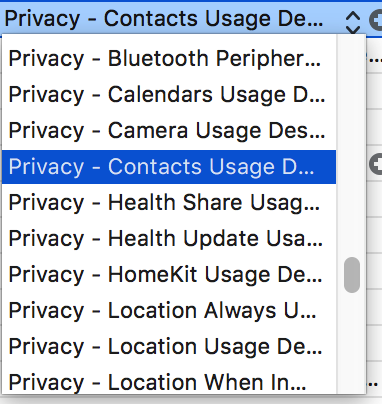
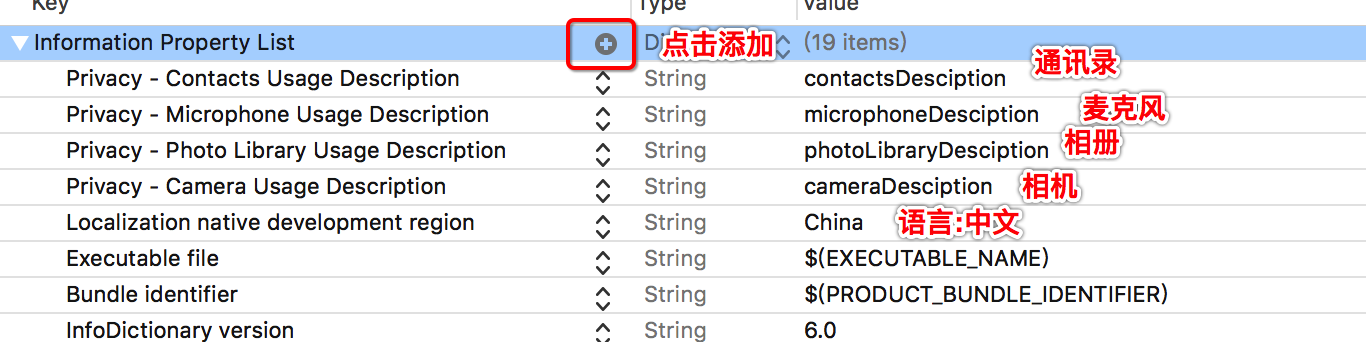
凡涉及訪問相冊、相機、麥克風、通訊錄等功能,都必須在 info.plist 中補充相應的用途說明。iOS 10 起若不設置,一使用相關功能 App 就會直接崩潰。此外藍牙、日曆、健康、定位等權限也同理。
六、純代碼搭建界面
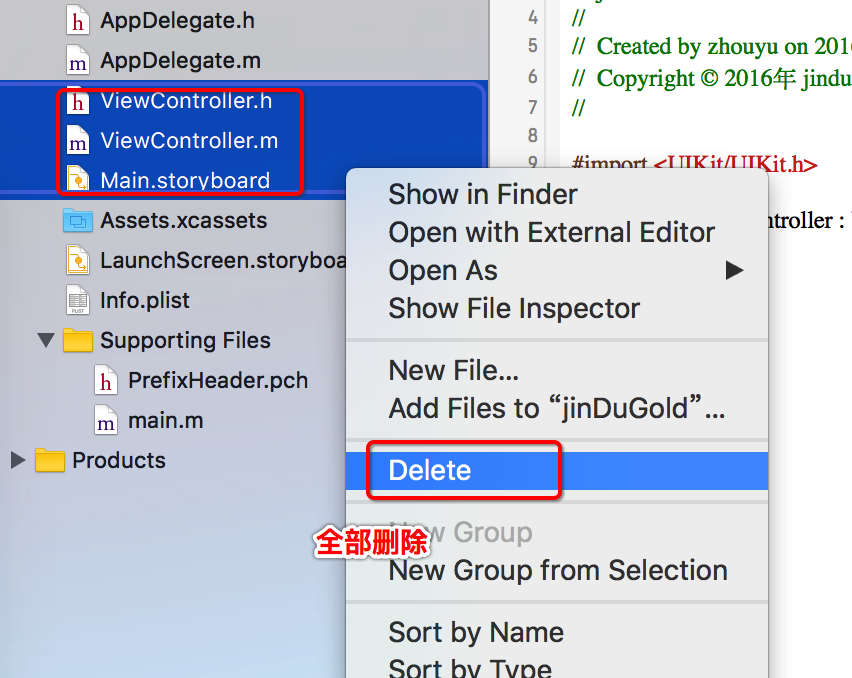
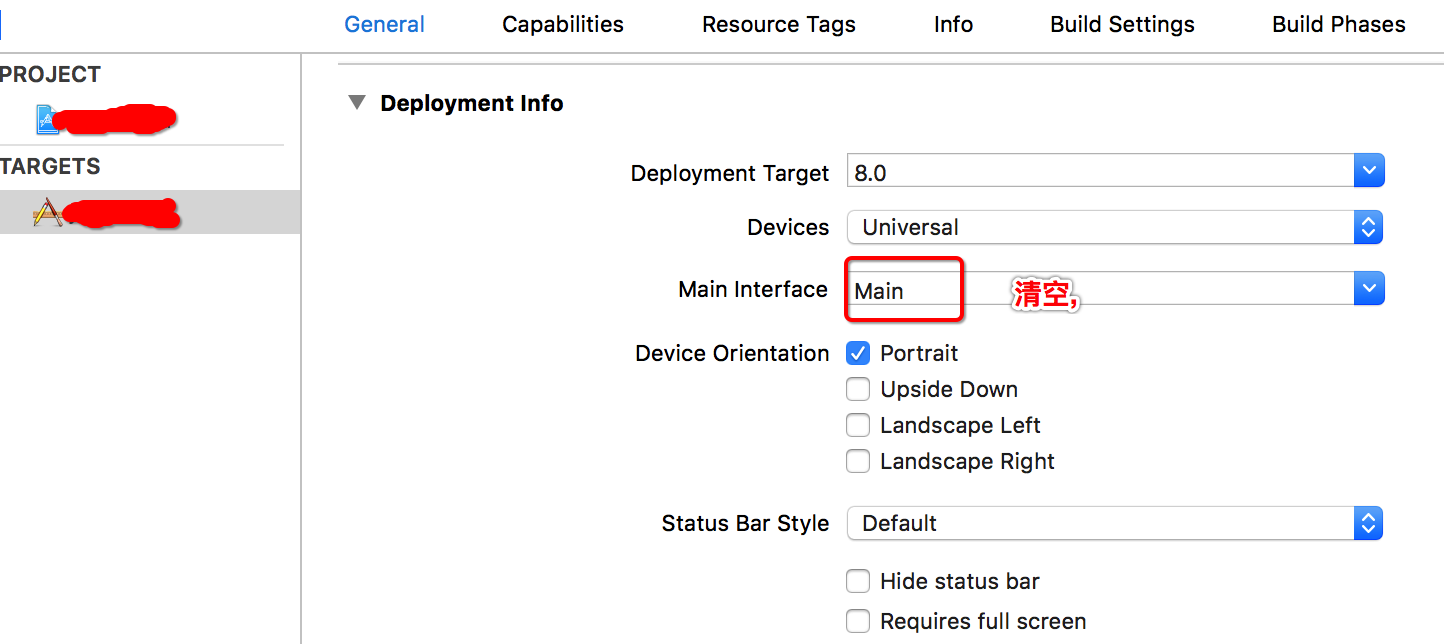
刪除 Storyboard 相關的多餘文件,改為在 AppDelegate 中用代碼創建窗口與根控制器。
#import "AppDelegate.h"
#import "TabBarController.h"

@implementation AppDelegate

- (BOOL)application:(UIApplication *)application didFinishLaunchingWithOptions:(NSDictionary *)launchOptions {
    self.window = [[UIWindow alloc] initWithFrame:[UIScreen mainScreen].bounds];
    // 設置窗口根控制器
    // if ([self isNewVersion]) {
    //     self.window.rootViewController = [[GuideController alloc] init];
    // } else {
    self.window.rootViewController = [[TabBarController alloc] init];
    // }
    [self.window makeKeyAndVisible];
    return YES;
}

@end
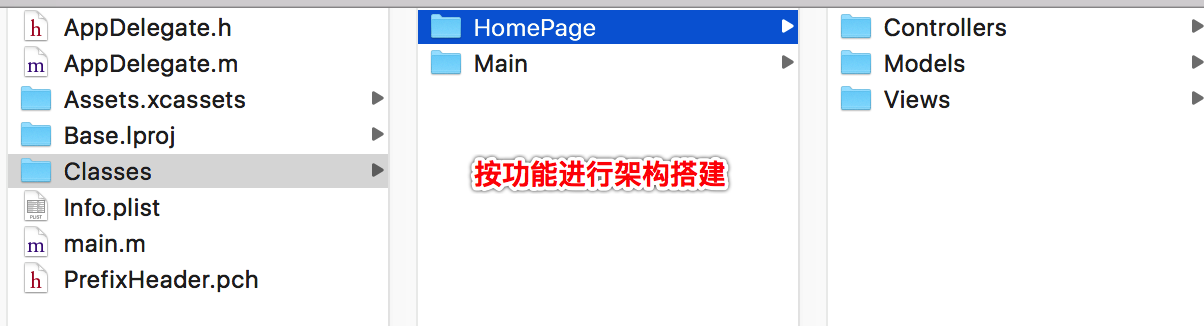
隨後根據功能模塊搭建整體架構。
七、用 CocoaPods 集成第三方庫
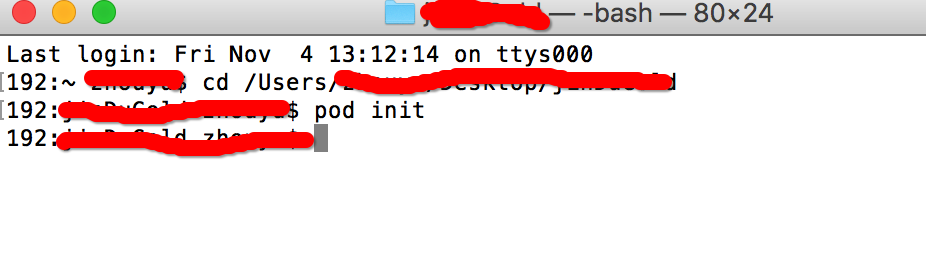
打開終端,cd 切換到當前項目路徑後執行 pod init。
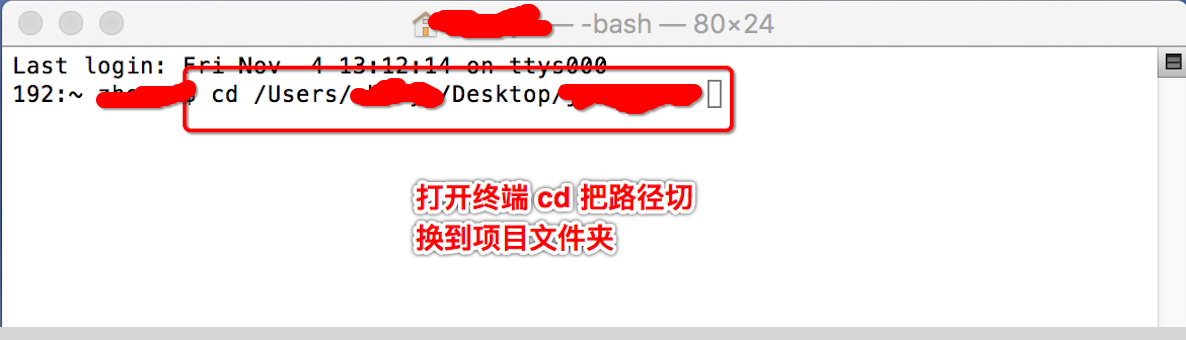
pod init
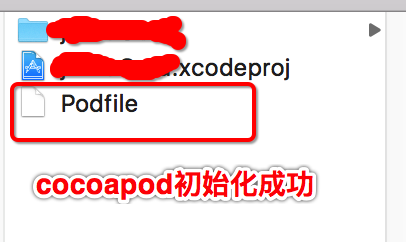
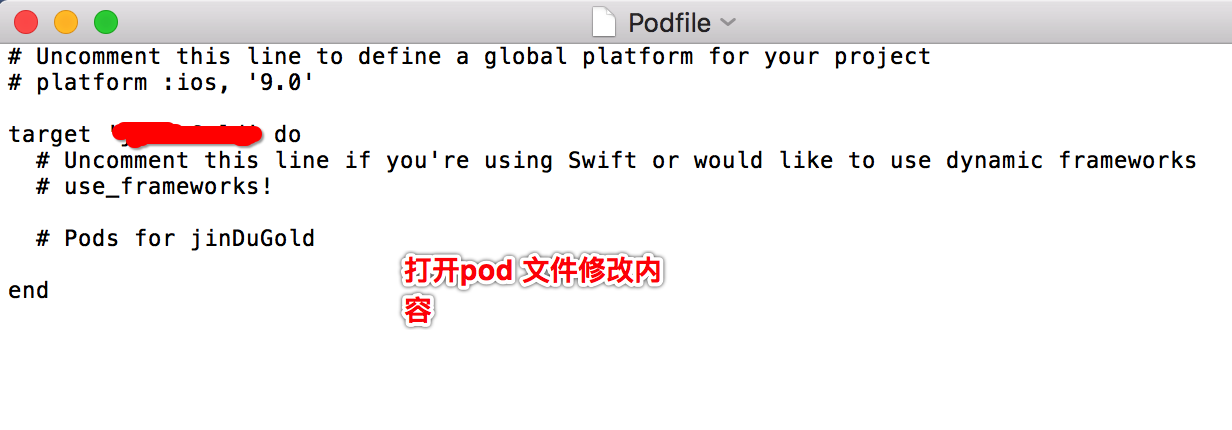
打開生成的 Podfile 修改內容:
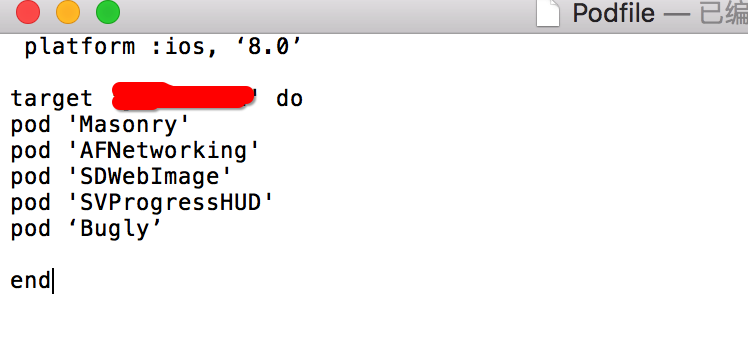
platform :ios, '8.0'
# 將「項目名稱」替換為你的實際工程名
target '項目名稱' do
    pod 'Masonry'
    pod 'AFNetworking'
    pod 'SDWebImage'
    pod 'SVProgressHUD'
    pod 'Bugly'
end
保存後執行安裝命令。首次安裝會相對耗時。
pod install
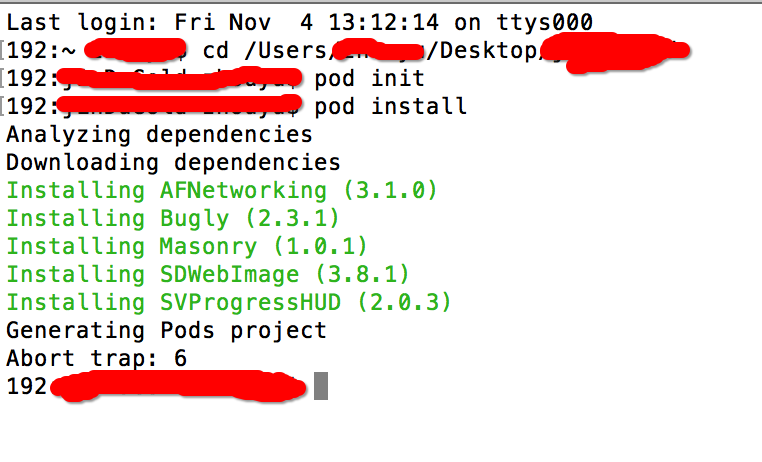
安裝成功後的效果:
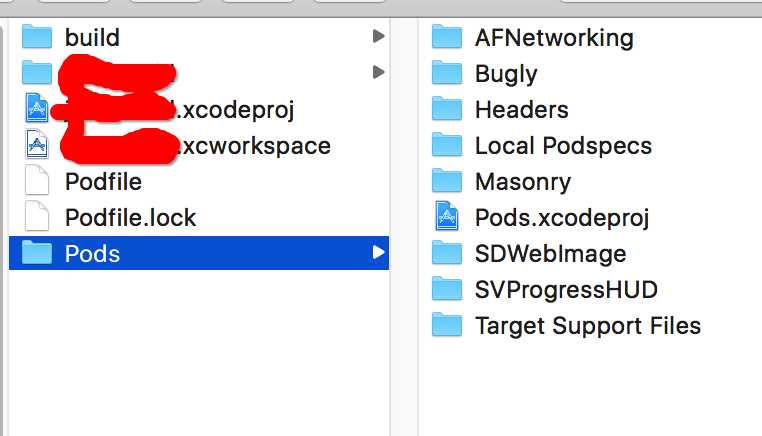
八、.xcworkspace 文件生成不出來的解決方案
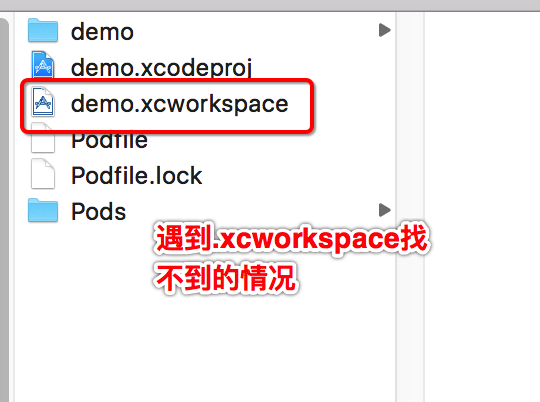
解決思路:執行 gem install cocoapods 更新 CocoaPods 工具,之後重新執行 pod install 即可。相關命令輸出示例如下:
$ gem install cocoapods
Fetching: nap-1.0.0.gem (100%)
Successfully installed nap-1.0.0
...
Successfully installed cocoapods-0.39.0
9 gems installed

$ pod install
Updating local specs repositories
Analyzing dependencies
Downloading dependencies
Installing AFNetworking (2.5.4)
Installing SDWebImage (3.7.3)
...
Generating Pods project
Integrating client project
[!] Please close any current Xcode sessions and use `xxx.xcworkspace` for this project from now on.
Pod installation complete! There are 14 dependencies from the Podfile and 18 total pods installed.
看到最後提示使用 xxx.xcworkspace 打開工程,即代表集成成功。從此以後,請一律通過 .xcworkspace 而非 .xcodeproj 來打開項目。
- 上一篇文章: iOS 開發系列:App 擴展(Extension)完整開發指南
- 下一篇文章: iOS 動畫設計(5):用緩動函數打造物理動畫效果