
iOS 表視圖下拉刷新:UIRefreshControl 實作教學
編輯:iOS 7 技巧
下拉刷新是行動平台最普及的更新資料手勢。從 iOS 6 開始,蘋果在 UITableView 上提供了 refreshControl 屬性,指向一個 UIRefreshControl 物件,讓這個互動不必再自己刻。
基本觀念
refreshControl 是 UITableViewControl 上的屬性,而 UIRefreshControl 目前只能用在表視圖上(包含 UITableView 與繼承它的類)。使用步驟很固定:建立物件 → 設定標題 → 綁定值變更事件 → 指派給 table 的 refreshControl。
範例程式碼
#import "ViewController.h"

@interface ViewController ()
@end

@implementation ViewController

- (void)viewDidLoad {
    [super viewDidLoad];

    self.Logs = [[NSMutableArray alloc] init];   //初始化數據
    NSDate * date = [[NSDate alloc] init];       //初始化日期
    [self.Logs addObject:date];                  //把日期插入數據中

    UIRefreshControl * rc = [[UIRefreshControl alloc] init];   //初始化UIRefreshControl
    rc.attributedTitle = [[NSAttributedString alloc] initWithString:@"下拉刷新"];
    [rc addTarget:self action:@selector(refreshAction) forControlEvents:UIControlEventValueChanged];
    self.refreshControl = rc;
}

//下拉刷新事件
-(void)refreshAction
{
    if(self.refreshControl.refreshing)
    {
        self.refreshControl.attributedTitle = [[NSAttributedString alloc] initWithString:@"加載中"];
        NSDate * date = [[NSDate alloc] init];
        [self.Logs addObject:date];     //每次刷新添加當前日期
        [self.refreshControl endRefreshing];   //結束刷新
        self.refreshControl.attributedTitle = [[NSAttributedString alloc] initWithString:@"下拉刷新"];
        [self.tableView reloadData];
    }
}

#pragma mark - UITableViewDataSource

-(NSInteger)numberOfSectionsInTableView:(UITableView *)tableView
{
    return 1;
}

-(NSInteger)tableView:(UITableView *)tableView numberOfRowsInSection:(NSInteger)section
{
    return [self.Logs count];
}

-(UITableViewCell *)tableView:(UITableView *)tableView cellForRowAtIndexPath:(NSIndexPath *)indexPath
{
    UITableViewCell * Cell = [tableView dequeueReusableCellWithIdentifier:@"cell"];
    if (!Cell) {
        Cell = [[UITableViewCell alloc] initWithStyle:UITableViewCellStyleDefault
                                     reuseIdentifier:@"cell"];
    }

    NSDateFormatter * dateFormat = [[NSDateFormatter alloc] init];
    [dateFormat setDateFormat:@"yyyy-MM-dd HH:mm:ss zzz"];
    Cell.textLabel.text = [dateFormat stringFromDate:[self.Logs objectAtIndex:indexPath.row]];
    Cell.accessoryType = UITableViewCellAccessoryDisclosureIndicator;
    return Cell;
}

@end
效果
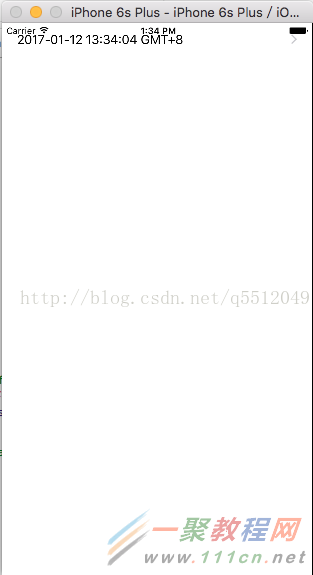
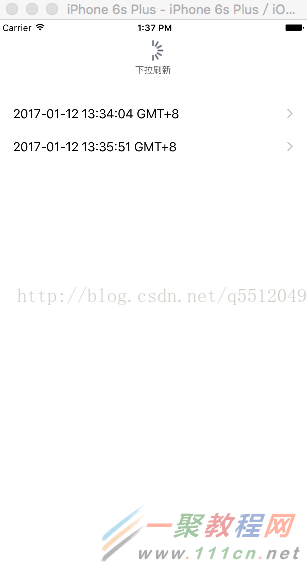
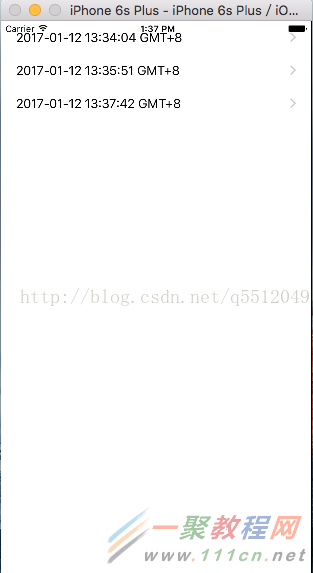
實作要點
- 一定要呼叫
endRefreshing。忘記的話菊花會一直轉,使用者會以為卡住了。建議把這行放在 error 處理的最後,確保任何分支都會執行到。 - 標題可以用
attributedTitle換成 NSAttributedString,就能自訂字型與顏色,不必受限於系統預設樣式。 - 範例用「塞入當前時間」模擬重新載入,真實專案請替換成實際的網路請求。
- 若刷新要發網路請求,別在主線程同步等待;請非同步抓取,完成後回主線程 reloadData 並 endRefreshing。
如果你需要「上拉載入更多」,UIRefreshControl 並不支援,那要另外實作 footer(例如 MJRefresh 這類庫),兩者不要混為一談。