
Quartz2D 繪圖實戰:iOS 自訂 View 畫直線、多邊形、圓弧、文字與圖片
Quartz2D 是 Core Graphics 提供給 iOS 開發者的二維繪圖介面,全部以 C 函式(CGContext 開頭)的形式呈現。它最常見的用法,是在自訂 UIView 子類中重寫 -drawRect:,透過 UIGraphicsGetCurrentContext() 取得當前的圖形上下文,再把想要的圖形「畫」上去。
本文以一系列可運行的小範例,依序示範直線、三角形、四邊形、圓與橢圓、圓弧與扇形、文字,以及圖片的繪製方式。
一、畫直線
畫線固定是三步驟:取得上下文 → 描述路徑 → 渲染。起點用 CGContextMoveToPoint,終點用 CGContextAddLineToPoint,線條的樣式則在渲染之前透過一堆 CGContextSet... 設定。
#import "YYlineview.h"

@implementation YYlineview

// 自訂 view 第一次顯示時,系統會自動呼叫 drawRect:
- (void)drawRect:(CGRect)rect
{
    // 1. 取得與目前 view 相關聯的圖形上下文
    // 在 drawRect 中呼叫,拿到的就是該 view 所屬 Layer 的上下文
    CGContextRef ctx = UIGraphicsGetCurrentContext();

    // 2. 描述路徑:第一條線
    CGContextMoveToPoint(ctx, 20, 100);
    CGContextAddLineToPoint(ctx, 300, 100);

    // 3. 設定繪圖狀態(務必在渲染之前設定)
    CGContextSetRGBStrokeColor(ctx, 0, 1.0, 0, 1.0); // 綠色描邊
    CGContextSetLineWidth(ctx, 15);
    CGContextSetLineCap(ctx, kCGLineCapRound);        // 端點圓角
    CGContextSetLineJoin(ctx, kCGLineJoinRound);      // 轉角圓角

    // 4. 渲染:線條只能以「空心(描邊)」方式呈現
    CGContextStrokePath(ctx);
    // 若改用 CGContextFillPath,線條不會有任何視覺效果

    // 第二條線:只需重新描述路徑即可
    CGContextMoveToPoint(ctx, 50, 200);
    CGContextAddLineToPoint(ctx, 300, 60);

    // 換一種設定颜色的寫法:直接用 UIColor 的 set
    [[UIColor grayColor] set];
    CGContextSetLineWidth(ctx, 10);
    CGContextSetLineCap(ctx, kCGLineCapButt);         // 端點平頭

    CGContextStrokePath(ctx);
}

@end
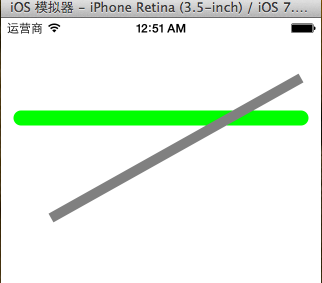
值得注意的細節:第二次呼叫 CGContextMoveToPoint 會開啟一條新的子路徑,若省略它而直接 CGContextAddLineToPoint,系統會把上一條線的終點當成新的起點,兩條線就會被連在一起。
二、畫三角形:用 ClosePath 收合起點與終點
#import "YYrectview.h"

@implementation YYrectview

- (void)drawRect:(CGRect)rect
{
    CGContextRef ctx = UIGraphicsGetCurrentContext();

    CGContextMoveToPoint(ctx, 20, 100);    // 第一個頂點
    CGContextAddLineToPoint(ctx, 40, 300); // 第二個頂點
    CGContextAddLineToPoint(ctx, 200, 200);// 第三個頂點

    // 讓路徑自動回到起點並封閉,比手動再畫一次頭點更乾淨
    CGContextClosePath(ctx);

    CGContextStrokePath(ctx);
}

@end
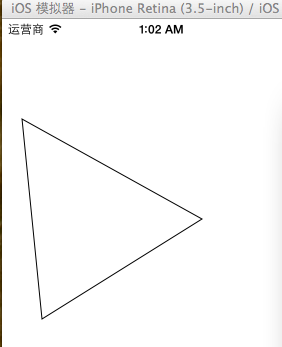
關鍵就是 CGContextClosePath(ctx)。註解掉它、改回手動補一個 CGContextAddLineToPoint(ctx, 20, 100) 也能閉合,但在有轉角的圖形上,ClosePath 會一併套用 LineJoin 的樣式,視覺上更一致。
三、畫四邊形:實心與空心的差別
#import "YYrect.h"

@implementation YYrect

- (void)drawRect:(CGRect)rect
{
    CGContextRef ctx = UIGraphicsGetCurrentContext();

    // 一步到位地加入矩形路徑
    CGContextAddRect(ctx, CGRectMake(20, 20, 150, 100));

    // 顏色可以用 Core Graphics 的 RGB 設定…
    // CGContextSetRGBStrokeColor(ctx, 1.0, 0, 0, 1.0);
    // CGContextSetRGBFillColor(ctx, 1.0, 0, 0, 1.0);

    // …也可以直接用 UIKit 的 UIColor,兩種 style 一次搞定
    // [[UIColor purpleColor] setFill];
    // [[UIColor blueColor] setStroke];
    // [[UIColor greenColor] set];
    [[UIColor colorWithRed:1.0 green:0 blue:0 alpha:1.0] set];

    // 空心
    CGContextStrokePath(ctx);
    // 實心
    // CGContextFillPath(ctx);
}

@end
兩個容易踩到的觀念:
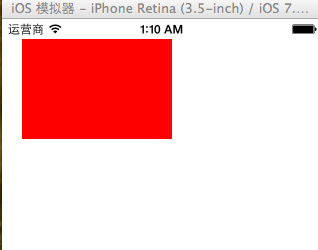
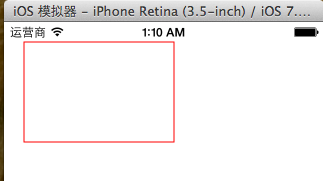
- 所有繪圖狀態(顏色、線寬、端點樣式)都必須在渲染之前設定,渲染之後再改是沒有效果的。
- 想填色就用
CGContextSetRGBFillColor(或setFill)搭配CGContextFillPath;想描邊就改用 Stroke 系列。用錯對應關係,顏色不會生效。
四、畫圓與橢圓
圓有三種常見画法,可依需求挑一種。
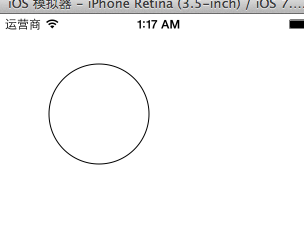
寫法一:CGContextAddArc(角度為零即為整圓)
- (void)drawRect:(CGRect)rect
{
    CGContextRef ctx = UIGraphicsGetCurrentContext();
    CGContextAddArc(ctx, 100, 100, 50, 0, 2 * M_PI, 0);
    CGContextStrokePath(ctx); // 畫線請用 Stroke
}
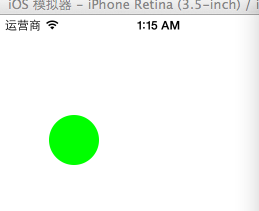
寫法二:CGContextAddEllipseInRect(放進矩形內切圓,填色)
CGContextRef ctx = UIGraphicsGetCurrentContext();
CGContextAddEllipseInRect(ctx, CGRectMake(50, 100, 50, 50));

[[UIColor greenColor] set];
CGContextFillPath(ctx); // 這次改成填色
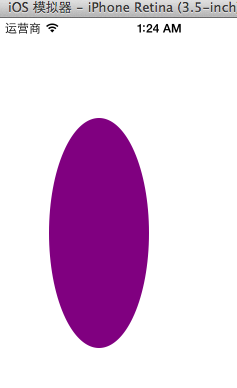
寫法三:把矩形拉長,就得到橢圓
CGContextRef ctx = UIGraphicsGetCurrentContext();
CGContextAddEllipseInRect(ctx, CGRectMake(50, 100, 100, 230));

[[UIColor purpleColor] set];
CGContextFillPath(ctx);
五、畫圓弧與扇形
CGContextAddArc 的五個參數分別是:圓心 x、圓心 y、半徑、起始弧度、結束弧度、以及是否逆時針(0 為順時針,1 為逆時針)。
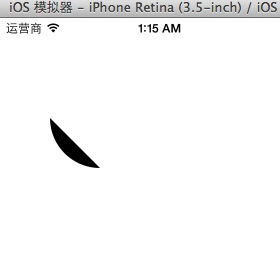
寫法一:一段圓弧
CGContextRef ctx = UIGraphicsGetCurrentContext();
// CGContextAddArc(ctx, 100, 100, 50, -M_PI_2, M_PI_2, 0);
CGContextAddArc(ctx, 100, 100, 50, M_PI_2, M_PI, 0);
CGContextClosePath(ctx);

CGContextFillPath(ctx);
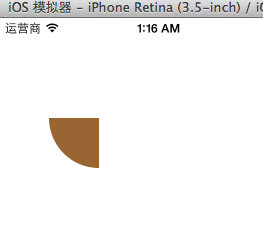
寫法二:先畫兩條半徑,再補圓弧 → 扇形(派圖)
CGContextRef ctx = UIGraphicsGetCurrentContext();

// 從圓心畫一條半徑
CGContextMoveToPoint(ctx, 100, 100);
CGContextAddLineToPoint(ctx, 100, 150);
// 接上圓弧
CGContextAddArc(ctx, 100, 100, 50, M_PI_2, M_PI, 0);
// 封閉路徑,系統自動補回圓心
CGContextClosePath(ctx);

[[UIColor brownColor] set];
CGContextFillPath(ctx); // 扇形要填色
六、畫文字
不建議使用 Core Graphics 的 CGContextSelectFont / CGContextShowText 這組 C 語言繪字 API。原因有兩個:Quartz2D 的座標系原點在左下角、UIKit 在左上角,直接畫出來的文字會上下顛倒;而且需要自行處理字型與編碼,非常繁瑣。
實務上直接用 NSString 的 drawInRect:withAttributes: 或 drawAtPoint:withAttributes:,由 UIKit 代勞即可。
#import "YYtextview.h"

@implementation YYtextview

- (void)drawRect:(CGRect)rect
{
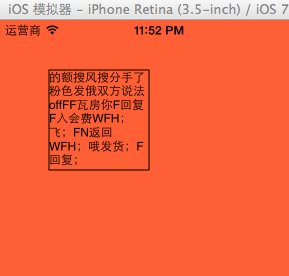
    NSString *str = @"這是一段用來示範文字繪製的測試字串,看看自動換行與範圍裁剪的行為。";

    CGContextRef ctx = UIGraphicsGetCurrentContext();
    CGContextAddRect(ctx, CGRectMake(50, 50, 100, 100));
    CGContextStrokePath(ctx);

    // 需要客製樣式時,組一個 attributes 字典
    // NSMutableDictionary *md = [NSMutableDictionary dictionary];
    // md[NSForegroundColorAttributeName] = [UIColor redColor];
    // md[NSBackgroundColorAttributeName] = [UIColor greenColor];
    // md[NSFontAttributeName] = [UIFont systemFontOfSize:20];
    // [str drawAtPoint:CGPointMake(10, 10) withAttributes:md];

    // 在指定矩形內繪製:一行放不下會自動換行,超出範圍的部分不顯示
    [str drawInRect:CGRectMake(50, 50, 100, 100) withAttributes:nil];
}

@end
七、畫圖片
UIImage 本身提供了三個便利方法,效果各異:平鋪、拉伸、定點繪製。
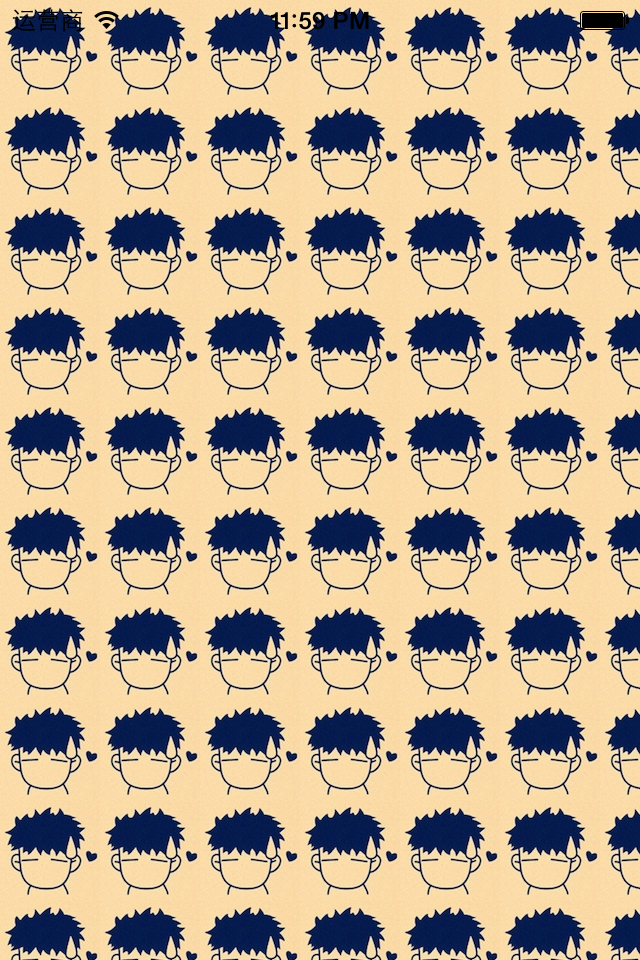
寫法一:drawAsPatternInRect —— 平鋪
#import "YYimage.h"

@implementation YYimage

- (void)drawRect:(CGRect)rect
{
    UIImage *image = [UIImage imageNamed:@"me"];
    // 以原圖為磚塊,在矩形內重複鋪滿
    [image drawAsPatternInRect:CGRectMake(0, 0, 320, 480)];
}

@end
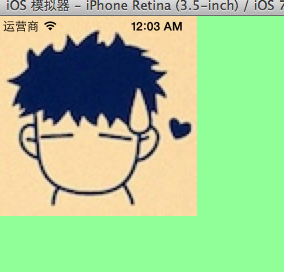
寫法二:drawInRect —— 拉伸填滿
- (void)drawRect:(CGRect)rect
{
    UIImage *image = [UIImage imageNamed:@"me"];
    [image drawInRect:CGRectMake(0, 0, 200, 200)]; // 會被拉伸變形
    // [image drawAsPatternInRect:CGRectMake(0, 0, 320, 480)];
}
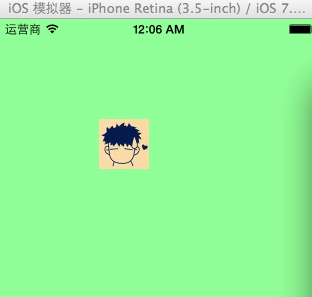
寫法三:drawAtPoint —— 原尺寸定點繪製
- (void)drawRect:(CGRect)rect
{
    UIImage *image = [UIImage imageNamed:@"me"];
    [image drawAtPoint:CGPointMake(100, 100)]; // 保持原始尺寸
}
重點回顧
- 三步驟:取得上下文、描述路徑、設定狀態後渲染。
- 狀態設定一律要在渲染之前;
Stroke畫空心、Fill畫實心,線條只能用Stroke。 - 封閉路徑優先用
CGContextClosePath,轉角樣式才會正確套用。 - 圓弧的四要素是圓心、半徑、起訖弧度與方向。
- 文字與圖片優先使用 UIKit 的便利方法,避開 Quartz2D 座標系顛倒的坑。