
iOS UIImageView 常用操作整理
UIImageView 顧名思義就是用來放圖片的。Interface Builder 裡拖一下設定屬性誰都會,本文整理的是純代碼路徑下的各項常用操作,以及幾個容易搞混的屬性。
1. 建立 UIImageView 的五種方式
UIImageView *imageView1 = [[UIImageView alloc] init];
UIImageView *imageView2 = [[UIImageView alloc] initWithFrame:(CGRect)];
UIImageView *imageView3 = [[UIImageView alloc] initWithImage:(UIImage *)];
UIImageView *imageView4 = [[UIImageView alloc] initWithImage:(UIImage *) highlightedImage:(UIImage *)];
UIImageView *imageView5 = [[UIImageView alloc] initWithCoder:(NSCoder *)];
前三者最常用。第四個的行為是:當 highlighted 屬性為 YES 時顯示 highlightedImage,否則顯示第一個參數。第五個則是從 storyboard/xib 反序列化時系統會呼叫的初始化方法。
2. frame 與 bounds 的區別
frame 同時決定位置與大小:
imageView.frame = CGRectMake(CGFloat x, CGFloat y, CGFloat width, CGFloat heigth);
bounds 看起來參數一樣,實際上只有 size 生效:
imageView.bounds = CGRectMake(CGFloat x, CGFloat y, CGFloat width, CGFloat heigth);
差別在於:bounds 修改的是以自身中心為基準的縮放,傳入的 x、y 並不會讓它平移。例如:
imageView.frame  = CGRectMake(0, 0, 320, 460);
imageView.bounds = CGRectMake(100, 100, 160, 230);
執行後實際的 frame 是 (80, 115, 160, 230)——中心點 (160, 230) 保持不變,尺寸縮到 160×230,所以原點相應變成 (80, 115)。理解這一點,做縮放動畫時會少走很多彎路。
3. contentMode:控制圖片的顯示方式
可選常量如下:
UIViewContentModeScaleToFill
UIViewContentModeScaleAspectFit
UIViewContentModeScaleAspectFill
UIViewContentModeRedraw
UIViewContentModeCenter
UIViewContentModeTop
UIViewContentModeBottom
UIViewContentModeLeft
UIViewContentModeRight
UIViewContentModeTopLeft
UIViewContentModeTopRight
UIViewContentModeBottomLeft
UIViewContentModeBottomRight
記憶要點:凡是名稱中沒有 Scale 的,圖片尺寸超過 ImageView 時只會顯示一部分,不會縮放。
而三個帶 Scale 的行為各異:
· ScaleToFill——直接拉伸填滿,會變形;
· ScaleAspectFit——保持比例並完整顯示,因此可能留白;
· ScaleAspectFill——保持比例並鋪滿,超出部分被裁掉。
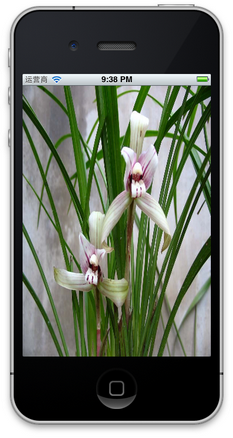
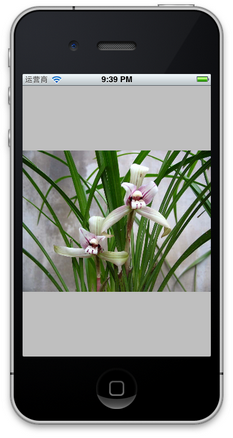
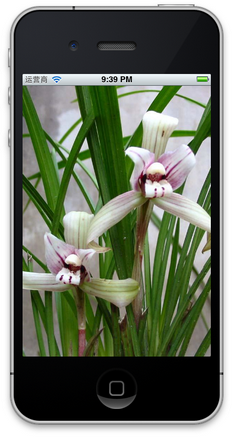
實務建議:列表裡的頭像用 AspectFill,需要完整展示的插圖用 AspectFit。
4. 更改位置的三種方式
// 4.1 直接改 frame
imageView.frame = CGRectMake(x, y, w, h);

// 4.2 改 center
imageView.center = CGPointMake(CGFloat x, CGFloat y);

// 4.3 用 transform 平移
imageView.transform = CGAffineTransformMakeTranslation(CGFloat dx, CGFloat dy);
三者性質不同:frame 改的是左上角原點;center 改的是中心點;transform 平移的 dx/dy 是「移動多少」而非「移動到多少」。做動畫時,transform 不觸發重新布局,效能優於改 frame。
5. 旋轉圖像
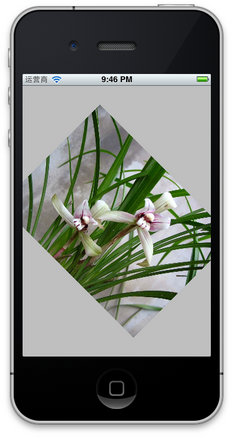
imageView.transform = CGAffineTransformMakeRotation(CGFloat angle);
注意它按順時針旋轉,且旋轉中心是 center 屬性所指的位置。參數是弧度而非度數,建議自己封裝一個宏:
#define degreesToRadians(x) (M_PI * (x) / 180.0)
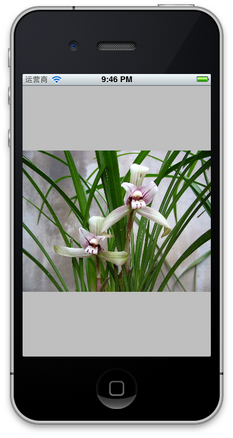
旋轉 45 度的效果:
6. 縮放圖像
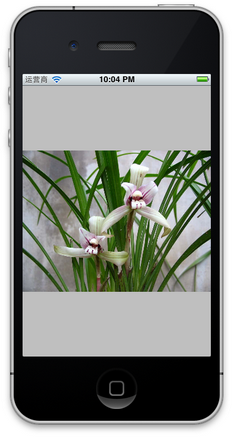
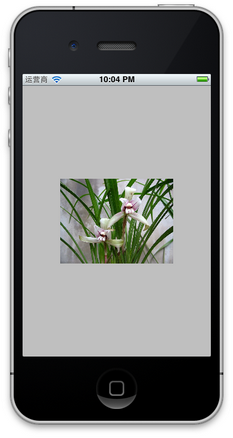
imageView.transform = CGAffineTransformMakeScale(CGFloat scale_w, CGFloat scale_h);
兩個參數分別是寬與高的縮放倍數。下圖是縮放到原本 0.6 倍的情形:
提醒:transform 是複合型的,連續呼叫旋轉與縮放會互相覆蓋。要同時做兩件事,得用 CGAffineTransformConcat 或先取出當前矩陣再合併。
7. 播放一系列圖片
imageView.animationImages      = imagesArray;        // 圖片數組
imageView.animationDuration    = [imagesArray count]; // 播放完畢所需秒數
imageView.animationRepeatCount = 0;                  // 0 表示無限循環
[imageView startAnimating];
記得停止時呼叫 stopAnimating,並在不需要時把 animationImages 置為 nil,否則圖片會一直佔著記憶體。
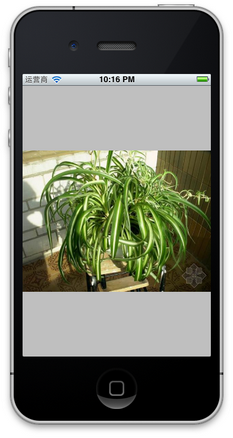
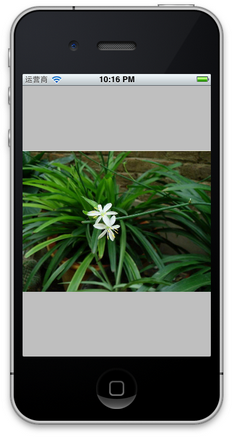
8. 添加單擊事件
imageView.userInteractionEnabled = YES;

UITapGestureRecognizer *singleTap = [[UITapGestureRecognizer alloc] initWithTarget:self
                                                                          action:@selector(tapImageView:)];
[imageView addGestureRecognizer:singleTap];
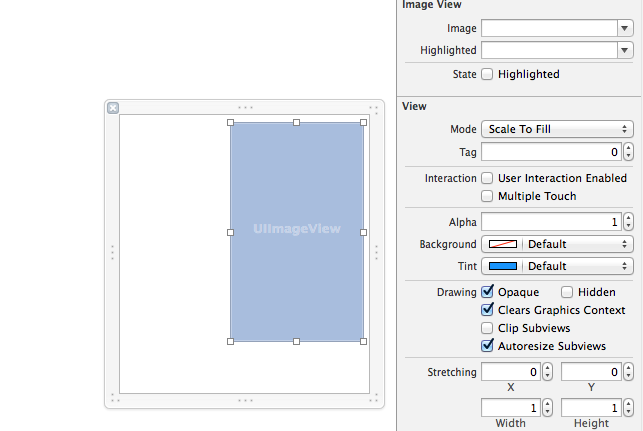
userInteractionEnabled 必須先設為 YES。UIImageView 預設是 NO,這一步漏掉手勢完全不會響應,也不會報錯——排查起來很費時間,記牢它。
9. tag 參數
一個視圖通常只有一個父視圖、多個子視圖,可以透過 tag 反查子視圖:
UIView *view = [self.view viewWithTag:100];
重點提醒:在 xib 中不要把 tag 設為 0。xib 裡所有對象的 tag 默認值都是 0,設成 0 會取到錯誤的對象。
10. 在 ImageView 裡放按鈕
Button 內部可以放多張圖片(普通、高亮、禁用等狀態),ImageView 只能放一張。但由於所有 UI 控件都繼承自 UIView,而視圖本質上是容器,所以往 ImageView 裡塞子控件是完全可行的。
用界面設計器拖拽通常不方便做這件事,改用代碼最直接:
- (void)viewDidLoad
{
    [super viewDidLoad];

    // UIImageView 默認不允許用戶交互
    UIImageView *imageView = [[UIImageView alloc] initWithFrame:CGRectMake(0, 20, 100, 100)];
    [self.view addSubview:imageView];
    imageView.backgroundColor = [UIColor redColor];
    imageView.userInteractionEnabled = YES;   // 關鍵

    UIButton *btn = [UIButton buttonWithType:UIButtonTypeContactAdd];
    [imageView addSubview:btn];

    [btn addTarget:self action:@selector(click) forControlEvents:UIControlEventTouchUpInside];
}

- (void)click
{
    NSLog(@"摸我了");
}
執行後點擊那個加號按鈕,事件會正常觸發:
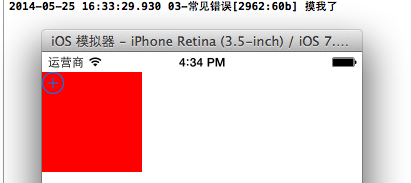
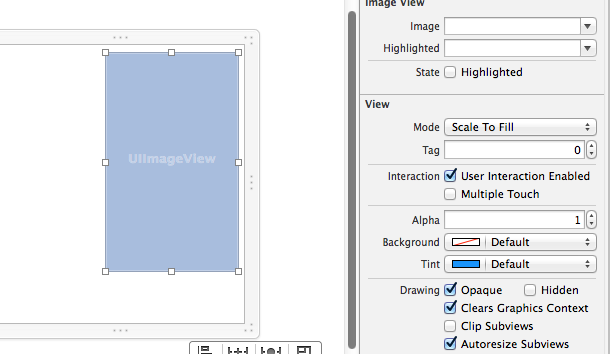
再次強調 imageView.userInteractionEnabled = YES; 的作用:允許用戶交互。默認狀態下它是關閉的,可以在界面設計器的屬性面板中直接查證。
11. 其他常用設置
imageView.hidden   = YES;              // 隱藏(設為 NO 顯示)
imageView.alpha    = (CGFloat)al;       // 透明度
imageView.highlightedImage = hightlightedImage;  // 高亮狀態圖片
imageView.image    = image;             // 常態圖片
[imageView sizeToFit];                  // 尺寸自適應為圖片大小
最後一個要點:hidden 與 alpha 的性質不同。hidden 為 YES 時視圖完全不參與渲染與手勢響應;alpha 設為 0 時視圖仍然在視圖層級中,只是不可見。做淡入淡出動畫用 alpha,做徹底移除用 hidden 或直接 removeFromSuperview。
- 上一篇文章: iOS 自定義進度條:用 UIBezierPath 繪製圓環下載動畫
- 下一篇文章: iOS 自製個性圓形頭像:圖片裁剪與邊框繪製