
iOS 複雜動畫之抽絲剝繭:手把手拆解一個啟動動畫
本文授權轉載,作者:HenryCheng(微博)
一、前言
App Store 裡的應用已經多到數不清,每年還有大量新品湧入,而用戶手機上真正留下的永遠只是少數。怎樣吸引用戶,就成了產品設計的重要命題,其中炫酷的動畫效果往往是加分項——仔細觀察你會發現,那些做得好的應用幾乎都有幾個令人記住的動效。一提到複雜動畫,很多人就頭疼:做動畫需要時間、耐心和清晰的思路。下面就以一個頗有意思的動畫為例,抽絲剝繭,看看它到底是如何實現的。
二、分析
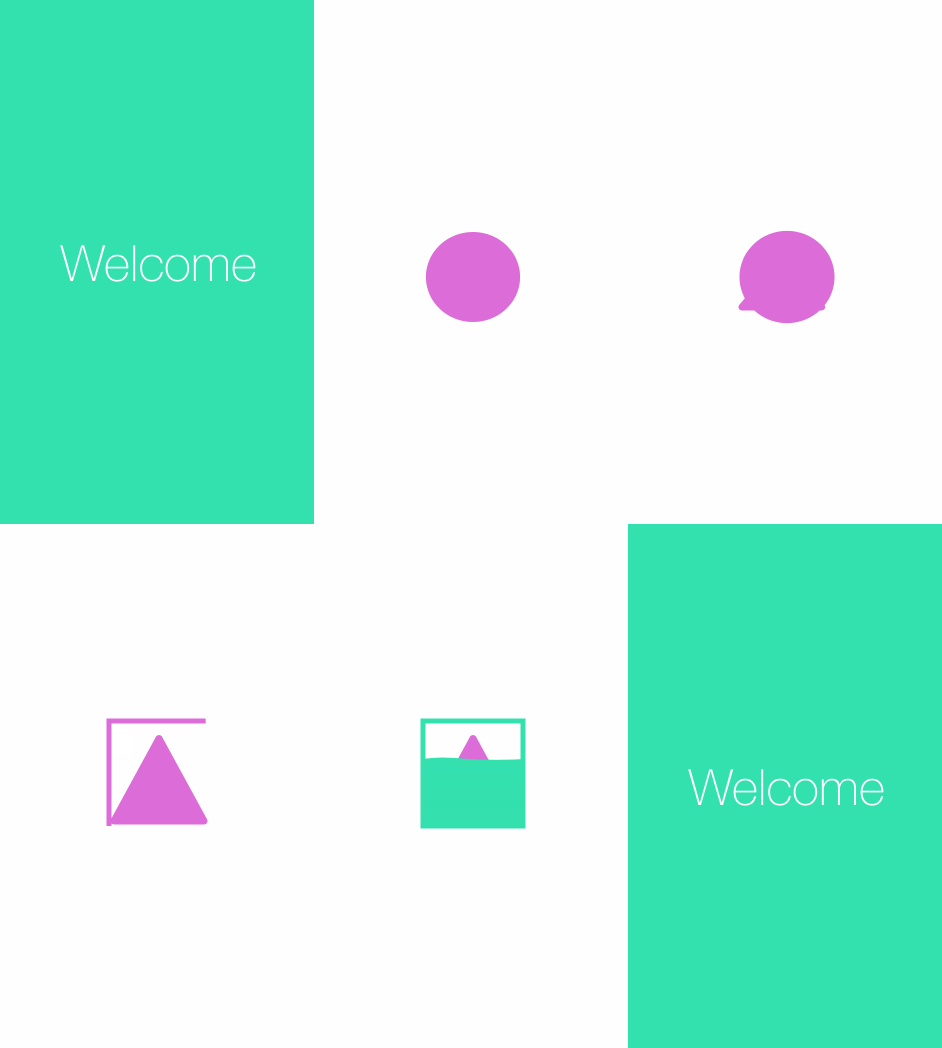
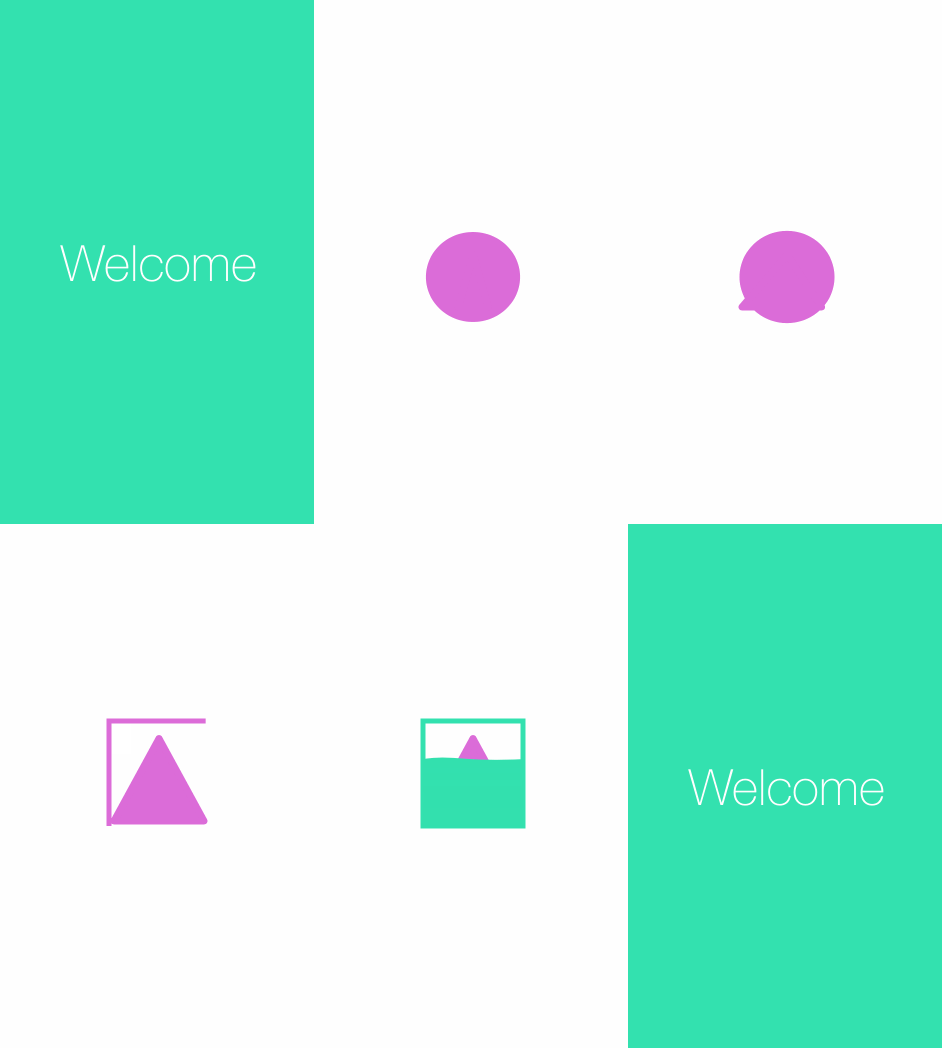
乍看之下這個動畫確實有點複雜,但一步步拆開,會發現並不難。仔細觀察,大致步驟是這樣的:
1、先出現一個圓;
2、圓形在水平和豎直方向上被擠壓成橢圓,再恢復成圓;
3、圓形的左下角、右下角和頂部依次凸出一小部分;
4、圓與凸起部分構成的圖形旋轉一週後變成三角形;
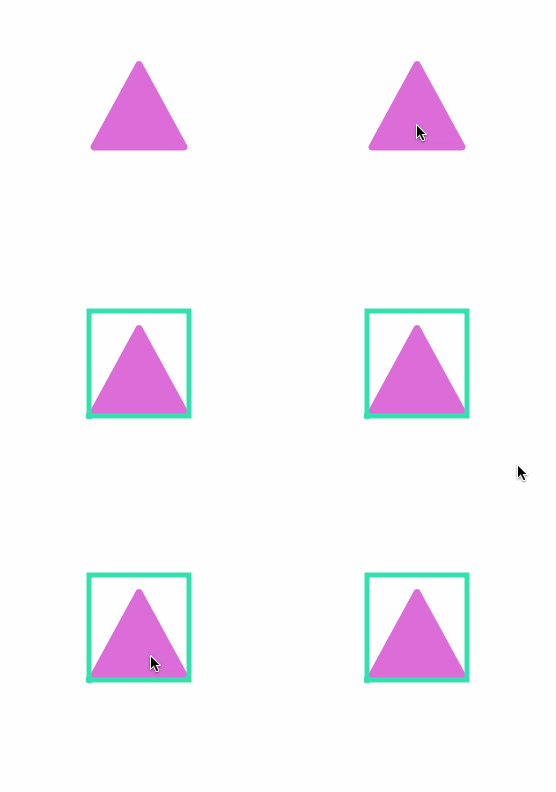
5、三角形左側先後出現兩條寬線,把三角形包在一個矩形中;
6、矩形由底部向上被波浪狀填滿;
7、填滿的矩形放大至全屏,彈出 Welcome。
拆完之後,我們一步一步來實現(下面以 Swift 代碼為例,demo 中同時提供了 Objective-C 和 Swift 兩個版本)。
三、實現圓形以及橢圓的漸變
新建工程後,先建一個 AnimationView 類繼承自 UIView,用來承載動畫。接著添加 CircleLayer(圓形 layer),並實現由小變大的效果。
class AnimationView: UIView {
    let circleLayer = CircleLayer()
    override init(frame: CGRect) {
        super.init(frame: frame)
        backgroundColor = UIColor.clearColor()
        addCircleLayer()
    }
    required init?(coder aDecoder: NSCoder) {
        super.init(coder: aDecoder)
    }
    /**
     add circle layer
     */
    func addCircleLayer() {
        self.layer.addSublayer(circleLayer)
        circleLayer.expand()
    }
}
其中 expand() 方法如下:
/**
 expand animation function
 */
func expand() {
    let expandAnimation: CABasicAnimation = CABasicAnimation(keyPath: "path")
    expandAnimation.fromValue = circleSmallPath.CGPath
    expandAnimation.toValue = circleBigPath.CGPath
    expandAnimation.duration = KAnimationDuration
    expandAnimation.fillMode = kCAFillModeForwards
    expandAnimation.removedOnCompletion = false
    self.addAnimation(expandAnimation, forKey: nil)
}
運行效果如下:
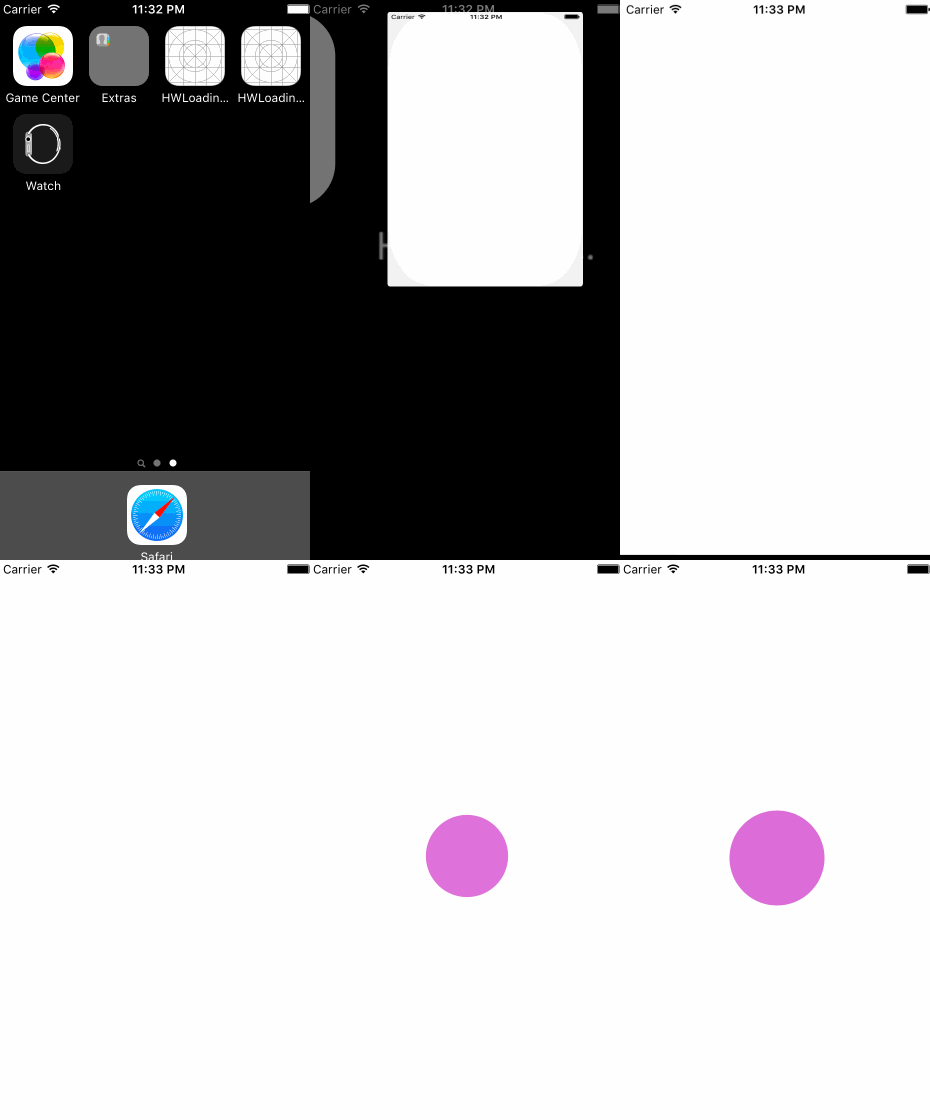
第一步完成。接下來是橢圓的變化,仔細看就像捏一個彈性小球:豎直方向捏一下,水平方向捏一下。這本質上是一個組合動畫:
/**
 wobble group animation
 */
func wobbleAnimate() {
    // 1、animation begin from bigPath to verticalPath
    let animation1: CABasicAnimation = CABasicAnimation(keyPath: "path")
    animation1.fromValue = circleBigPath.CGPath
    animation1.toValue = circleVerticalSquishPath.CGPath
    animation1.beginTime = KAnimationBeginTime
    animation1.duration = KAnimationDuration
    // 2、animation vertical to horizontal
    let animation2: CABasicAnimation = CABasicAnimation(keyPath: "path")
    animation2.fromValue = circleVerticalSquishPath.CGPath
    animation2.toValue = circleHorizontalSquishPath.CGPath
    animation2.beginTime = animation1.beginTime + animation1.duration
    animation2.duration = KAnimationDuration
    // 3、animation horizontal to vertical
    let animation3: CABasicAnimation = CABasicAnimation(keyPath: "path")
    animation3.fromValue = circleHorizontalSquishPath.CGPath
    animation3.toValue = circleVerticalSquishPath.CGPath
    animation3.beginTime = animation2.beginTime + animation2.duration
    animation3.duration = KAnimationDuration
    // 4、animation vertical to bigPath
    let animation4: CABasicAnimation = CABasicAnimation(keyPath: "path")
    animation4.fromValue = circleVerticalSquishPath.CGPath
    animation4.toValue = circleBigPath.CGPath
    animation4.beginTime = animation3.beginTime + animation3.duration
    animation4.duration = KAnimationDuration
    // 5、group animation
    let animationGroup: CAAnimationGroup = CAAnimationGroup()
    animationGroup.animations = [animation1, animation2, animation3, animation4]
    animationGroup.duration = 4 * KAnimationDuration
    animationGroup.repeatCount = 2
    addAnimation(animationGroup, forKey: nil)
}
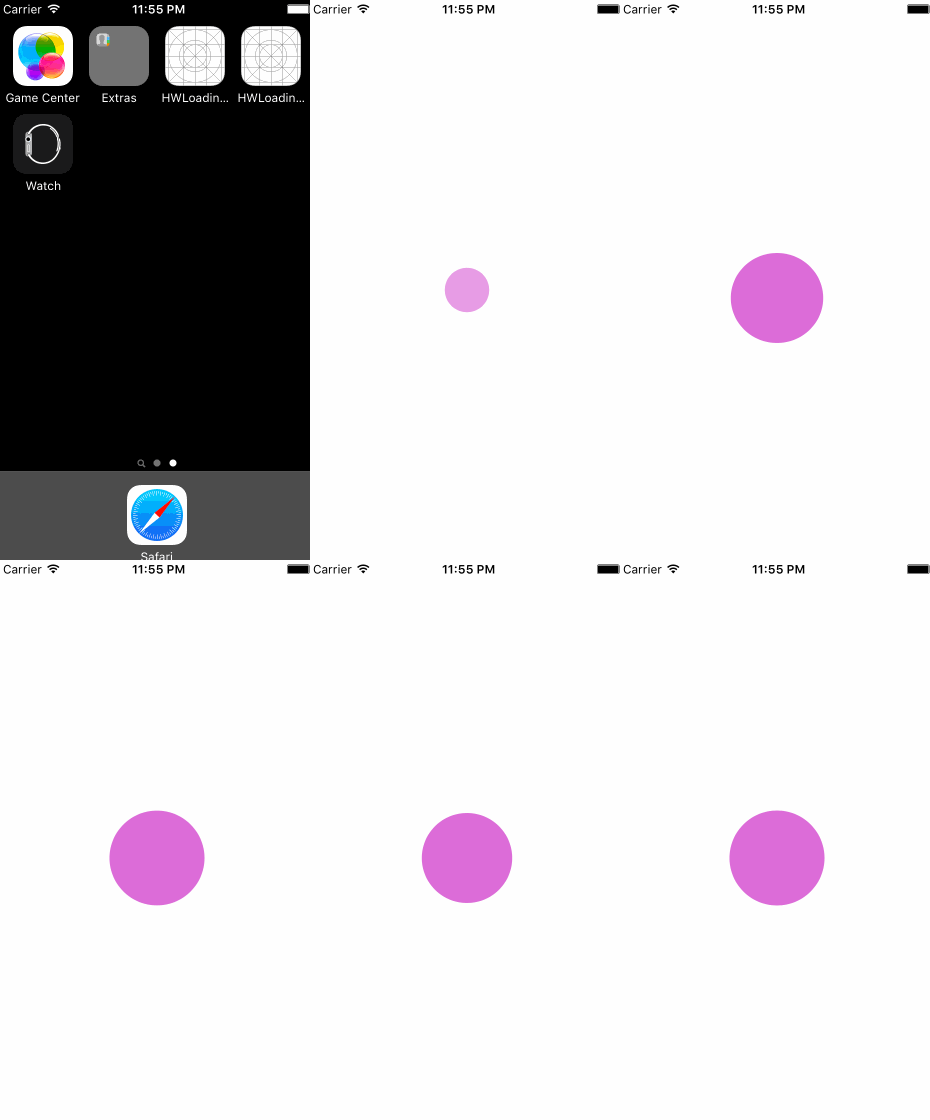
這段代碼實現了 圓 → 橢圓(x 方向長軸)→ 橢圓(y 方向長軸)→ 圓 的一整套變化,最後組合成一個動畫。效果如下:
四、實現圓形邊緣的凸出部分
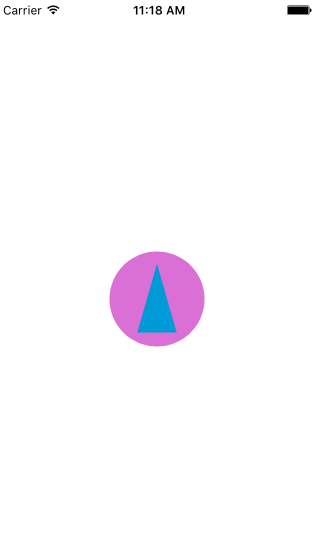
這個凸起乍看挺唬人,其實原理很簡單:仔細觀察會發現,這三個凸起連起來剛好是一個三角形。所以第一步,先在原有基礎上加一個三角形 layer。
import UIKit
class TriangleLayer: CAShapeLayer {
    let paddingSpace: CGFloat = 30.0
    override init() {
        super.init()
        fillColor = UIColor.colorWithHexString("#009ad6").CGColor
        strokeColor = UIColor.colorWithHexString("#009ad6").CGColor
        lineWidth = 7.0
        path = smallTrianglePath.CGPath
    }
    required init?(coder aDecoder: NSCoder) {
        fatalError("init(coder:) has not been implemented")
    }
    var smallTrianglePath: UIBezierPath {
        let smallPath = UIBezierPath()
        smallPath.moveToPoint(CGPointMake(5.0 + paddingSpace, 95.0))
        smallPath.addLineToPoint(CGPointMake(50.0, 12.5 + paddingSpace))
        smallPath.addLineToPoint(CGPointMake(95.0 - paddingSpace, 95.0))
        smallPath.closePath()
        return smallPath
    }
}
然後設置圓角:
lineCap = kCALineCapRound
lineJoin = kCALineJoinRound
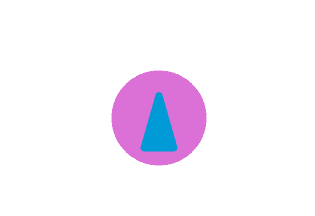
接下來做凸起。原理很簡單:保持三角形中心不變,把左邊向左延伸即可。
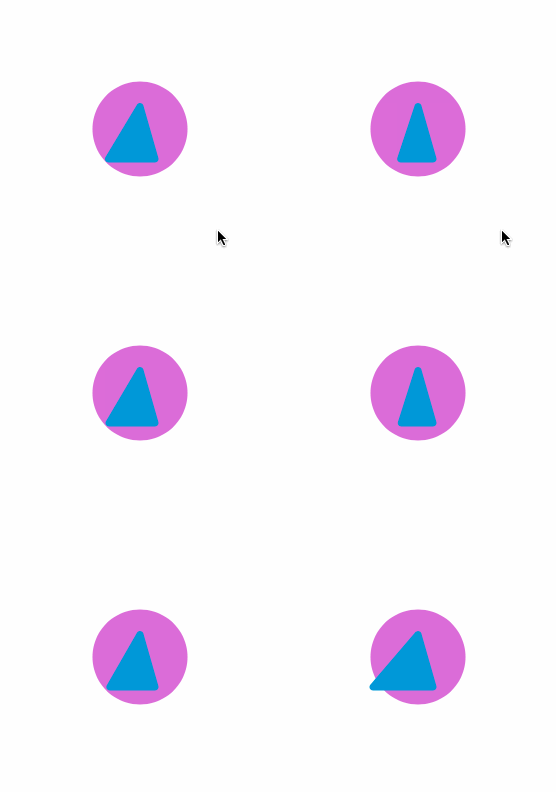
同理,保持中心不變,依次向右、向上拉伸。
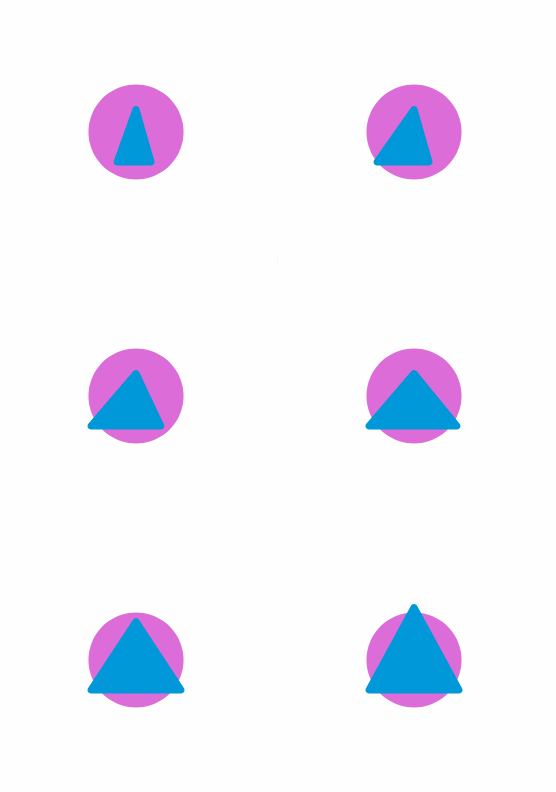
具體過程是這樣的:
/**
 triangle animate function
 */
func triangleAnimate() {
    // left
    let triangleAnimationLeft: CABasicAnimation = CABasicAnimation(keyPath: "path")
    triangleAnimationLeft.fromValue = smallTrianglePath.CGPath
    triangleAnimationLeft.toValue = leftTrianglePath.CGPath
    triangleAnimationLeft.beginTime = 0.0
    triangleAnimationLeft.duration = 0.3
    // right
    let triangleAnimationRight: CABasicAnimation = CABasicAnimation(keyPath: "path")
    triangleAnimationRight.fromValue = leftTrianglePath.CGPath
    triangleAnimationRight.toValue = rightTrianglePath.CGPath
    triangleAnimationRight.beginTime = triangleAnimationLeft.beginTime + triangleAnimationLeft.duration
    triangleAnimationRight.duration = 0.25
    // top
    let triangleAnimationTop: CABasicAnimation = CABasicAnimation(keyPath: "path")
    triangleAnimationTop.fromValue = rightTrianglePath.CGPath
    triangleAnimationTop.toValue = topTrianglePath.CGPath
    triangleAnimationTop.beginTime = triangleAnimationRight.beginTime + triangleAnimationRight.duration
    triangleAnimationTop.duration = 0.20
    // group
    let triangleAnimationGroup: CAAnimationGroup = CAAnimationGroup()
    triangleAnimationGroup.animations = [triangleAnimationLeft, triangleAnimationRight, triangleAnimationTop]
    triangleAnimationGroup.duration = triangleAnimationTop.beginTime + triangleAnimationTop.duration
    triangleAnimationGroup.fillMode = kCAFillModeForwards
    triangleAnimationGroup.removedOnCompletion = false
    addAnimation(triangleAnimationGroup, forKey: nil)
}
接著把三角形的顏色調成與圓一致:
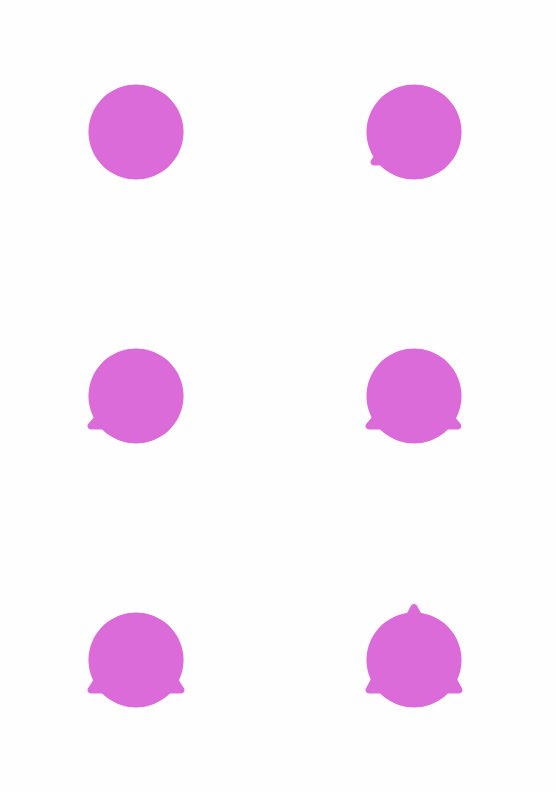
顏色相同之後,凸起的效果就出來了。調回正常速率(為了演示,前面把動畫放慢了),把至今為止的所有動作串起來,效果是這樣:
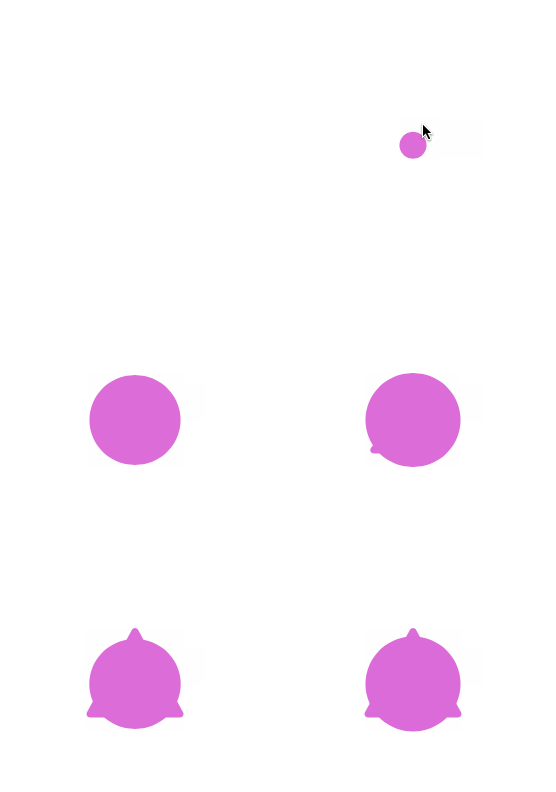
到目前為止看上去還不錯,大約完成了一半,繼續下一步。
五、實現旋轉和矩形
旋轉部分很簡單,大家應該都做過,這裡就是把前面形成的圖形旋轉一週(注意要正確設置錨點 anchorPoint)。
/**
 self transform z
 */
func transformRotationZ() {
    self.layer.anchorPoint = CGPointMake(0.5, 0.65)
    let rotationAnimation: CABasicAnimation = CABasicAnimation(keyPath: "transform.rotation.z")
    rotationAnimation.toValue = CGFloat(M_PI * 2)
    rotationAnimation.duration = 0.45
    rotationAnimation.removedOnCompletion = true
    layer.addAnimation(rotationAnimation, forKey: nil)
}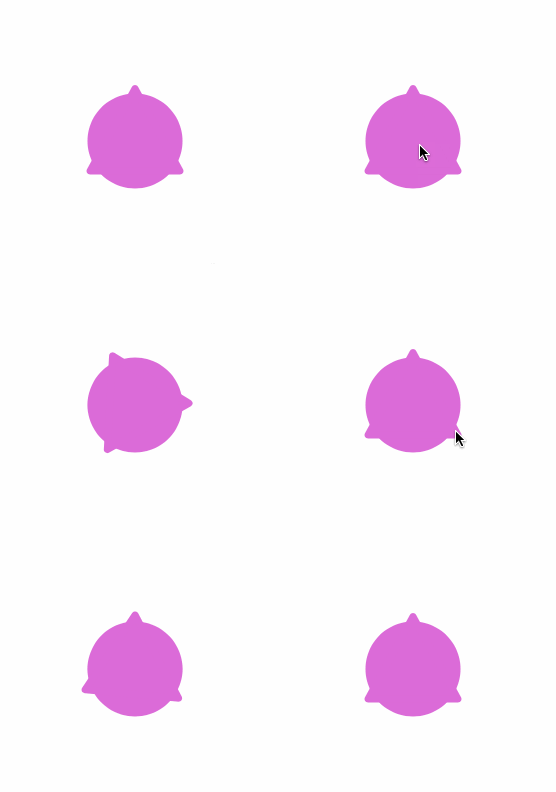
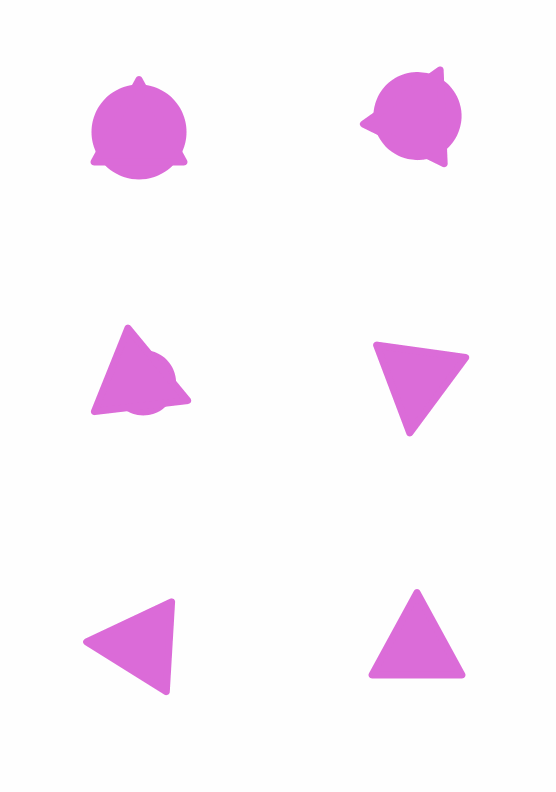
旋轉之後,原圖形看上去被切成了三角形。思路是:把原來的大圓按這個大三角形的內切圓收縮一下即可。
/**
 contract animation function
 */
func contract() {
    let contractAnimation: CABasicAnimation = CABasicAnimation(keyPath: "path")
    contractAnimation.fromValue = circleBigPath.CGPath
    contractAnimation.toValue = circleSmallPath.CGPath
    contractAnimation.duration = KAnimationDuration
    contractAnimation.fillMode = kCAFillModeForwards
    contractAnimation.removedOnCompletion = false
    addAnimation(contractAnimation, forKey: nil)
}
接下來畫矩形。新建一個 RectangleLayer,用 strokeEnd 實現逐段描邊。
/**
 line stroke color change with custom color
 - parameter color: custom color
 */
func strokeChangeWithColor(color: UIColor) {
    strokeColor = color.CGColor
    let strokeAnimation: CABasicAnimation = CABasicAnimation(keyPath: "strokeEnd")
    strokeAnimation.fromValue = 0.0
    strokeAnimation.toValue = 1.0
    strokeAnimation.duration = 0.4
    addAnimation(strokeAnimation, forKey: nil)
}
最後就是經典的水波紋動畫了,不多說,直接上代碼。
func animate() {
    /// 1
    let waveAnimationPre: CABasicAnimation = CABasicAnimation(keyPath: "path")
    waveAnimationPre.fromValue = wavePathPre.CGPath
    waveAnimationPre.toValue = wavePathStarting.CGPath
    waveAnimationPre.beginTime = 0.0
    waveAnimationPre.duration = KAnimationDuration
    /// 2
    let waveAnimationLow: CABasicAnimation = CABasicAnimation(keyPath: "path")
    waveAnimationLow.fromValue = wavePathStarting.CGPath
    waveAnimationLow.toValue = wavePathLow.CGPath
    waveAnimationLow.beginTime = waveAnimationPre.beginTime + waveAnimationPre.duration
    waveAnimationLow.duration = KAnimationDuration
    /// 3
    let waveAnimationMid: CABasicAnimation = CABasicAnimation(keyPath: "path")
    waveAnimationMid.fromValue = wavePathLow.CGPath
    waveAnimationMid.toValue = wavePathMid.CGPath
    waveAnimationMid.beginTime = waveAnimationLow.beginTime + waveAnimationLow.duration
    waveAnimationMid.duration = KAnimationDuration
    /// 4
    let waveAnimationHigh: CABasicAnimation = CABasicAnimation(keyPath: "path")
    waveAnimationHigh.fromValue = wavePathMid.CGPath
    waveAnimationHigh.toValue = wavePathHigh.CGPath
    waveAnimationHigh.beginTime = waveAnimationMid.beginTime + waveAnimationMid.duration
    waveAnimationHigh.duration = KAnimationDuration
    /// 5
    let waveAnimationComplete: CABasicAnimation = CABasicAnimation(keyPath: "path")
    waveAnimationComplete.fromValue = wavePathHigh.CGPath
    waveAnimationComplete.toValue = wavePathComplete.CGPath
    waveAnimationComplete.beginTime = waveAnimationHigh.beginTime + waveAnimationHigh.duration
    waveAnimationComplete.duration = KAnimationDuration
    /// group animation
    let arcAnimationGroup: CAAnimationGroup = CAAnimationGroup()
    arcAnimationGroup.animations = [waveAnimationPre, waveAnimationLow, waveAnimationMid, waveAnimationHigh, waveAnimationComplete]
    arcAnimationGroup.duration = waveAnimationComplete.beginTime + waveAnimationComplete.duration
    arcAnimationGroup.fillMode = kCAFillModeForwards
    arcAnimationGroup.removedOnCompletion = false
    addAnimation(arcAnimationGroup, forKey: nil)
}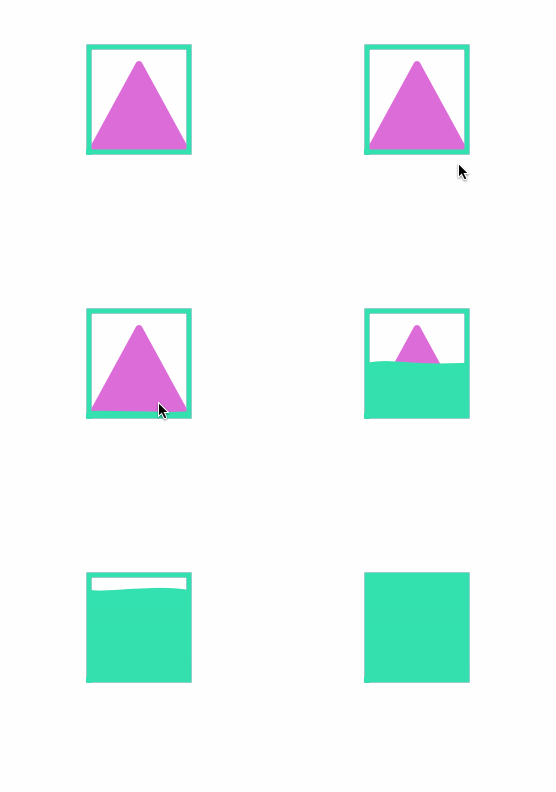
找幾個控制點決定水波形狀,用貝塞爾曲線畫出來就行。到這裡主體基本完成,最後一步:放大,並彈出 Welcome。
func expandView() {
    backgroundColor = UIColor.colorWithHexString("#40e0b0")
    frame = CGRectMake(frame.origin.x - blueRectangleLayer.lineWidth,
                       frame.origin.y - blueRectangleLayer.lineWidth,
                       frame.size.width + blueRectangleLayer.lineWidth * 2,
                       frame.size.height + blueRectangleLayer.lineWidth * 2)
    layer.sublayers = nil
    UIView.animateWithDuration(0.3, delay: 0.0, options: UIViewAnimationOptions.CurveEaseInOut, animations: {
            self.frame = self.parentFrame
        }, completion: { finished in
            self.delegate?.completeAnimation()
        })
}
放大完成後設置代理,在主 VC 中加上 Welcome 這個 Label。
// MARK: -
// MARK: AnimationViewDelegate
func completeAnimation() {
    // 1
    animationView.removeFromSuperview()
    view.backgroundColor = UIColor.colorWithHexString("#40e0b0")
    // 2
    let label: UILabel = UILabel(frame: view.frame)
    label.textColor = UIColor.whiteColor()
    label.font = UIFont(name: "HelveticaNeue-Thin", size: 50.0)
    label.textAlignment = NSTextAlignment.Center
    label.text = "Welcome"
    label.transform = CGAffineTransformScale(label.transform, 0.25, 0.25)
    view.addSubview(label)
    // 3
    UIView.animateWithDuration(0.4, delay: 0.0, usingSpringWithDamping: 0.7, initialSpringVelocity: 0.1,
        options: UIViewAnimationOptions.CurveEaseInOut, animations: ({
            label.transform = CGAffineTransformScale(label.transform, 4.0, 4.0)
        }), completion: { finished in
            self.addTouchButton()
        })
}
到現在為止,動畫全部完成。
六、最後
同樣提供了 Objective-C 和 Swift 兩個版本,可以去倉庫查看源碼。自己一直對動畫頗感興趣,希望能在這條路上多鑽研一些;有任何意見或建議,歡迎留言或私信。覺得不錯的話,也歡迎 star 支持,謝謝!
- 上一篇文章: 從引用計數引發的一場討論:那些容易想歪的細節
- 下一篇文章: CocoaPods 私有倉庫封裝實踐中的一些思考