
讓 UITableView 分隔線延伸到螢幕兩端的兩種寫法
編輯:iOS 相關教學
UITableView 是 App 開發中最常見的元件之一,功能強大、主要用於資料呈現。但預設的分隔線會在左側留白,看起來跟設計稿不一致。要讓分隔線貫穿整個寬度,有兩種做法。
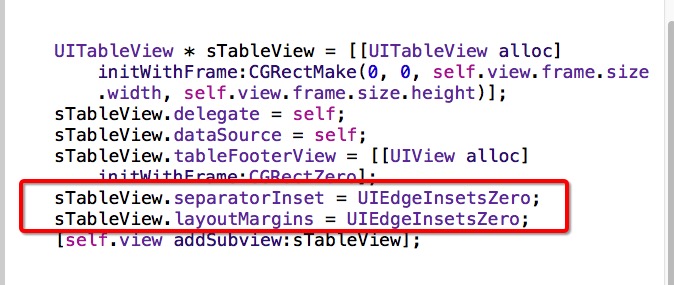
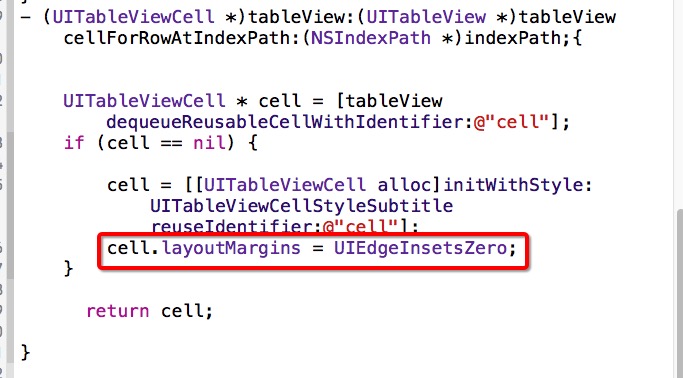
方法一:把 inset 與 layoutMargins 都歸零
三個屬性都要設,缺一個都不會生效:
sTableView.separatorInset = UIEdgeInsetsZero;
sTableView.layoutMargins = UIEdgeInsetsZero;
cell.layoutMargins = UIEdgeInsetsZero;
方法二:在 Delegate 中統一處理
這個寫法比較嚴謹,先確認 API 是否可用,再同時處理 tableView 與 cell 兩層:
-(void)viewDidLayoutSubviews {
    [super viewDidLayoutSubviews];
    if ([_moreTableView respondsToSelector:@selector(setSeparatorInset:)]) {
        [_moreTableView setSeparatorInset:UIEdgeInsetsMake(0, 0, 0, 0)];
    }
    if ([_moreTableView respondsToSelector:@selector(setLayoutMargins:)]) {
        [_moreTableView setLayoutMargins:UIEdgeInsetsMake(0, 0, 0, 0)];
    }
}

-(void)tableView:(UITableView *)tableView
  willDisplayCell:(UITableViewCell *)cell
forRowAtIndexPath:(NSIndexPath *)indexPath {
    if ([cell respondsToSelector:@selector(setSeparatorInset:)]) {
        [cell setSeparatorInset:UIEdgeInsetsZero];
    }
    if ([cell respondsToSelector:@selector(setLayoutMargins:)]) {
        [cell setLayoutMargins:UIEdgeInsetsZero];
    }
}
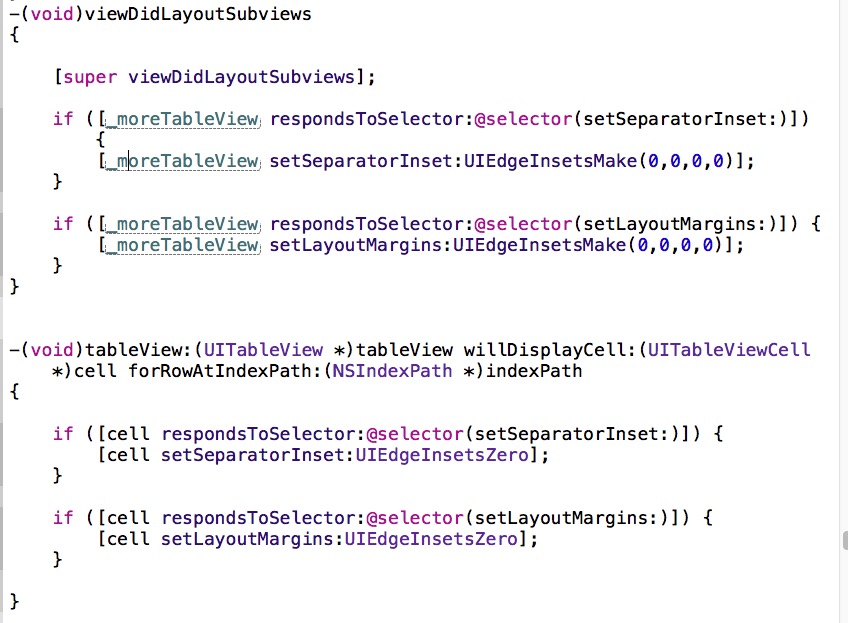
兩者的差異在於生效範圍:方法一直接寫在建立 cell 的地方,簡單直觀;方法二集中在 willDisplayCell:,對所有 cell 一致套用,也比較不容易遺漏。若還是看到左側留白,記得確認有沒有另外實作 cellForRowAtIndexPath: 後才覆寫 layoutMargins,順序錯了就會被系統預設值蓋掉。