iOS 相機管理:呼叫相機拍照並顯示於畫面
編輯:iOS 入門介紹
iOS 相機管理
相機簡介
相機幾乎是行動裝置的標配。我們可以用它拍照,並在應用程式中直接取用結果,實作起來相當簡單。
實作步驟
1、建立一個簡單的 View-based Application。
2、在 ViewController.xib 中加入一個按鈕,並建立對應的 IBAction。
3、加入一個 image view,並建立名為 imageView 的 IBOutlet。
4、ViewController.h 如下:
#import <UIKit/UIKit.h> @interface ViewController : UIViewController<UIImagePickerControllerDelegate> { UIImagePickerController *imagePicker; IBOutlet UIImageView *imageView; } - (IBAction)showCamera:(id)sender; @end
5、更新 ViewController.m:
#import "ViewController.h" @interface ViewController () @end @implementation ViewController - (void)viewDidLoad { [super viewDidLoad]; } - (void)didReceiveMemoryWarning { [super didReceiveMemoryWarning]; // Dispose of any resources that can be recreated. } - (IBAction)showCamera:(id)sender { imagePicker.allowsEditing = YES; if ([UIImagePickerController isSourceTypeAvailable: UIImagePickerControllerSourceTypeCamera]) { imagePicker.sourceType = UIImagePickerControllerSourceTypeCamera; } else{ imagePicker.sourceType = UIImagePickerControllerSourceTypePhotoLibrary; } [self presentModalViewController:imagePicker animated:YES]; } -(void)imagePickerController:(UIImagePickerController *)picker didFinishPickingMediaWithInfo:(NSDictionary *)info{ UIImage *image = [info objectForKey:UIImagePickerControllerEditedImage]; if (image == nil) { image = [info objectForKey:UIImagePickerControllerOriginalImage]; } imageView.image = image; } -(void)imagePickerControllerDidCancel:(UIImagePickerController *)picker{ [self dismissModalViewControllerAnimated:YES]; } @end
實務提醒:範例中建立 imagePicker 後才設定屬性,正式專案應改為 [[UIImagePickerController alloc] init] 建立物件,否則 imagePicker 為 nil,delegate 不會被呼叫。
輸出結果
執行程式並點擊顯示相機按鈕:
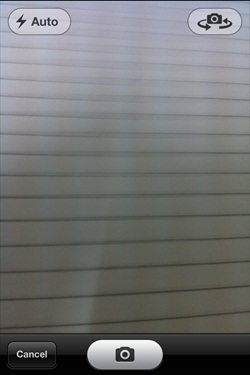
拍照後即可透過拖曳與縮放裁切畫面: