
iOS 實作:UINavigationController 推疊與返回的堆疊機制
編輯:iOS 相關資訊
前言
UINavigationController 讓 App 得以在一個又一個 view controller 之間層層推進,是絕大多數 iOS App 的主幹導航方式。它的核心概念是一個堆疊:push 把新畫面疊上去,pop 把目前的畫面移開。
步驟一:在 AppDelegate 中建立導航控制器
// .h
#import <UIKit/UIKit.h>
#import "ZYRootViewController.h"

@interface ZYAppDelegate : UIResponder <UIApplicationDelegate>

@property (strong, nonatomic) UIWindow *window;
@property (nonatomic, strong) ZYRootViewController *zYRootViewController;
@property (nonatomic, strong) UINavigationController *navigationController;

@end
// .m
@synthesize navigationController;
@synthesize zYRootViewController;

- (BOOL)application:(UIApplication *)application
didFinishLaunchingWithOptions:(NSDictionary *)launchOptions {
    self.window = [[UIWindow alloc] initWithFrame:[[UIScreen mainScreen] bounds]];
    self.window.backgroundColor = [UIColor whiteColor];
    [self.window makeKeyAndVisible];

    self.zYRootViewController = [[ZYRootViewController alloc] initWithNibName:nil bundle:nil];

    // 以 rootViewController 包成導航堆疊
    self.navigationController = [[UINavigationController alloc]
                                 initWithRootViewController:self.zYRootViewController];
    self.window.rootViewController = self.navigationController;

    return YES;
}
步驟二:推入下一個畫面
// ZYRootViewController.m
- (void)viewDidLoad
{
    [super viewDidLoad];
    self.title = @"First";

    // 為了方便觀察,這裡用 3 秒後自動觸發
    [self performSelector:@selector(pushSecondController) withObject:nil afterDelay:3.0f];
}

- (void)pushSecondController {
    ZYSecondViewController *zYSecondViewController =
        [[ZYSecondViewController alloc] initWithNibName:nil bundle:nil];
    [self.navigationController pushViewController:zYSecondViewController animated:YES];
}
步驟三:彈回上一個畫面
// ZYSecondViewController.m
- (void)viewDidLoad
{
    [super viewDidLoad];
    self.title = @"Second";

    [self performSelector:@selector(goBack) withObject:nil afterDelay:3.0f];
}

- (void)goBack {
    [self.navigationController popViewControllerAnimated:YES];
}
執行結果
起始畫面:
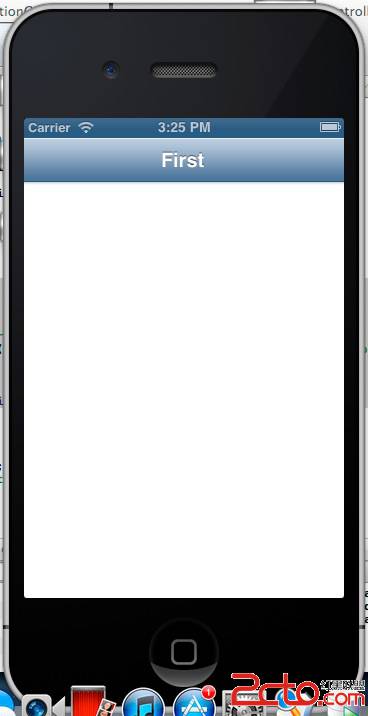
3 秒後推入第二個畫面:

再過 3 秒彈回起始畫面:
堆疊操作補充
除了基本的 push/pop,實務上還常需要更精細的控制:
popToRootViewControllerAnimated::一次跳回堆疊最底層,常用於登出後回首頁。popToViewController:animated::回到堆疊中某個指定畫面。setViewControllers:animated::整體替換堆疊內容,適合切換不同流程。interactivePopGestureRecognizer:iOS 7 之後的右滑返回手勢。若你在某些畫面中自訂了手勢而導致它失效,可透過 delegate 的gestureRecognizerShouldBegin:做例外處理。
範例中的 performSelector:afterDelay: 只是為了讓效果自動演出,正式專案中請改用按鈕或手勢觸發,並在必要時以 cancelPreviousPerformRequestsWithTarget: 取消未執行的排程,避免畫面已離開卻仍被呼叫。