
iOS 技巧:把圖片放進導航欄標題位置
編輯:iOS 相關資訊
前言
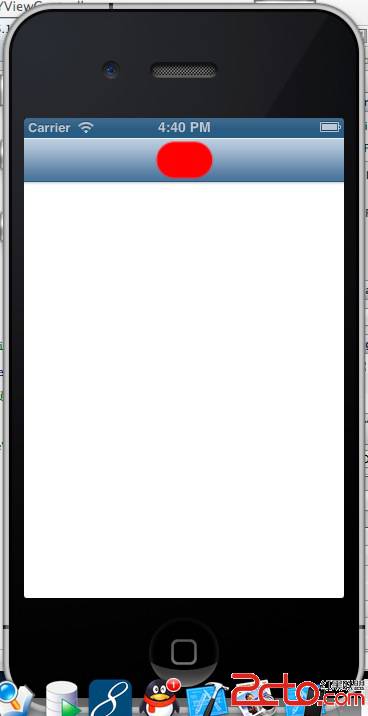
導航欄的標題從來不限定只能是文字。事實上 titleView 接受任何 UIView,也就是說你可以放 UIImageView、自訂的 logo 組合,甚至是一個帶計數器的小元件。以下示範最常見的做法:用 UIImageView 當作導航欄標題。
實作程式碼
- (void)viewDidLoad
{
    [super viewDidLoad];
    self.view.backgroundColor = [UIColor whiteColor];

    UIImageView *imageView =
        [[UIImageView alloc] initWithFrame:CGRectMake(0.0f, 0.0f, 100.0f, 40.0f)];

    // 保持長寬比縮放,剩餘區域透明
    imageView.contentMode = UIViewContentModeScaleAspectFit;

    UIImage *image = [UIImage imageNamed:@"titleView.png"];
    [imageView setImage:image];

    // 把 imageView 指定為導航欄的 titleView
    self.navigationItem.titleView = imageView;
}
執行結果
幾個實務上的細節
UIViewContentModeScaleAspectFit 會等比縮放內容並保留透明邊界,比 ScaleToFill 安全得多,因為後者會直接把圖片拉成 100×40 的比例而變形。
由於 titleView 的實際可視寬度會受左右 BarButtonItem 擠壓,建議把圖片素材設計得比預期寬度稍窄一些,並在不同機型上實測。若圖片是 logo,也別忘了提供 @2x/@3x 的倍圖版本,否則在 Retina 螢幕上會略顯模糊。
如果同一個畫面在旋轉或分頁切換時需要不同的標題樣式,記得在 viewWillLayoutSubviews 或對應的生命週期方法中重新調整 frame,而不是只在 viewDidLoad 設定一次。