
iOS UIAlertView 使用整理:按鈕、樣式、自訂子視圖與點擊判斷
UIAlertView 是早期 iOS 最常見的提示方塊元件。以下把它的常用用法整理成幾個主題,方便快速查閱。
一、最基礎的建立與顯示
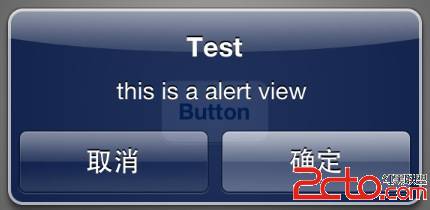
UIAlertView *alert = [[UIAlertView alloc] initWithTitle:@"Test"
                                                message:@"this is a alert view"
                                               delegate:nil
                                      cancelButtonTitle:@"取消"
                                      otherButtonTitles:@"確定", nil];
[alert show];
四個參數分別對應標題、顯示內容、事件代理人,以及按鈕標題。取消按鈕只有一個,其餘都接在 otherButtonTitles 後面。
二、加入更多按鈕
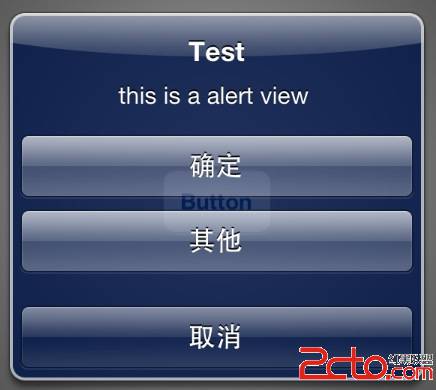
把原本註解掉的 @"其他" 放回 otherButtonTitles 參數鏈上即可:
otherButtonTitles:@"確定", @"其他", nil
參數必須以 nil 收尾,這點很容易忘記。
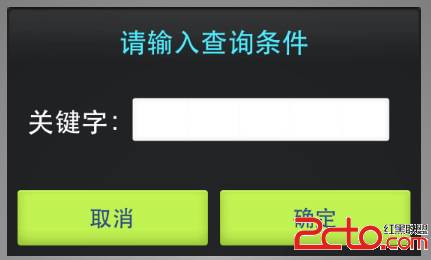
三、系統內建的幾種輸入框樣式
UIAlertViewStyle 這個列舉提供了四種形態:
typedef NS_ENUM(NSInteger, UIAlertViewStyle) {
    UIAlertViewStyleDefault = 0,                 // 缺省,不含輸入框
    UIAlertViewStyleSecureTextInput,             // 單一密文輸入框
    UIAlertViewStylePlainTextInput,              // 單一明文輸入框
    UIAlertViewStyleLoginAndPasswordInput        // 帳號明文 + 密碼密文
};
套用方式是在 show 之前設定 alertViewStyle:
UIAlertView *alert = [[UIAlertView alloc] initWithTitle:@"請等待"
                                                message:@"this is a alert view"
                                               delegate:nil
                                      cancelButtonTitle:@"取消"
                                      otherButtonTitles:@"確定", nil];
[alert setAlertViewStyle:UIAlertViewStyleLoginAndPasswordInput];
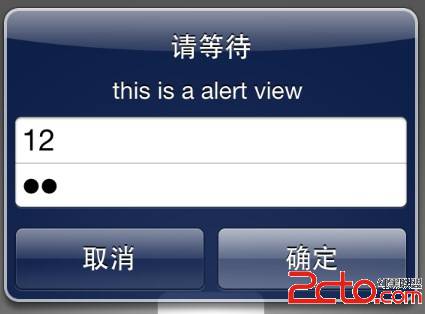
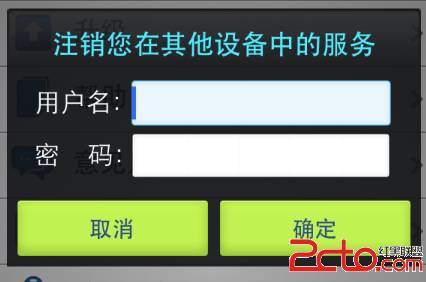
以上是 LoginAndPasswordInput 的效果,其餘幾種可以自行試試。老實說這幾個內建樣式在視覺上相當樸素,若介面要求較高,通常會選擇自繪一個彈出視圖來接收輸入,自由度大得多。
四、判斷使用者按了哪顆按鈕
讓控制器採用 UIAlertViewDelegate,並實作点击回調:
// .h
@interface ViewController : UIViewController <UIAlertViewDelegate>
@end

// .m
- (void)alertView:(UIAlertView *)alertView clickedButtonAtIndex:(NSInteger)buttonIndex {
    NSString *msg = [[NSString alloc] initWithFormat:@"您按下的第%d個按鈕!", buttonIndex];
    NSLog(@"%@", msg);
}
buttonIndex 就是按鈕索引,依建立時的順序從 0 開始遞增,因此「取消、確定、其他」分別對應 0、1、2。
Delegate 方式的缺點在頁面同時存在多個 alert 時會變得囉嗦,得額外判斷是哪一個 alert 觸發的。常見解法是改用 block 回調取代 delegate,把處理邏輯寫在建立 alert 的地方,可讀性明顯更好。
五、往提示框裡塞子視圖
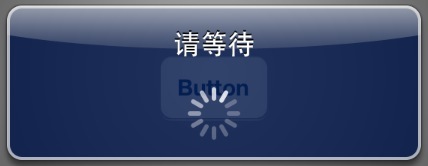
這個技巧實用度很高。最常見的是放一個轉圈動畫:
UIAlertView *alert = [[UIAlertView alloc] initWithTitle:@"請等待"
                                                message:nil
                                               delegate:nil
                                      cancelButtonTitle:nil
                                      otherButtonTitles:nil, nil];

UIActivityIndicatorView *activeView =
    [[UIActivityIndicatorView alloc] initWithActivityIndicatorStyle:UIActivityIndicatorViewStyleWhiteLarge];
activeView.center = CGPointMake(alert.bounds.size.width / 2.0f, alert.bounds.size.height - 40.0f);
[activeView startAnimating];
[alert addSubview:activeView];
[alert show];
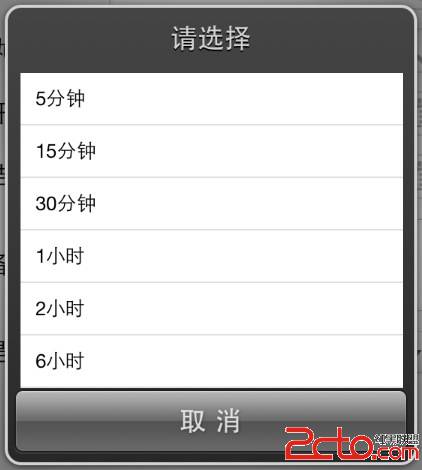
另一個常見玩法是放一份 UITableView 當作選單。做法上有點取巧:靠大量換行符把 message 撐高,騰出足夠空間再貼上列表。
UIAlertView *alert = [[UIAlertView alloc] initWithTitle:@"請選擇"
                                                message:@"/n/n/n/n/n/n/n/n/n/n"
                                               delegate:nil
                                      cancelButtonTitle:nil
                                      otherButtonTitles:nil, nil];
// 用換行撐大容器後,再把 UITableView 加上去並實作資料源
最後:關於自訂與美化
真正能撐起產品質感的部分,是提示框的自訂與視覺美化,這通常需要完全跳脫 UIAlertView 自己刻一個彈出層。
順帶提醒:UIAlertView 從 iOS 9 起已被官方標記為不建議使用,新專案請改用 UIAlertController,它原生支援 textField 配置與 block 形式的動作處理,能省下不少 delegate 判斷的工夫。上面這些思路(按鈕索引、子視圖、自訂彈出層)在 UIAlertController 上同樣適用。