
讓 UITableView 分隔線一路貫通螢幕兩側:兩種實作寫法
編輯:iOS 開發綜合
UITableView 是 App 開發裡出鏡率最高的元件之一,資料列表幾乎都靠它。不過從 iOS 某個版本開始,分隔線預設會左右各留一段內縮距離,看起來總是短了一截。若你希望分隔線從螢幕左側一路拉到右側,下面兩種做法都可以解決。
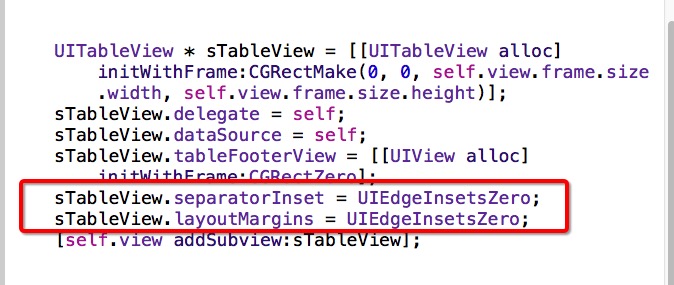
做法一:把 inset 與 layoutMargins 全部歸零
最直覺的方式,就是把表格本身與 cell 的內縮設定都清成零:
tableView.separatorInset = UIEdgeInsetsZero;
tableView.layoutMargins = UIEdgeInsetsZero;
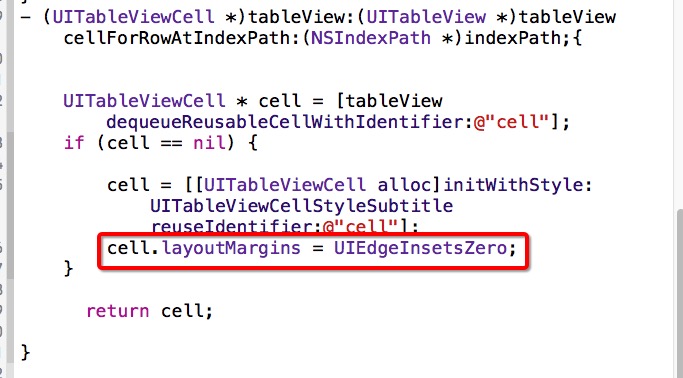
cell.layoutMargins = UIEdgeInsetsZero;
三個都要設。只改 separatorInset 往往沒有效果,因為 cell 的 layoutMargins 會反向影響分隔線的起點。把 cell 的 layoutMargins 歸零之後,分隔線就會乖乖貼齊兩側。
做法二:在系統提供的時機點統一處理
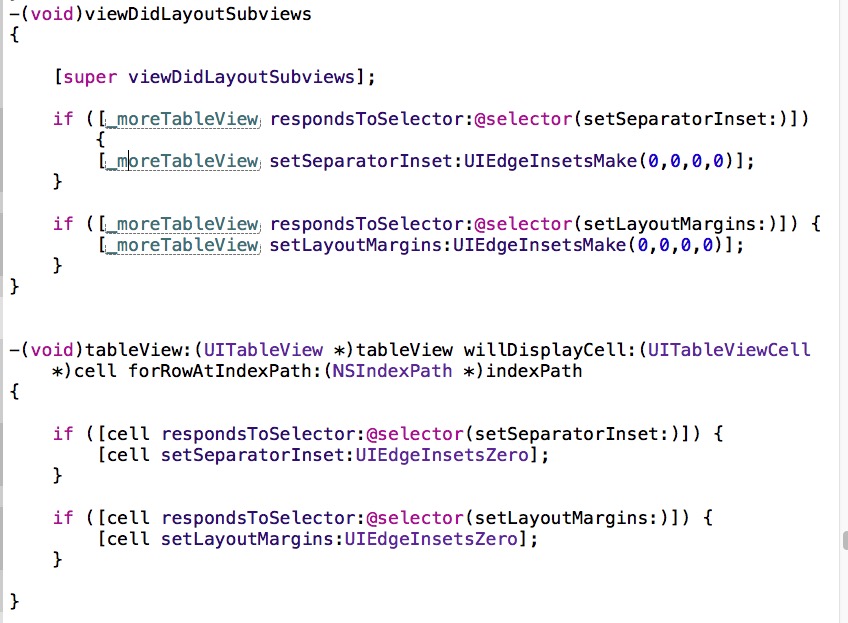
如果你不想在每個 cell 產生的地方都寫一次,可以把設定集中在兩個位置:版面計算完成時處理 table,cell 即將顯示時處理 cell。這麼做的好處是覆蓋面完整,也不干擾既有程式結構。
- (void)viewDidLayoutSubviews {
    [super viewDidLayoutSubviews];

    if ([_moreTableView respondsToSelector:@selector(setSeparatorInset:)]) {
        [_moreTableView setSeparatorInset:UIEdgeInsetsMake(0, 0, 0, 0)];
    }
    if ([_moreTableView respondsToSelector:@selector(setLayoutMargins:)]) {
        [_moreTableView setLayoutMargins:UIEdgeInsetsMake(0, 0, 0, 0)];
    }
}

- (void)tableView:(UITableView *)tableView willDisplayCell:(UITableViewCell *)cell forRowAtIndexPath:(NSIndexPath *)indexPath {
    if ([cell respondsToSelector:@selector(setSeparatorInset:)]) {
        [cell setSeparatorInset:UIEdgeInsetsZero];
    }
    if ([cell respondsToSelector:@selector(setLayoutMargins:)]) {
        [cell setLayoutMargins:UIEdgeInsetsZero];
    }
}
這裡刻意加上 respondsToSelector: 判斷,是為了讓程式碼在舊系統版本上也能安全運行,避免呼叫不存在的 API 而崩潰。
如果你其實想要「完全不要線」
反過來說,若你的設計是完全不出現分隔線,那麼把 tableView.separatorStyle 設為 UITableViewCellSeparatorStyleNone(或新版的 UITableViewSeparatorStyleNone)是最乾淨的做法,再搭配自訂的線條視圖或空白間距來製造視覺層次,會比跟系統預設值纏鬥更省心。
兩種方法的差別在於侵入程度:第一種簡短直接,適合單一頁面;第二種結構清楚,適合多處表格、或需要與團隊共用的專案。依場景挑一個就好。
- 上一篇文章: iOS 觸摸事件透透徹:事件分發與響應者鏈完全指南
- 下一篇文章: iOS 視圖切換三板斧:TabBar、Navigation 與模態呈現