
百行以內做出 iOS 側滑抽屜選單
編輯:iOS 開發綜合
抽屜效果幾乎是 App 的標配:主頁面往右一滑,左側選單露出來,同時主頁面縮小並壓上一層半透明遮罩。網路上實作百百種,這裡用最精簡的程式碼把骨架講清楚。
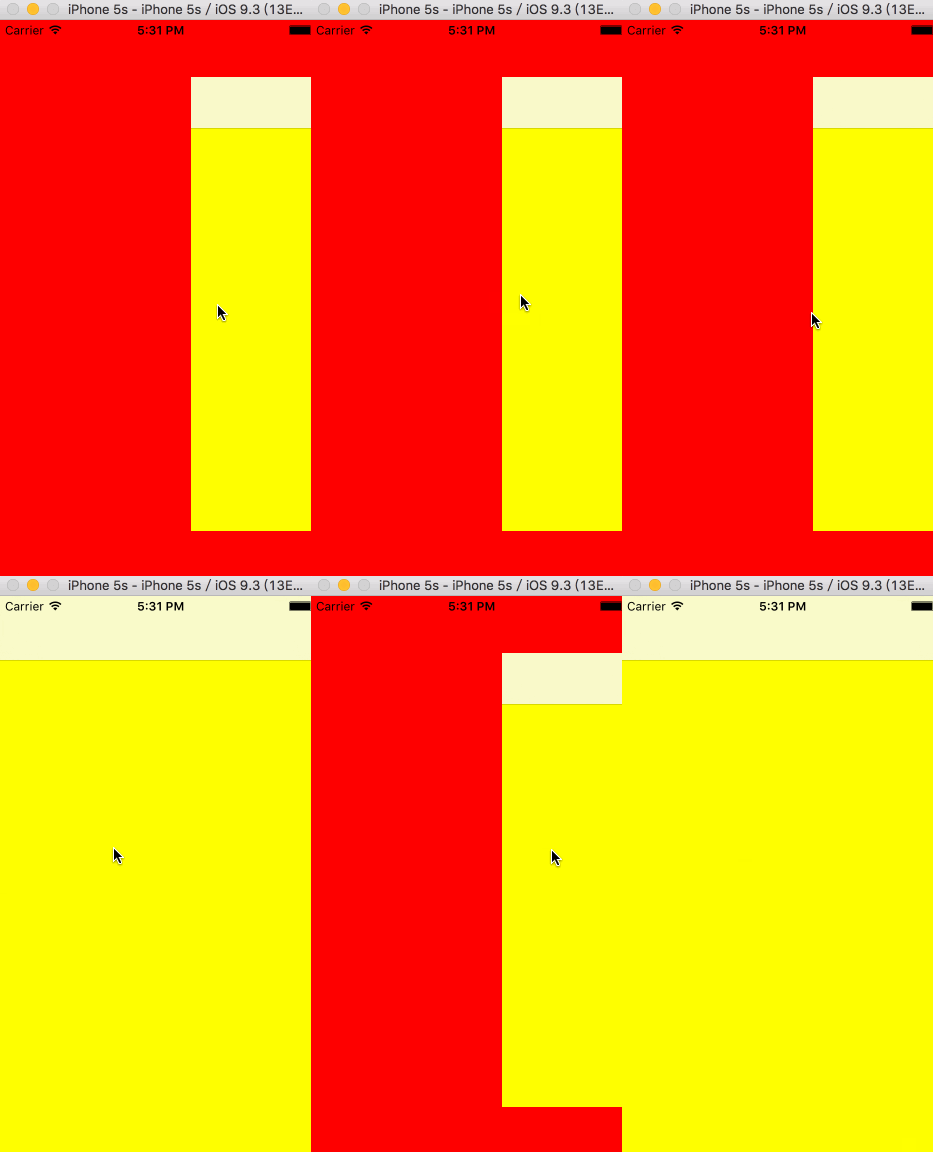
對外只暴露一個便利建構子
#import <UIKit/UIKit.h>

@interface MainViewController : UIViewController
+ (instancetype)mainViewControllerWithLeftViewController:(UIViewController *)leftViewController
                                 withMainPageViewController:(UIViewController *)mainPageViewController;
@end
實作:兩個子控制器 + 三個手勢 + 一個遮罩
架構很單純:leftVC 永遠墊在底層不動,centerVC 疊在上面,靠 transform 縮放與 center 平移製造立體感。isSlider 記錄目前是展開還是收起。
#import "MainViewController.h"

#define KWidth  self.view.frame.size.width
#define KHeight self.view.frame.size.height

@interface MainViewController ()
@property (nonatomic, strong) UIViewController *leftVC;
@property (nonatomic, strong) UIViewController *centerVC;
@property (nonatomic, assign) BOOL isSlider;
@property (nonatomic, strong) UIView *corverView;
@end

@implementation MainViewController

+ (instancetype)mainViewControllerWithLeftViewController:(UIViewController *)leftViewController
                                 withMainPageViewController:(UIViewController *)mainPageViewController {
    MainViewController *mainVC = [[MainViewController alloc] init];
    mainVC.leftVC = leftViewController;
    mainVC.centerVC = mainPageViewController;
    return mainVC;
}

- (void)viewDidLoad {
    [super viewDidLoad];
    self.isSlider = NO;
    self.view.backgroundColor = [UIColor whiteColor];

    [self addChildViewController:self.leftVC];
    [self.view addSubview:self.leftVC.view];

    [self addChildViewController:self.centerVC];
    [self.view addSubview:self.centerVC.view];

    [self addGestureForView];
}

// 給主視圖添加遮蓋
- (void)addCorverView {
    if (self.corverView) {
        [self.corverView removeFromSuperview];
        self.corverView = nil;
    }
    self.corverView = [[UIView alloc] initWithFrame:self.centerVC.view.bounds];
    _corverView.backgroundColor = [[UIColor blackColor] colorWithAlphaComponent:0.0];
    [self.centerVC.view addSubview:self.corverView];
}

- (void)removeCoverView {
    if (self.corverView) {
        [self.corverView removeFromSuperview];
        self.corverView = nil;
    }
}

// 三個方向的手勢
- (void)addGestureForView {
    UISwipeGestureRecognizer *rightGesture =
        [[UISwipeGestureRecognizer alloc] initWithTarget:self action:@selector(swipeRightAction:)];
    rightGesture.direction = UISwipeGestureRecognizerDirectionRight;
    [self.centerVC.view addGestureRecognizer:rightGesture];

    UISwipeGestureRecognizer *leftGesture =
        [[UISwipeGestureRecognizer alloc] initWithTarget:self action:@selector(swipeLeftAction:)];
    leftGesture.direction = UISwipeGestureRecognizerDirectionLeft;
    [self.centerVC.view addGestureRecognizer:leftGesture];

    UISwipeGestureRecognizer *leftVCLeftSwipeGesture =
        [[UISwipeGestureRecognizer alloc] initWithTarget:self action:@selector(leftVCLeftSwipeAction:)];
    leftVCLeftSwipeGesture.direction = UISwipeGestureRecognizerDirectionLeft;
    [self.leftVC.view addGestureRecognizer:leftVCLeftSwipeGesture];
}

- (void)swipeRightAction:(id)sender {
    [self moveView:self.centerVC.view scale:0.8 panValue:KWidth];
    self.isSlider = YES;
    [self addCorverView];
}

- (void)swipeLeftAction:(id)sender {
    [self moveView:self.centerVC.view scale:1 panValue:KWidth / 2];
    self.isSlider = NO;
    [self removeCoverView];
}

- (void)leftVCLeftSwipeAction:(id)sender {
    [self moveView:self.centerVC.view scale:1 panValue:KWidth / 2];
    self.isSlider = NO;
    [self removeCoverView];
}

// 平移 + 縮放
- (void)moveView:(UIView *)view scale:(CGFloat)scale panValue:(CGFloat)value {
    [UIView beginAnimations:nil context:nil];
    view.transform = CGAffineTransformScale(CGAffineTransformIdentity, scale, scale);
    view.center = CGPointMake(value, view.center.y);
    [UIView commitAnimations];
}
@end
幾個可以再加強的地方
目前用的是 UISwipeGestureRecognizer,動畫會一次到底、無法跟手。若想要那種「手指拖到哪、選單就跟到哪」的手感,改用 UIPanGestureRecognizer 並在 gestureRecognizer:shouldRecognizeSimultaneouslyWithGestureRecognizer: 裡放行手勢共存即可。另外遮罩目前的 alpha 是 0,實作時記得在展開過程中把它動畫到 0.3 左右,視覺層次才會出來。
- 上一篇文章: 用 UICollectionView 做左右聯動的二級選單
- 下一篇文章: Xcode 8 新特性巡禮與踩坑筆記