
自訂 UICollectionViewLayout 實作瀑布流佈局
專案需要瀑布流效果,但現成的 UICollectionViewFlowLayout 達不到要求,於是自己寫了一個 layout。以下是完整的實作過程。
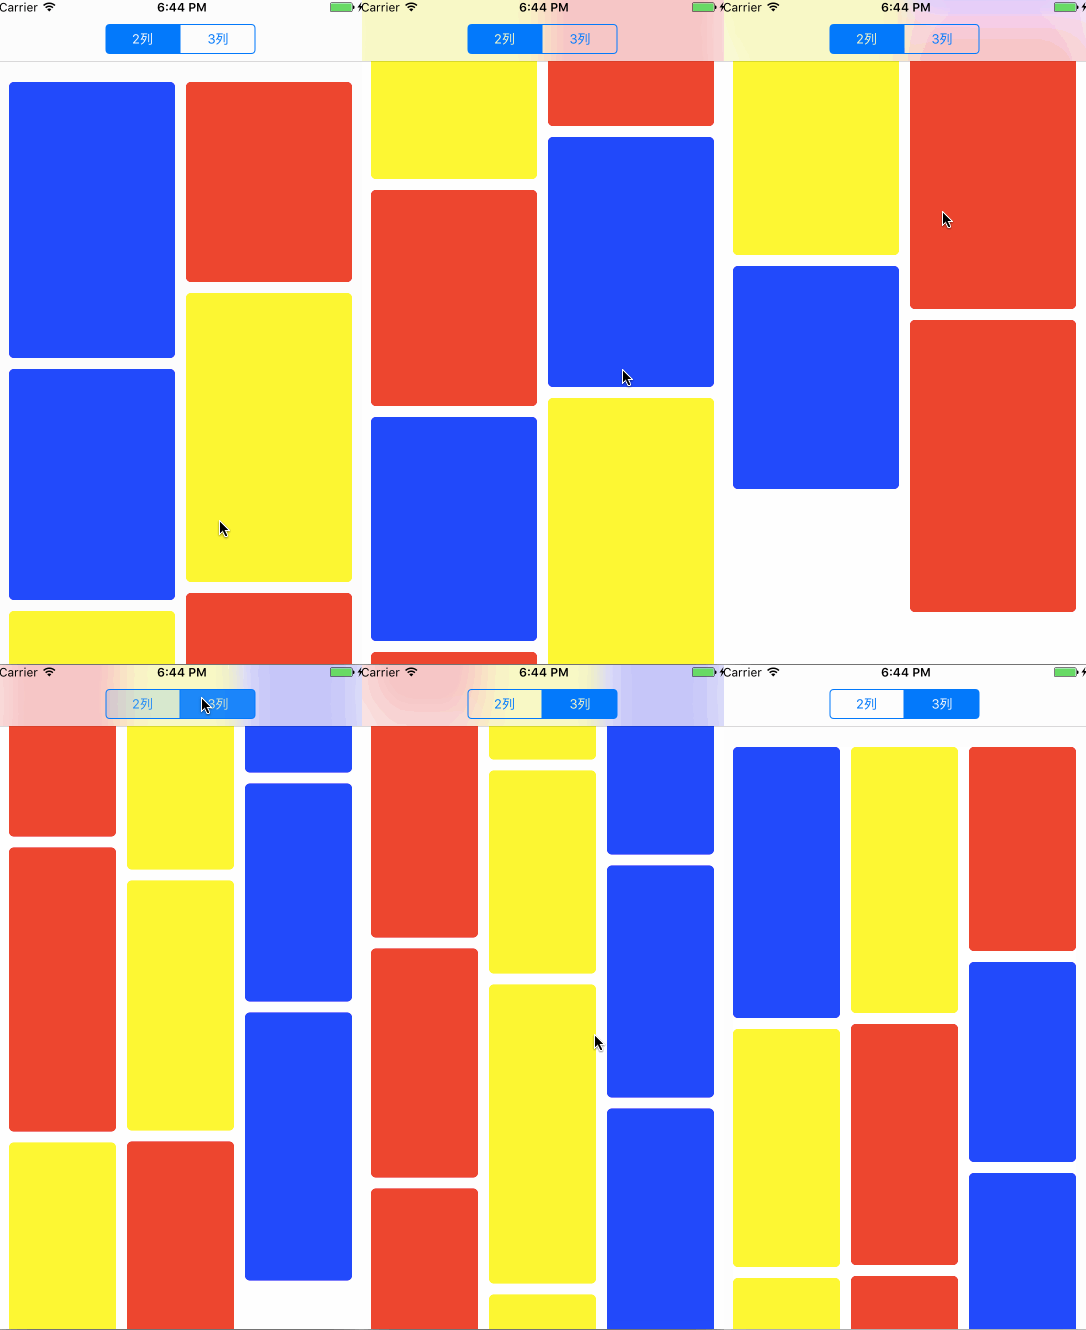
需要覆寫的四個成員
繼承 UICollectionViewLayout 之後,瀑布流的重點就是這幾個:
collectionViewContentSize:決定整個內容區大小,瀑布流取「最高那一列的高度」。
layoutAttributesForItem(at:):算出單一 item 的 frame。
layoutAttributesForElements(in:):回傳可見區域內所有 item 的 layout attributes。
prepare():在佈局計算前做的準備工作。
實作思路
透過 delegate 取得「有幾列」與「每個 item 多高」,再由列數、間距與 collectionView 寬度反推出單列寬度。item 由左至右依次放,每次都塞進目前最矮的那一列下方,這樣各列高度就能保持均勻,不會某一列特別長。
import UIKit

@objc protocol WCLWaterFallLayoutDelegate {
    //waterFall的列數
    func columnOfWaterFall(_ collectionView: UICollectionView) -> Int
    //每個item的高度
    func waterFall(_ collectionView: UICollectionView, layout waterFallLayout: WCLWaterFallLayout, heightForItemAt indexPath: IndexPath) -> CGFloat
}

class WCLWaterFallLayout: UICollectionViewLayout {
    //代理
    weak var delegate: WCLWaterFallLayoutDelegate?
    //行間距
    @IBInspectable var lineSpacing: CGFloat = 0
    //列間距
    @IBInspectable var columnSpacing: CGFloat = 0
    //section的top
    @IBInspectable var sectionTop: CGFloat = 0 { willSet { sectionInsets.top = newValue } }
    //section的Bottom
    @IBInspectable var sectionBottom: CGFloat = 0 { willSet { sectionInsets.bottom = newValue } }
    //section的left
    @IBInspectable var sectionLeft: CGFloat = 0 { willSet { sectionInsets.left = newValue } }
    //section的right
    @IBInspectable var sectionRight: CGFloat = 0 { willSet { sectionInsets.right = newValue } }
    //section的Insets
    @IBInspectable var sectionInsets: UIEdgeInsets = UIEdgeInsets.zero

    //每行對應的高度
    private var columnHeights: [Int: CGFloat] = [Int: CGFloat]()
    private var attributes: [UICollectionViewLayoutAttributes] = [UICollectionViewLayoutAttributes]()

    //MARK: Initial Methods
    init(lineSpacing: CGFloat, columnSpacing: CGFloat, sectionInsets: UIEdgeInsets) {
        super.init()
        self.lineSpacing = lineSpacing
        self.columnSpacing = columnSpacing
        self.sectionInsets = sectionInsets
    }

    required init?(coder aDecoder: NSCoder) {
        super.init(coder: aDecoder)
    }

    //MARK: Override
    override var collectionViewContentSize: CGSize {
        var maxHeight: CGFloat = 0
        for height in columnHeights.values {
            if height > maxHeight {
                maxHeight = height
            }
        }
        return CGSize.init(width: collectionView?.frame.width ?? 0, height: maxHeight + sectionInsets.bottom)
    }

    override func prepare() {
        super.prepare()
        guard collectionView != nil else { return }
        if let columnCount = delegate?.columnOfWaterFall(collectionView!) {
            for i in 0..<columnCount {
                columnHeights[i] = sectionInsets.top
            }
        }
        let itemCount = collectionView!.numberOfItems(inSection: 0)
        attributes.removeAll()
        for i in 0..<itemCount {
            if let att = layoutAttributesForItem(at: IndexPath.init(row: i, section: 0)) {
                attributes.append(att)
            }
        }
    }

    override func layoutAttributesForItem(at indexPath: IndexPath) -> UICollectionViewLayoutAttributes? {
        if let collectionView = collectionView {
            //根據indexPath獲取item的attributes
            let att = UICollectionViewLayoutAttributes.init(forCellWith: indexPath)
            //獲取collectionView的寬度
            let width = collectionView.frame.width
            if let columnCount = delegate?.columnOfWaterFall(collectionView) {
                guard columnCount > 0 else { return nil }
                //item的寬度 = (collectionView的寬度 - 內邊距與列間距) / 列數
                let totalWidth = (width - sectionInsets.left - sectionInsets.right - (CGFloat(columnCount) - 1) * columnSpacing)
                let itemWidth = totalWidth / CGFloat(columnCount)
                //獲取item的高度,由外界計算得到
                let itemHeight = delegate?.waterFall(collectionView, layout: self, heightForItemAt: indexPath) ?? 0
                //找出最短的那一列
                var minIndex = 0
                for column in columnHeights {
                    if column.value < columnHeights[minIndex] ?? 0 {
                        minIndex = column.key
                    }
                }
                //根據最短列的列數計算item的x值
                let itemX = sectionInsets.left + (columnSpacing + itemWidth) * CGFloat(minIndex)
                //item的y值 = 最短列的最大y值 + 行間距
                let itemY = (columnHeights[minIndex] ?? 0) + lineSpacing
                //設置attributes的frame
                att.frame = CGRect.init(x: itemX, y: itemY, width: itemWidth, height: itemHeight)
                //更新字典中的最大y值
                columnHeights[minIndex] = att.frame.maxY
            }
            return att
        }
        return nil
    }

    override func layoutAttributesForElements(in rect: CGRect) -> [UICollectionViewLayoutAttributes]? {
        return attributes
    }
}
幾個實作上的關鍵點
用 [Int: CGFloat] 的字典記錄每一列目前的底部 Y 值,key 是列序號。每次要找位置時遍歷一次挑出最小值,這是最直觀也最好懂的寫法;若 item 數量龐大,改用最小堆能降低開銷。
delegate 的兩個方法都是必需的,列數決定寬度計算,高度則完全交由外部決定——因為只有業務層知道內容會不會換行、圖片比例是多少。這也是為什麼瀑布流不能像 FlowLayout 那樣靠系統自動排版。
prepare() 中每次都先 removeAll 再重算,是為了應對資料更新後的重新佈局;漏掉這步會殘留舊的 attributes,導致畫面錯位。
Demo 已附上,若覺得有幫助歡迎 star。這個實作還有精簡空間,例如尚未處理 section 多分区、item 動態更新時的增量計算,歡迎交流。
- 上一篇文章: 用滑手勢控制螢幕亮度與系統音量(附 AVAudioPlayer 用法)
- 下一篇文章: 從四條規則理解 iOS 手動記憶體管理