
iOS 7 導航欄與狀態列客製化完全指南
iOS 7 對導航欄與狀態列做了大幅度外觀調整,也開放了不少客製化項目。以下依序說明常見需求該怎麼做。
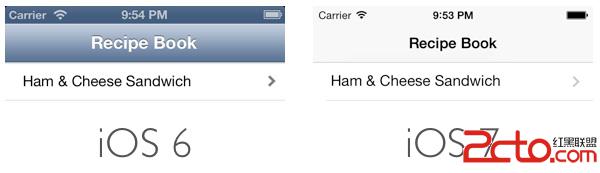
先看預設長相
用 Xcode 的 Single View Controller 範本建立專案,把 view controller 嵌入 navigation controller 中。由於 Xcode 5 同時包含 iOS 6 與 iOS 7 模擬器,可以直接在兩個版本上執行做對照,差異一目了然。
換成自訂顏色
[[UINavigationBar appearance] setBarTintColor:[UIColor yellowColor]];
實務上比較少直接用系統色,通常會自己組 RGB。這個巨集很好用:
#define UIColorFromRGB(rgbValue) \
[UIColor colorWithRed:((float)((rgbValue & 0xFF0000) >> 16))/255.0 \
                green:((float)((rgbValue & 0xFF00) >> 8))/255.0 \
                 blue:((float)(rgbValue & 0xFF))/255.0 \
                alpha:1.0]
放到 AppDelegate.m 後即可這樣使用:
[[UINavigationBar appearance] setBarTintColor:UIColorFromRGB(0x067AB5)];
預設情況下導航欄的 translucent 為 YES,系統會對導航欄下方的內容做模糊處理,讓顏色看起來更飽和。下圖是 translucent 為 NO 與 YES 的對比:
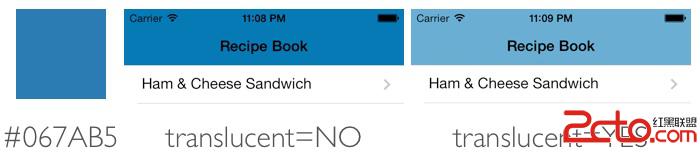
要關閉它,在 Storyboard 中選取導航欄,於屬性檢查器中取消勾選 Translucent 即可。
使用背景圖片
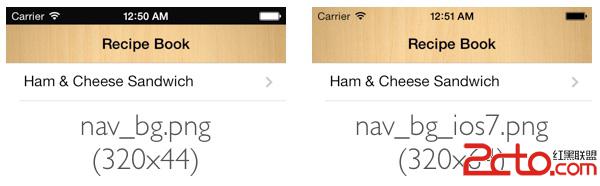
若想用圖片當背景,請準備一張「比導航欄更高」的圖,因為 iOS 7 的導航欄從 44pt(88px)增高到了 64pt(128px),背景會延伸到狀態列後方。
[[UINavigationBar appearance] setBackgroundImage:[UIImage imageNamed:@"nav_bg.png"]
                                  forBarMetrics:UIBarMetricsDefault];
調整返回按鈕顏色
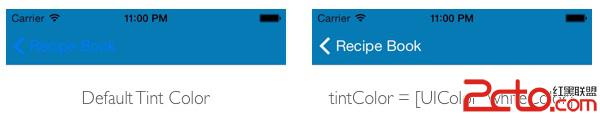
iOS 7 的按鈕都是無邊框的,返回按鈕由一個 V 型箭頭加上上一頁標題組成(若上一頁沒有標題則顯示「返回」)。要改顏色用 tintColor:
[[UINavigationBar appearance] setTintColor:[UIColor whiteColor]];
注意 tintColor 會同時影響所有按鈕的標題與圖片,不只是返回鍵。
想替換那個 V 型箭頭,可以自訂兩張圖:
[[UINavigationBar appearance] setBackIndicatorImage:[UIImage imageNamed:@"back_btn.png"]];
[[UINavigationBar appearance] setBackIndicatorTransitionMaskImage:[UIImage imageNamed:@"back_btn.png"]];
其中 backIndicatorImage 決定實際顯示的圖形,backIndicatorTransitionMaskImage 決定轉場動畫時使用的遮罩形狀。兩者的顏色都受 tintColor 控制。

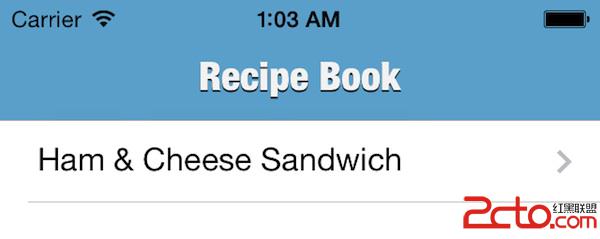
改標題字型
透過 titleTextAttributes 可以指定字型、文字顏色、陰影顏色與陰影偏移,可用的 key 有:
UITextAttributeFont— 字型UITextAttributeTextColor— 文字顏色UITextAttributeTextShadowColor— 陰影顏色UITextAttributeTextShadowOffset— 陰影偏移
NSShadow *shadow = [[NSShadow alloc] init];
shadow.shadowColor = [UIColor colorWithRed:0.0 green:0.0 blue:0.0 alpha:0.8];
shadow.shadowOffset = CGSizeMake(0, 1);

[[UINavigationBar appearance] setTitleTextAttributes:
 [NSDictionary dictionaryWithObjectsAndKeys:
  [UIColor colorWithRed:245.0/255.0 green:245.0/255.0 blue:245.0/255.0 alpha:1.0],
  NSForegroundColorAttributeName,
  shadow, NSShadowAttributeName,
  [UIFont fontWithName:@"HelveticaNeue-CondensedBlack" size:21.0],
  NSFontAttributeName, nil]];
把標題換成圖片或 Logo
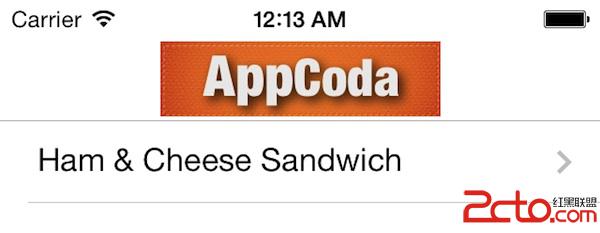
self.navigationItem.titleView =
    [[UIImageView alloc] initWithImage:[UIImage imageNamed:@"appcoda-logo.png"]];
做法就是替 titleView 賦值。這不是 iOS 7 的新功能,舊版本早就支援了。
加入多個按鈕
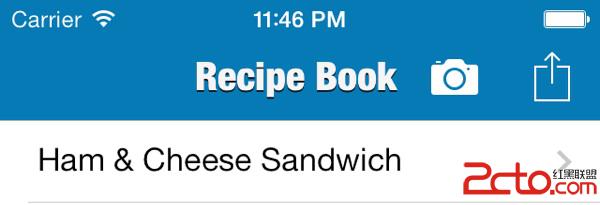
這同樣是舊功能,但很實用。導航欄左右兩側都能放多個按鈕:
UIBarButtonItem *shareItem = [[UIBarButtonItem alloc]
    initWithBarButtonSystemItem:UIBarButtonSystemItemAction target:self action:nil];
UIBarButtonItem *cameraItem = [[UIBarButtonItem alloc]
    initWithBarButtonSystemItem:UIBarButtonSystemItemCamera target:self action:nil];
NSArray *actionButtonItems = @[shareItem, cameraItem];
self.navigationItem.rightBarButtonItems = actionButtonItems;
修改狀態列樣式
舊版 iOS 的狀態列永遠是黑色文字。iOS 7 起可以針對每個 view controller 指定狀態列的明暗風格,透過 UIStatusBarStyle 常數設定。預設是暗色,也就是時間、電量、Wi-Fi 圖示顯示為深色。若導航欄用了深色背景,對比就會很差:
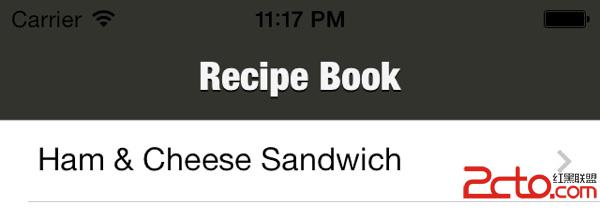
這種情況可以覆寫 preferredStatusBarStyle:
- (UIStatusBarStyle)preferredStatusBarStyle {
    return UIStatusBarStyleLightContent;
}
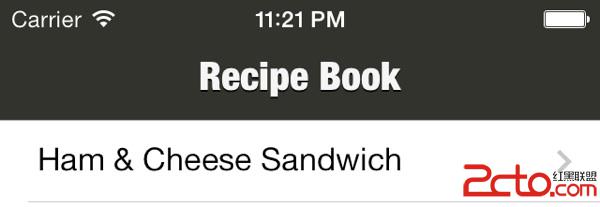
另一種做法是關閉「以 view controller 為準」的行為,改用 UIApplication 直接設定。先在專案 target 的 Info 分頁加入 key View controller-based status bar appearance,值設為 NO:
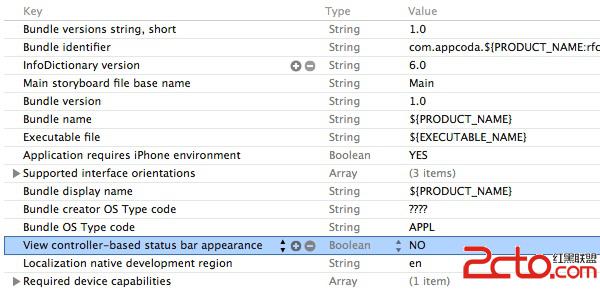
接著就能這樣寫:
[[UIApplication sharedApplication] setStatusBarStyle:UIStatusBarStyleLightContent];
隱藏狀態列
- (BOOL)prefersStatusBarHidden {
    return YES;
}
最後提醒一點:狀態列的樣式會受導航欄風格影響,若使用 UIStatusBarStyleLightContent 但背景是淺色,反而會看不清。實際上線前,建議在深淺兩種背景圖下各看一次。