
iOS 不規則形狀的 ImageView 實作
編輯:iOS 開發綜合
做 iOS 開發時,常常會遇到需要把頭像裁切成非矩形(例如圓形、圓角矩形或自訂形狀)的需求:
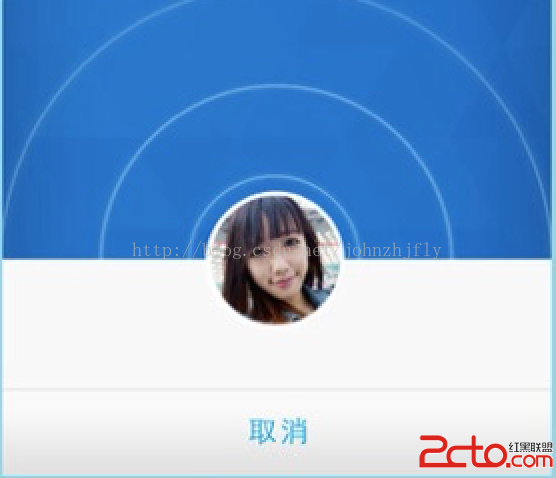
一般圖片都是矩形的,若要在客戶端做出不規則頭像,就得自己動手。做法是什麼呢?
常見的作法是使用 layer 的 mask。參考做法可見此連結。
用 CAShapeLayer 當遮罩
先宣告一個用於遮罩的 CAShapeLayer。CAShapeLayer 有個 path 屬性,把內容 Layer 的 mask 設為這個 maskLayer,就能取得我們想要的形狀:
#import "ShapedImageView.h"

@interface ShapedImageView() {
    CALayer *_contentLayer;
    CAShapeLayer *_maskLayer;
}
@end

@implementation ShapedImageView
- (instancetype)initWithFrame:(CGRect)frame {
    self = [super initWithFrame:frame];
    if (self) {
        [self setup];
    }
    return self;
}
- (void)setup {
    _maskLayer = [CAShapeLayer layer];
    _maskLayer.path = [UIBezierPath bezierPathWithOvalInRect:self.bounds].CGPath;
    _maskLayer.fillColor = [UIColor blackColor].CGColor;
    _maskLayer.strokeColor = [UIColor redColor].CGColor;
    _maskLayer.frame = self.bounds;
    _maskLayer.contentsCenter = CGRectMake(0.5, 0.5, 0.1, 0.1);
    _maskLayer.contentsScale = [UIScreen mainScreen].scale;
    _contentLayer = [CALayer layer];
    _contentLayer.mask = _maskLayer;
    _contentLayer.frame = self.bounds;
    [self.layer addSublayer:_contentLayer];
}
- (void)setImage:(UIImage *)image {
    _contentLayer.contents = (id)image.CGImage;
}
@end
path 可以用 CGMutablePath 任意構造,上面這段程式碼的執行結果如下:

改成圓角矩形
如果把 path 改成:
_maskLayer = [CAShapeLayer layer];
_maskLayer.path = [UIBezierPath bezierPathWithRoundedRect:self.bounds cornerRadius:20].CGPath;
_maskLayer.fillColor = [UIColor blackColor].CGColor;
_maskLayer.strokeColor = [UIColor redColor].CGColor;
_maskLayer.frame = self.bounds;
_maskLayer.contentsCenter = CGRectMake(0.5, 0.5, 0.1, 0.1);
_maskLayer.contentsScale = [UIScreen mainScreen].scale;   // 非常關鍵:設置自動拉伸的效果且不變形
_contentLayer = [CALayer layer];
_contentLayer.mask = _maskLayer;
_contentLayer.frame = self.bounds;
[self.layer addSublayer:_contentLayer];
效果如下:

用手繪路徑畫圓形
如果改成用 CGMutablePath 手動畫出圓形:
CGMutablePathRef path = CGPathCreateMutable();
CGPoint origin = self.bounds.origin;
CGFloat radius = CGRectGetWidth(self.bounds) / 2;
CGPathMoveToPoint(path, NULL, origin.x, origin.y + 2 *radius);
CGPathMoveToPoint(path, NULL, origin.x, origin.y + radius);
CGPathAddArcToPoint(path, NULL, origin.x, origin.y, origin.x + radius, origin.y, radius);
CGPathAddArcToPoint(path, NULL, origin.x + 2 * radius, origin.y, origin.x + 2 * radius, origin.y + radius, radius);
CGPathAddArcToPoint(path, NULL, origin.x + 2 * radius, origin.y + 2 * radius, origin.x + radius, origin.y + 2 * radius, radius);
CGPathAddLineToPoint(path, NULL, origin.x, origin.y + 2 * radius);
_maskLayer = [CAShapeLayer layer];
_maskLayer.path = path;
_maskLayer.fillColor = [UIColor blackColor].CGColor;
_maskLayer.strokeColor = [UIColor clearColor].CGColor;
_maskLayer.frame = self.bounds;
_maskLayer.contentsCenter = CGRectMake(0.5, 0.5, 0.1, 0.1);
_maskLayer.contentsScale = [UIScreen mainScreen].scale;   // 非常關鍵:設置自動拉伸的效果且不變形
_contentLayer = [CALayer layer];
_contentLayer.mask = _maskLayer;
_contentLayer.frame = self.bounds;
[self.layer addSublayer:_contentLayer];
效果如下:
理論上我們能構造出任何想要的形狀,但若不熟悉幾何知識,有些路徑是畫不出正確結果的。
直接用圖片當遮罩
從程式碼可以看到,我們是透過設定 CALayer 的 contents 屬性來決定顯示內容。既然 mask 也是一個 CALayer,那麼它的 contents 是不是也能塞一張圖片進去?答案是可以:
_maskLayer = [CAShapeLayer layer];
_maskLayer.fillColor = [UIColor blackColor].CGColor;
_maskLayer.strokeColor = [UIColor clearColor].CGColor;
_maskLayer.frame = self.bounds;
_maskLayer.contentsCenter = CGRectMake(0.5, 0.5, 0.1, 0.1);
_maskLayer.contentsScale = [UIScreen mainScreen].scale;   // 非常關鍵:設置自動拉伸的效果且不變形
_maskLayer.contents = (id)[UIImage imageNamed:@"gray_bubble_right@2x.png"].CGImage;
_contentLayer = [CALayer layer];
_contentLayer.mask = _maskLayer;
_contentLayer.frame = self.bounds;
[self.layer addSublayer:_contentLayer];
這裡 gray_bubble_right 就是你想要的形狀,執行效果如下:

原始碼:https://github.com/heavensword/ShapedImageView
- 上一篇文章: iOS 導覽欄:系統樣式與自訂樣式的實作
- 下一篇文章: iOS 程式碼審查流程(Code Review for iOS)