
iOS 專案實戰:用 HTTP GET 與後端伺服器通訊
編輯:iOS 開發綜合
行動裝置天生就要跟後端打交道,上傳、下載、查詢,最基礎也最通用的方式就是 HTTP GET。本文從伺服器端寫起,一路做到 iOS 客戶端把結果顯示在畫面上。
一、伺服器端
先準備好能做 J2EE 開發的 Eclipse 或 MyEclipse,並設定好 Tomcat(本文使用 Eclipse Mars + Tomcat 8)。新建一個 Dynamic Web Project,命名為 MyServer,接著在 WebContent 底下新增一個 JSP 檔。
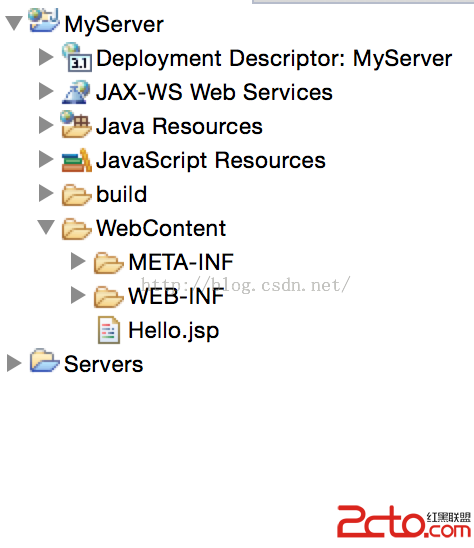
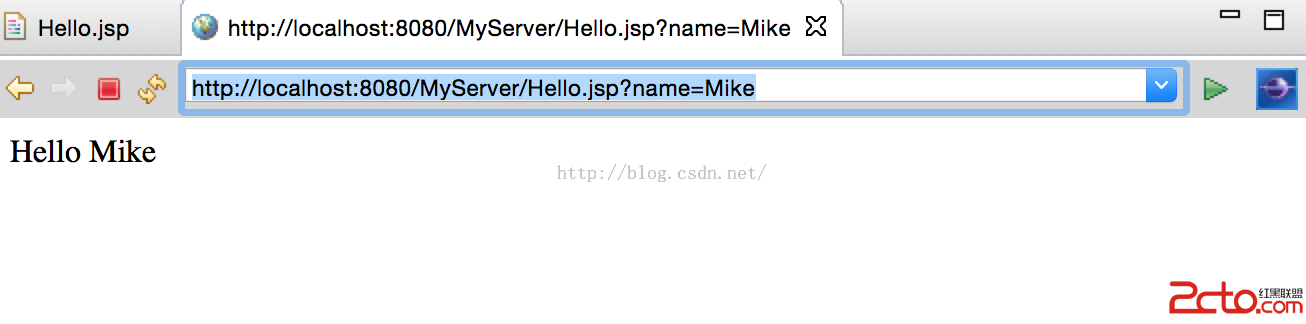
在 JSP 裡做最簡單的參數處理:帶 name 參數就回應「Hello 名字」,沒帶則回應 No Paras。
<%@ page language="java" contentType="text/html; charset=UTF-8" pageEncoding="UTF-8"%>
<%
    String name = request.getParameter("name");
    if (name != null) {
        out.print("Hello " + name);
    } else {
        out.print("No Paras");
    }
%>
直接執行,或在瀏覽器輸入網址測試:
二、iOS 客戶端
新建一個 iOS 專案,語言選 Swift,在 storyboard 上擺一個輸入框、一個顯示結果的 TextView,以及一顆發送按鈕。
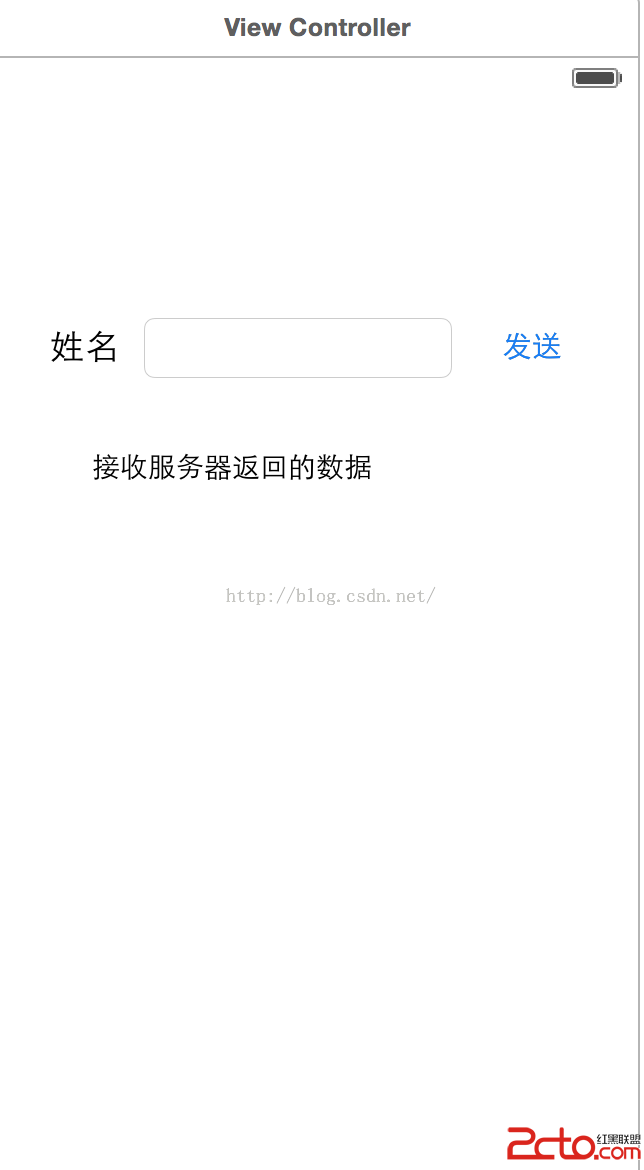
接著做綁定:輸入框與結果區走 Outlet,按鈕走 Action。
@IBOutlet weak var inputName: UITextField!
@IBOutlet weak var feedbackInfo: UITextView!

override func viewDidLoad() {
    super.viewDidLoad()
}

@IBAction func connectServer(sender: UIButton) {
    let urlString = "https://localhost:8080/MyServer/Hello.jsp?name=\(inputName.text!)"
    guard let url = NSURL(string: urlString) else { return }

    NSURLConnection.sendAsynchronousRequest(
        NSURLRequest(URL: url),
        queue: NSOperationQueue()) { (resp, data, error) -> Void in
        if let d = data {
            // 回到主執行緒才更新 UI
            dispatch_sync(dispatch_get_main_queue(), { () -> Void in
                self.feedbackInfo.text = String(NSString(data: d, encoding: NSUTF8StringEncoding)!)
            })
        }
    }
}
另一種寫法是把 queue 直接指定為主佇列,這樣回呼本身就已經在主執行緒上,不必再 dispatch:
@IBAction func connectServer(sender: UIButton) {
    let urlString = "https://localhost:8080/MyServer/Hello.jsp?name=\(inputName.text!)"
    guard let url = NSURL(string: urlString) else { return }

    NSURLConnection.sendAsynchronousRequest(
        NSURLRequest(URL: url),
        queue: NSOperationQueue.mainQueue()) { (resp, data, error) -> Void in
        if let d = data {
            self.feedbackInfo.text = String(NSString(data: d, encoding: NSUTF8StringEncoding)!)
        }
    }
}
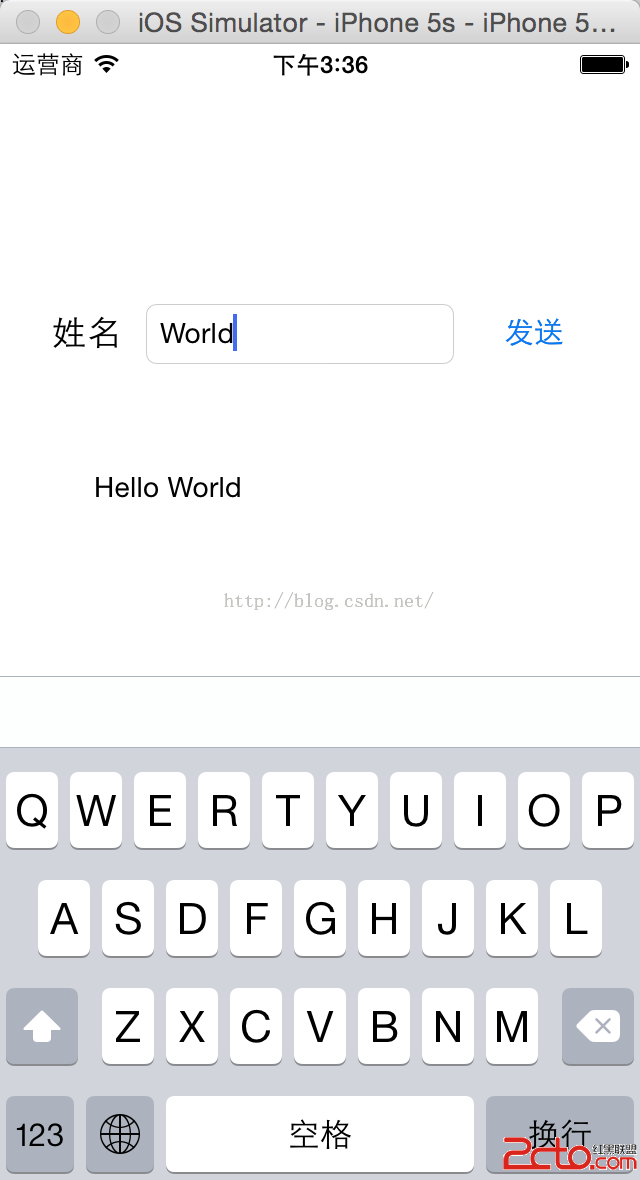
實務上必須留意的幾件事
- 執行緒:任何 UI 更新都必須發生在主執行緒。上面兩種寫法就是圍繞這件事在處理。
- 參數編碼:GET 參數直接拼在網址後,若內容可能含中文、空白或
&、=等字元,務必做 URL encode,否則字串會被截斷。 - 明文 HTTP:iOS 的 App Transport Security 預設封鎖
https://。測試階段可以在 Info.plist 暫時關閉,正式環境應改用 HTTPS。 - localhost 的意義:模擬器上的 localhost 指向你的 Mac,真機則指向手機自己,真機測試時要換成電腦的區網 IP。
- API 已過時:
NSURLConnection.sendAsynchronousRequest在現代 iOS 已不建議使用,請改用URLSession.sharedSession().dataTaskWithURL,寫法更簡潔且能拿到狀態碼與錯誤資訊。
- 上一篇文章: iOS 截屏功能實作:把當前畫面存進相簿
- 下一篇文章: iOS 如何取得 App Store 上的最新版本號