
iOS 手勢實戰:從點擊手勢認識 UIGestureRecognizer
編輯:iOS 開發綜合
手勢辨識器是 iOS 互動開發的基礎建設之一。在動手做縮放、旋轉之前,先從最簡單的「點擊」開始,把整個手勢的運作模式搞懂,後續複雜的手勢都能沿用同一套思路。
第一步:把圖片放上畫面,並開啟互動
先從 bundle 載入一張圖片,建立 UIImageView 並設定位置,然後加入控制器的檢視階層。這裡有個關鍵:UIImageView 預設不接收互動事件,必須把 userInteractionEnabled 設為 YES,手勢才會生效。
#import <UIKit/UIKit.h>

@interface ViewController : UIViewController
{
    UIImageView *_imageView;
}
@end
- (void)viewDidLoad {
    [super viewDidLoad];

    // 從本地載入圖片到記憶體
    UIImage *image = [UIImage imageNamed:@"17_2.png"];

    _imageView = [[UIImageView alloc] init];
    _imageView.image = image;
    _imageView.frame = CGRectMake(50, 80, 200, 300);
    [self.view addSubview:_imageView];

    // YES:可響應互動事件;NO:不響應(預設值)
    _imageView.userInteractionEnabled = YES;
}
建立點擊手勢
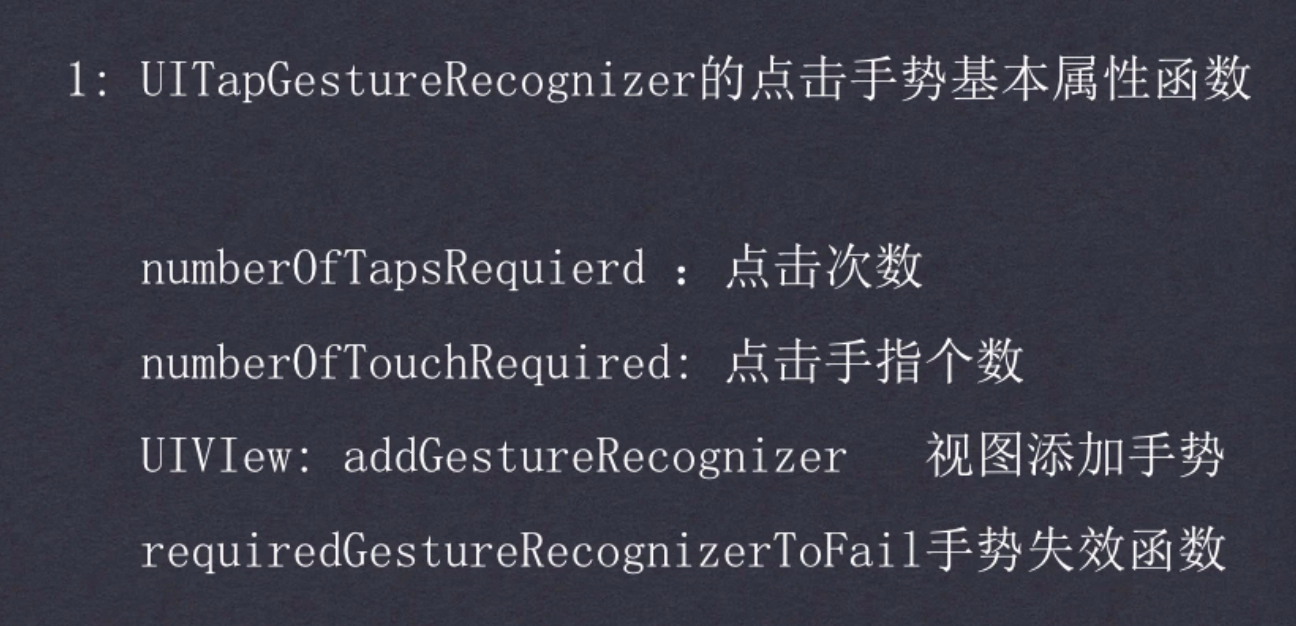
UITapGestureRecognizer 負責辨識點擊。建立時同樣要傳入 target 與 action,接著透過兩個屬性描述「怎樣才算一次有效點擊」:
numberOfTapsRequired:需要點擊幾下,預設 1numberOfTouchesRequired:需要幾根手指,預設 1
實務上很常需要同時支援單擊與雙擊,這時可以建立兩個手勢,各自掛到同一個檢視上。
// 單擊:1 下、1 指
UITapGestureRecognizer *tapOneGes =
    [[UITapGestureRecognizer alloc] initWithTarget:self action:@selector(tapOneAct:)];
tapOneGes.numberOfTapsRequired = 1;
tapOneGes.numberOfTouchesRequired = 1;
[_imageView addGestureRecognizer:tapOneGes];

// 雙擊:2 下、1 指
UITapGestureRecognizer *tapTwoGes =
    [[UITapGestureRecognizer alloc] initWithTarget:self action:@selector(tapTwoGes:)];
tapTwoGes.numberOfTapsRequired = 2;
tapTwoGes.numberOfTouchesRequired = 1;
[_imageView addGestureRecognizer:tapTwoGes];
解決單擊與雙擊的衝突
問題來了:使用者雙擊時,系統會先收到一次單擊。若不處理,單擊的動畫會先跑一遍,畫面就會閃一下。解法是透過 requireGestureRecognizerToFail: 告訴單擊手勢:遇到雙擊手勢時,你就當自己失敗。
// 當雙擊出現時,單擊手勢失效
[tapOneGes requireGestureRecognizerToFail:tapTwoGes];
撰寫事件回呼
回呼方法的參數就是那個手勢物件,透過它的 view 屬性可以取得被監控的檢視。下面用最傳統的 begin/commit 動畫寫法,示範單擊放大、雙擊還原。
// 單擊:把圖片放大到接近全螢幕
- (void)tapOneAct:(UITapGestureRecognizer *)tap {
    NSLog(@"單擊操作!");
    UIImageView *imageView = (UIImageView *)tap.view;

    [UIView beginAnimations:nil context:nil];
    [UIView setAnimationDuration:2];
    imageView.frame = CGRectMake(0, 0, 320, 568);
    [UIView commitAnimations];
}

// 雙擊:還原到初始尺寸與位置
- (void)tapTwoGes:(UITapGestureRecognizer *)tap {
    NSLog(@"雙擊操作");
    [UIView beginAnimations:nil context:nil];
    [UIView setAnimationDuration:1];
    _imageView.frame = CGRectMake(50, 80, 200, 300);
    [UIView commitAnimations];
}
小結
把這段範例吃透,你就掌握了手勢開發的四個固定步驟:建立手勢物件並綁定 target/action、設定辨識條件、掛到檢視上、在回呼方法裡處理 gesture.view。後續要換成 swipe、long press 或 pinch,流程一模一樣,只是換掉手勢類別與對應屬性而已。