
Xcode 6 與 Swift 應用程式的國際化與在地化實作全流程

本文由 @RepairmanJacob 翻譯自 Ramblings on Swift and iOS,原文:Internationalization and localization of Apps in Xcode 6 and Swift。
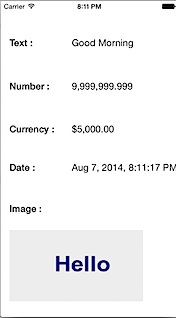
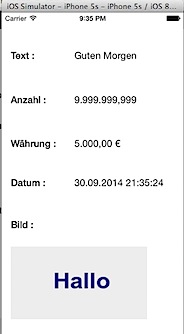
當你希望應用無縫支援不同語言與地區時,國際化(Internationalization)與在地化(Localization)就變得必要。前者是建立一套能支援多語言的框架,後者則是讓 App 適配特定地區(例如德國)。本文示範如何把一個包含文字、數字、日期、貨幣與圖片的 App 同時在地化為英文與德文。
英文版:
德文版:
實作步驟包含:
- 以 NSNumberFormatter 與 NSDateFormatter 格式化數字、貨幣與日期
- Storyboard 的國際化
- 文字的國際化
- 圖片的國際化
建立專案與使用者介面
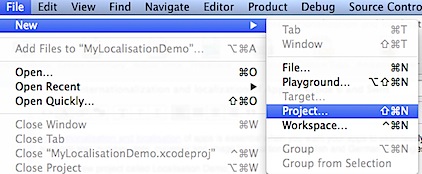
開啟 Xcode,選擇 File > New > Project,使用 Single View Application 範本。
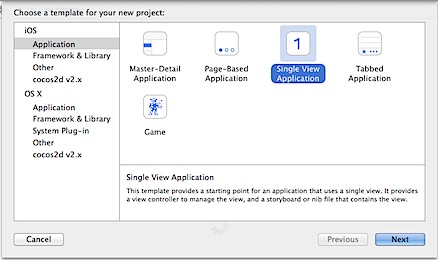
專案名稱取為「Localisation Demo」,語言選 Swift,指定路徑後存檔。
切換到 Main.storyboard,從物件庫拖入 9 個 Label 與 1 個 UIImageView,分別用來顯示各項標題與對應數值。
宣告 IBOutlet
在 ViewController.swift 的類別宣告後加入:
@IBOutlet var textLabel: UILabel!
@IBOutlet var numberLabel: UILabel!
@IBOutlet var currencyLabel: UILabel!
@IBOutlet var dateLabel: UILabel!
@IBOutlet var imageView: UIImageView!
回到 Storyboard,把各控制項連到對應的 outlet。
為控制項賦值
新增一個 populateValues 函數:
func populateValues() {
    textLabel.text = "Good Morning"
    numberLabel.text = "9999999.999"
    currencyLabel.text = "50000"
    dateLabel.text = "07/08/2014"
    imageView.image = UIImage(named: "hello")
}
並在 viewDidLoad 中呼叫:
override func viewDidLoad() {
    super.viewDidLoad()
    populateValues()
}
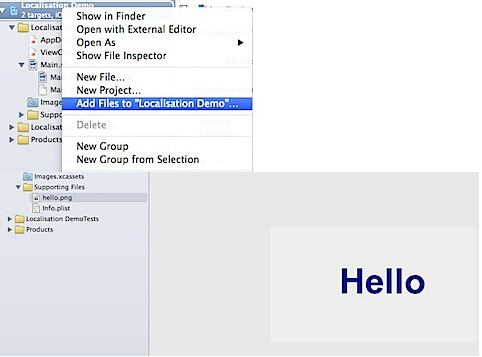
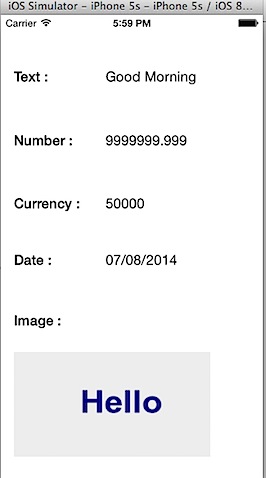
用 Add Files to "Localisation Demo" 把 hello.png 加入專案,此時執行即可看到尚未格式化的原始值。
加入格式化器
在 ViewController.swift 中新增三個計算屬性:
var numberFormatter: NSNumberFormatter {
    let formatter = NSNumberFormatter()
    formatter.numberStyle = .DecimalStyle
    return formatter
}

var currencyFormatter: NSNumberFormatter {
    let formatter = NSNumberFormatter()
    formatter.numberStyle = .CurrencyStyle
    return formatter
}

var dateFormatter: NSDateFormatter {
    let formatter = NSDateFormatter()
    formatter.dateStyle = .MediumStyle
    formatter.timeStyle = .MediumStyle
    return formatter
}
接著改寫 populateValues,改由格式化器輸出:
func populateValues() {
    textLabel.text = "Good Morning"
    numberLabel.text = numberFormatter.stringFromNumber(9999999.999)
    currencyLabel.text = currencyFormatter.stringFromNumber(5000)
    dateLabel.text = dateFormatter.stringFromDate(NSDate())
    imageView.image = UIImage(named: "hello")
}
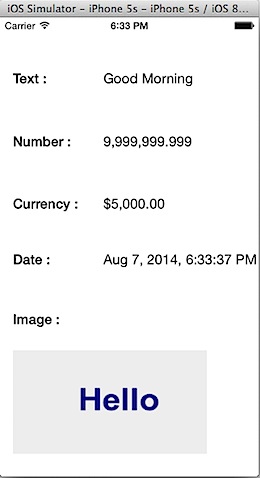
此時數字、貨幣與日期會依模擬器目前的系統地區自動調整格式。
為專案新增德語支援
選取專案檔,再選 Target。
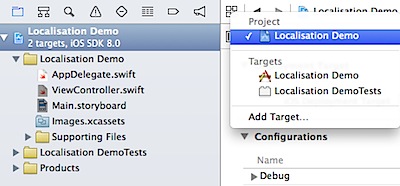
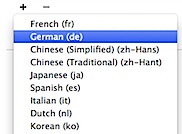
在 Localizations 區塊點「+」,從清單中選擇 German。
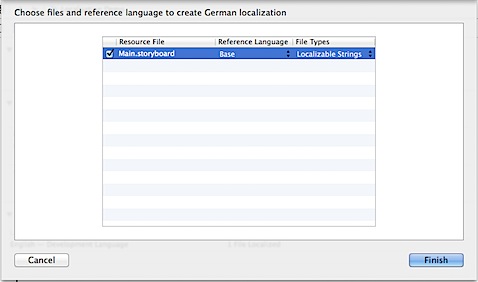
在跳出的視窗中保留預設勾選的檔案,按 Finish。
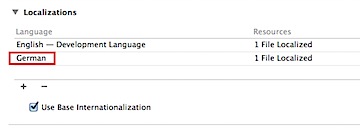
完成後即可在本地化清單中看到 German。
在地化 Storyboard 中的標題
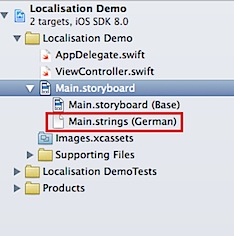
展開 Main.storyboard,開啟 Main.strings (German),把日期、貨幣、數字、圖片標題分別譯為 Datum、Währung、Anzahl、Bild;其餘需要動態產生的文字留給程式碼處理。
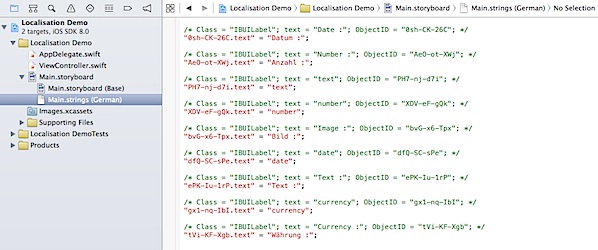
/* Class = "IBUILabel"; text = "Date :"; ObjectID = "0sh-CK-26C"; */
"0sh-CK-26C.text" = "Datum :";

/* Class = "IBUILabel"; text = "Number :"; ObjectID = "AeO-ot-XWj"; */
"AeO-ot-XWj.text" = "Anzahl :";

/* Class = "IBUILabel"; text = "Image :"; ObjectID = "bvG-x6-Tpx"; */
"bvG-x6-Tpx.text" = "Bild :";

/* Class = "IBUILabel"; text = "Currency :"; ObjectID = "tVi-KF-Xgb"; */
"tVi-KF-Xgb.text" = "Währung :";
在模擬器中驗證
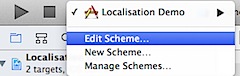
只有當除錯環境的語言與地區設為德語時,上述變更才會生效。點選 Set the active scheme,選擇 Edit Scheme。
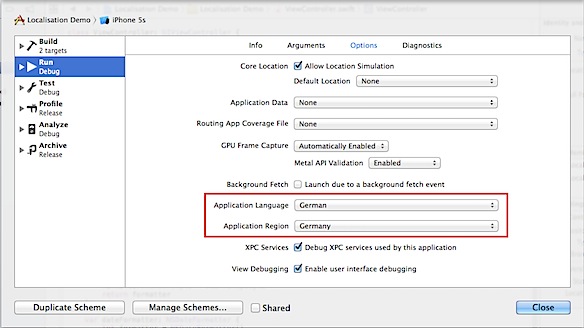
在 Options 頁把 Application Language 設為 German、Application Region 設為 Germany。
執行後,畫面文字與數字、日期、貨幣格式都會切換為德式。
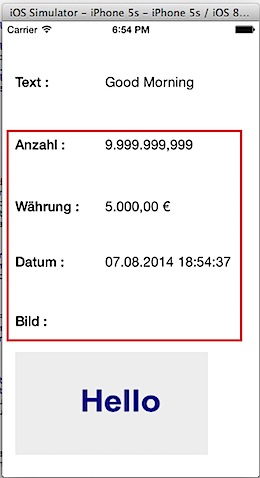
用 NSLocalizedString 處理動態文字
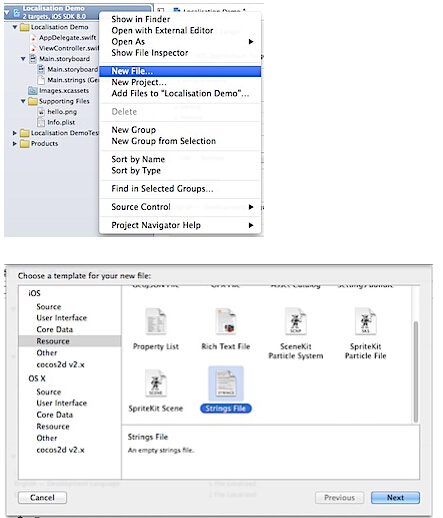
「Good Morning」需要對應德文的「Guten Morgen」。新增一個 Strings 類型檔案,命名為 Localizable.strings。
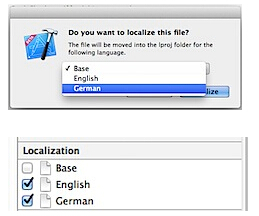
選取該檔案,在 File Inspector 點 Localize。
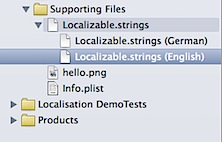
選擇 English,並確認本地化清單中 German 也已勾選。
英文版加入:
GOOD_MORNING="Good Morning";
德文版加入:
GOOD_MORNING="Guten Morgen";
最後把程式碼改為以 key 取值:
textLabel.text = NSLocalizedString("GOOD_MORNING", comment: "Good Morning")
執行後即會依目前語言顯示對應翻譯。
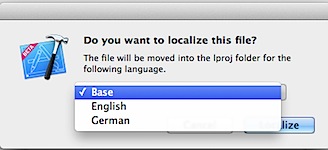
圖片的國際化
圖片內嵌的文字也需要在地化。選取 hello.png,點擊 File Inspector 的 Localize 按鈕,分別在地化為英語與德語。
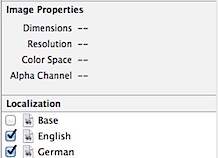
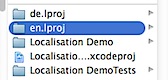
在 Finder 中打開專案資料夾,會看到 en.lproj 與 de.lproj 兩個目錄。
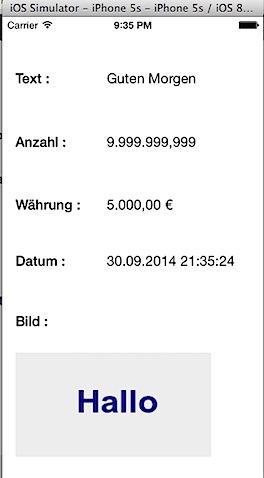
把含德文的 hello.png 複製到 de.lproj,重新編譯並執行,圖片就會隨語言切換。
- 上一篇文章: 新年特輯:十六位開發者分享的 iOS 與 Swift 實用技巧
- 下一篇文章: iOS 8 互動式本地通知實戰:以購物提醒 App 為例