
UIKit 動畫三件套:animateWithDuration、transitionWithView 與 Keyframes
編輯:iOS 開發基礎
喜歡動畫是一回事,寫得出好動畫是另一回事。這篇來談 UIKit 裡的動畫 API,包括:
UIView.animateWithDurationUIView.transitionWithViewUIView.animateKeyframesWithDuration(含addKeyframeWithRelativeStartTime)
這些 API 上手門檻低,屏蔽了 Core Animation 的複雜度——儘管底層跑的仍然是 Core Animation。
animateWithDuration:屬性漸變
class func animateWithDuration(duration: NSTimeInterval,
                                   delay: NSTimeInterval,
                 usingSpringWithDamping dampingRatio: CGFloat,
                  initialSpringVelocity velocity: CGFloat,
                                 options: UIViewAnimationOptions,
                              animations: () -> Void,
                              completion: ((Bool) -> Void)?)
七個參數的含義:
- duration:動畫執行時間
- delay:延遲多久開始
- usingSpringWithDamping:彈性係數,決定回彈的收斂程度
- initialSpringVelocity:初速度
- options:可選的動畫行為,如重複、曲線等
- animations:動畫內容本體,透明度漸變、位移、縮放都寫在這裡
- completion:動畫結束後執行的程式碼
理解參數最好的方式就是固定一個例子、反覆改參數看變化。
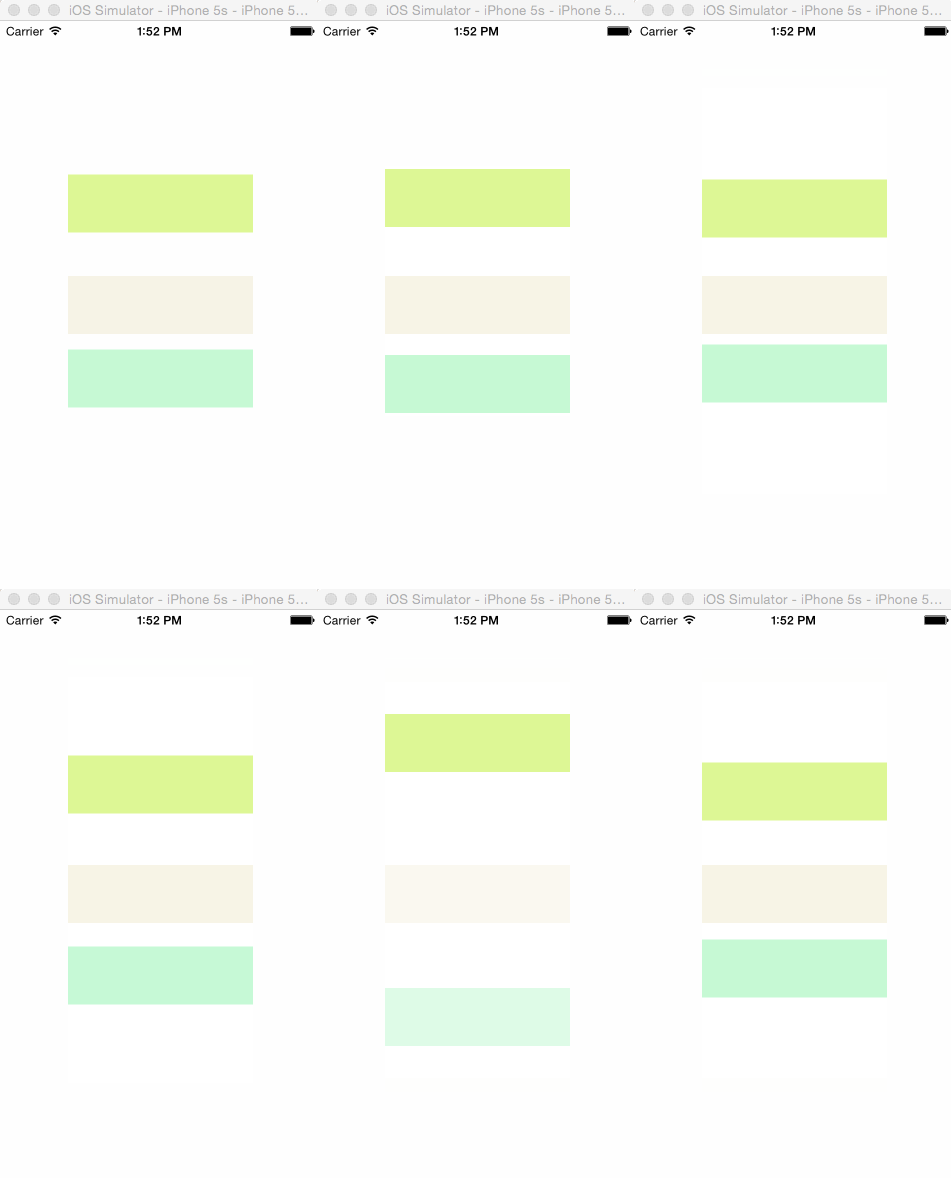
self.animationView2.alpha = 0
self.animationView3.alpha = 0

UIView.animateWithDuration(5, delay: 0.5, usingSpringWithDamping: 0.5, initialSpringVelocity: 0, options: .Repeat, animations: { () -> Void in
    self.animationView.center.y += 100
}) { (Bool) -> Void in
    println("finish")
}

UIView.animateWithDuration(5, delay: 0.5, usingSpringWithDamping: 0.5, initialSpringVelocity: 0, options: .Repeat, animations: { () -> Void in
    self.animationView2.alpha = 1
}) { (Bool) -> Void in
    println("finish")
}

UIView.animateWithDuration(5, delay: 0.5, usingSpringWithDamping: 0.5, initialSpringVelocity: 0, options: .Repeat, animations: { () -> Void in
    self.animationView3.center.y -= 100
    self.animationView3.alpha = 1
}) { (Bool) -> Void in
    println("finish")
}三段程式碼分別操作三個方塊:第一個做位移,第二個做透明度漸變,第三個是兩者組合。說到底,animateWithDuration 就是在一段時間內逐漸改變 UIView 的某項屬性——位置、尺寸、透明度、顏色等等。
transitionWithView:進出場轉場
這是做轉場動畫用的,適合讓整個 view 進場或離場。
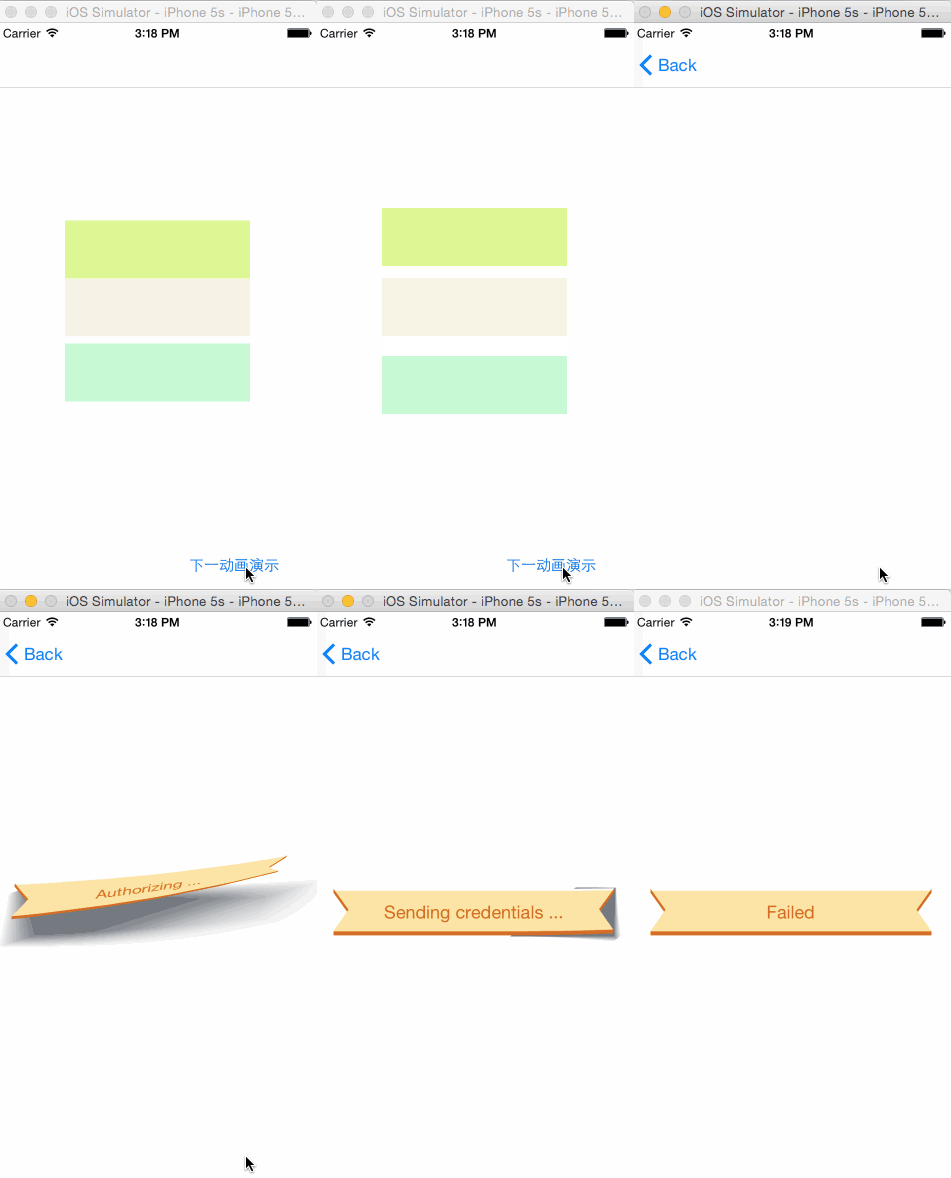
上圖中 banner 右移消失用的是 animateWithDuration,而它進場的部分用的就是 transitionWithView,有點像一頁紙翻下來的效果。
class func transitionWithView(view: UIView,
                              duration: NSTimeInterval,
                               options: UIViewAnimationOptions,
                            animations: () -> Void,
completion: ((Bool) -> Void)?)- view:要做動畫的對象
- duration:動畫時長
- options:雖然標記為可選,但實際上不填這個 API 就失去意義——view 以何種方式進場完全由它決定。是像書頁一樣翻進來,還是像百葉窗一樣轉動,都在這裡選。
- animations:可以理解為動畫結束後 view 的最終形態
- completion:動畫結束後執行的程式碼
典型寫法:
UIView.transitionWithView(status, duration: 0.33, options:
        .CurveEaseOut | .TransitionCurlDown, animations: {
            self.yourView.hidden = false
        }, completion: nil)
再來一個用同樣函數做的效果:
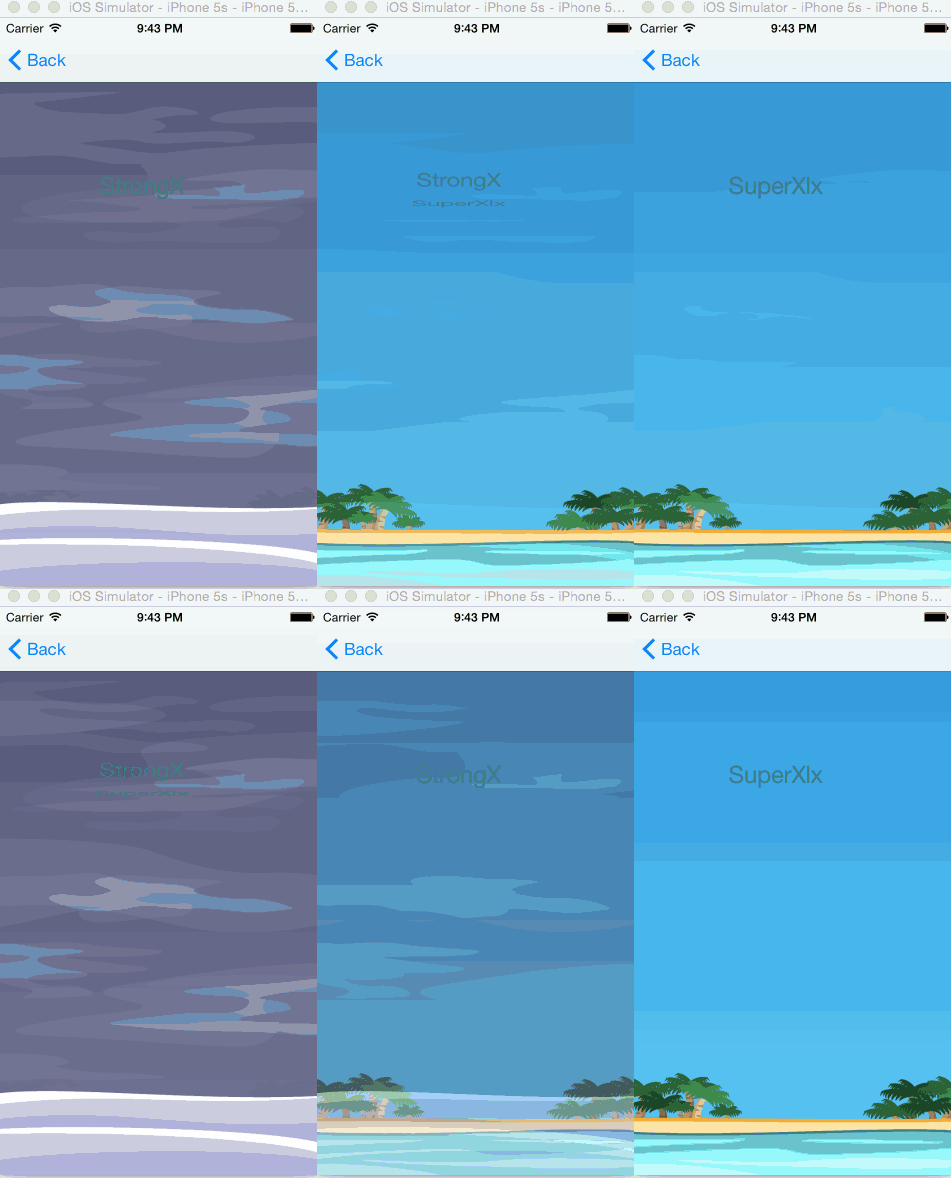
這是一個仿 3D 翻轉的效果,程式碼都在附帶的 Demo 裡。
animateKeyframesWithDuration:多段式動畫
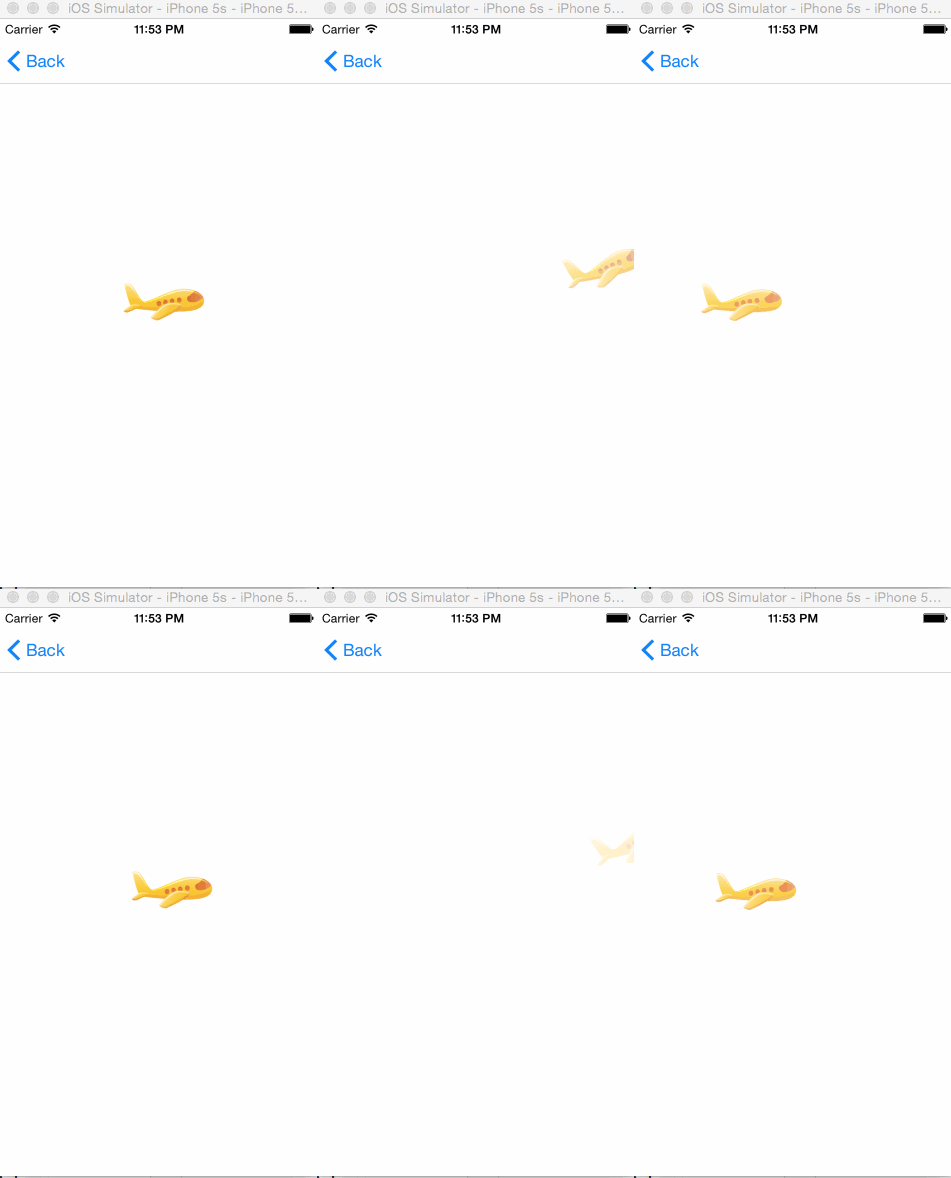
上圖的小飛機動畫明顯分成好幾個階段。用第一個 API 當然也能做,但巢狀套巢狀實在難看,更好的選擇是關鍵幀動畫。
class func animateKeyframesWithDuration(duration: NSTimeInterval,
                                          delay: NSTimeInterval,
                                        options: UIViewKeyframeAnimationOptions,
                                     animations: () -> Void,
completion: ((Bool) -> Void)?)- duration:整段動畫的總時長
- delay:延遲多久開始
- options:重複、倒放等行為
- animations:內部可放多個
UIView.addKeyframeWithRelativeStartTime - completion:結束後執行的程式碼
addKeyframeWithRelativeStartTime 用法近似 animateWithDuration,同樣是屬性漸變,但只能寫在關鍵幀動畫的 animations 閉包內。
小飛機的完整實作:
let originalCenter = planeImage.center

UIView.animateKeyframesWithDuration(1.5, delay: 0.0, options: .Repeat, animations: {
    //add keyframes
    UIView.addKeyframeWithRelativeStartTime(0.0, relativeDuration: 0.25, animations: {
        self.planeImage.center.x += 80.0
        self.planeImage.center.y -= 10.0
    })
    UIView.addKeyframeWithRelativeStartTime(0.1, relativeDuration: 0.4) {
        self.planeImage.transform = CGAffineTransformMakeRotation(CGFloat(-M_PI_4/2))
    }
    UIView.addKeyframeWithRelativeStartTime(0.25, relativeDuration: 0.25) {
        self.planeImage.center.x += 100.0
        self.planeImage.center.y -= 50.0
        self.planeImage.alpha = 0.0
    }
    UIView.addKeyframeWithRelativeStartTime(0.51, relativeDuration: 0.01) {
        self.planeImage.transform = CGAffineTransformIdentity
        self.planeImage.center = CGPoint(x: 0.0, y: originalCenter.y)
    }
    UIView.addKeyframeWithRelativeStartTime(0.55, relativeDuration: 0.45) {
        self.planeImage.alpha = 1.0
        self.planeImage.center = originalCenter
    }
}, completion: nil)
程式碼已上傳 GitHub:https://github.com/superxlx/iOS_Animation_Test1
最後想說的是,動畫好不好看主要取決於設計而非 API。同樣的程式碼,調一下時間曲線與幅度,觀感可以差很遠。