
iOS 開發中的 Self-Manager:讓控件自己管好自己的事
Self-Manager 源自我們團隊內部的「黑話」。「诶?你新去的創業公司有幾個 iOS 開發啊?」「就我一個。」「靠,那你這不就是 Self-Manager 嘛!」最近,我們把這個思路升華成了一種設計模式:賦予某個 Widget 更大的權利,讓它自己負責自己的事件。
舉個簡單的例子,一個負責展示頭像的視圖:
它的職責包括:通過傳入的 URL 加載並展示頭像;顯示附屬信息(如大 V 標志);把用戶點擊頭像的事件傳遞給外層 ViewController 以跳轉到用戶信息頁。
於是這個 Widget 的 API 可能是:
@interface FDAvatarView : UIView
// 假設 VIPInfo 是某個 Entity
- (void)configureWithAvatarURL:(NSURL *)URL VIPInfo:(id)info tapped:(void(^)(void))block;
@end
使用方只需調用這個 configure 方法即可配置入參與事件處理。但隨之而來兩個蛋疼的問題:
- configure 的調用者是 superview(例如一個 UITableViewCell),而 Cell 並不知道自己的 ViewController 是誰,於是不得不逐級向上傳遞點擊事件,直到能拿到 NavigationController 再 Push 用戶信息頁。
- 這個 Avatar View 可能在 App 各處出現且行為一致,意味着事件處理的 block 散落各頁,同時衍生出大量「只為向上一層轉發事件」的 Middle Man。
為解決這個問題,就要給這個 View「放權」,讓它自己 Handle 自己的事件,即 Self-Managed。為不破壞 View 的純粹性,較好的實踐是在 Category 中實現:
@interface FDAvatarView (FDAvatarViewSelfManager)
- (void)selfManagedConfigureWithAvatarURL:(NSURL *)URL VIPInfo:(id)info uid:(NSString *)uid;
@end
實現時最好調用 View 主類提供的 API:
@implementation FDAvatarView (FDAvatarViewSelfManager)
- (void)selfManagedConfigureWithAvatarURL:(NSURL *)URL VIPInfo:(id)info UID:(NSString *)UID {
    [self configureWithAvatarURL:URL VIPInfo:info tapped:^{
        // 假設 App 結構是 Root -> TabBar -> Navigation -> ViewController
        UITabBarController *tabBarControler = (id)[UIApplication sharedApplication].delegate.window.rootViewController;
        UINavigationController *navigationController = tabBarControler.selectedViewController;
        FDUserProfileViewController *profileViewController = [FDUserProfileViewController viewControllerWithUID:UID];
        [navigationController pushViewController:profileViewController animated:YES];
    }];
}
@end
這裡用到了類似 AOP 的思路,引入了對 App 層級的耦合。若你覺得這種耦合不妥,也可以封裝一個全局方法來獲取當前頂層的 NavigationController。如此一來,FDAvatarView 的使用方只需配置入參,其餘全由它自己搞定;即便頭像出現在 App 各處,邏輯代碼也只有一份。
再看一個例子——點贊按鈕:
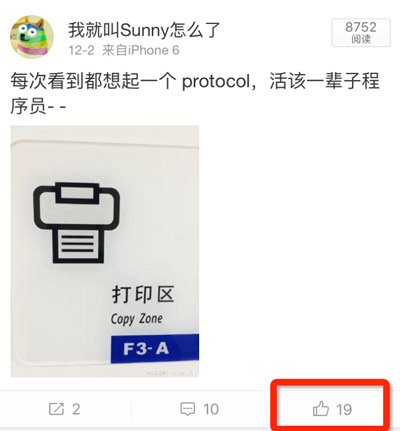
它在功能上有幾個職責:顯示已有點贊數;點擊後播放小動畫、點贊數 +1 並發送網絡請求;若已點贊則執行反向操作;若請求失敗則回退到點擊前狀態。
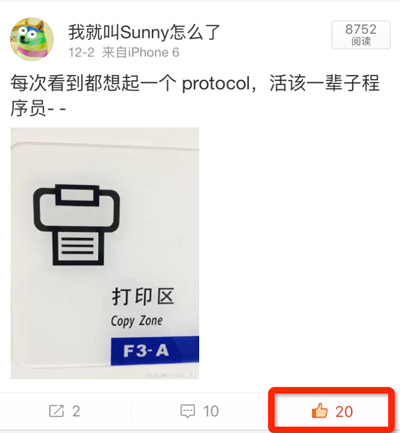
它的 API 可設計為:
@interface FDLikeButton : UIButton
- (void)configureLikeStatus:(BOOL)likeOrNot count:(NSInteger)count animated:(BOOL)animated;
@end
因為繼承自 UIButton,外部可直接設置 action,故不再增加 tappedHandler 參數。外部在點擊事件中調用配置方法播放動畫、發送請求,失敗時再調用無動畫版本回滾。但和上一例一樣,網絡請求與事件處理邏輯相同卻分散各頁,於是給它加上 Self-Managed 模式的 Category:
@interface FDLikeButton (FDLikeButtonSelfManager)
- (void)selfManagedConfigureWithLikeStatus:(BOOL)likeOrNot count:(NSInteger)count;
@end
偽代碼實現如下:
@implementation FDLikeButton (FDLikeButtonSelfManager)
- (void)selfManagedConfigureWithLikeStatus:(BOOL)likeOrNot count:(NSInteger)count {
    [self configureLikeStatus:likeOrNot count:count animated:NO];
    [self addTarget:self action:@selector(likeButtonTapped:) forControlEvents:UIControlEventTouchUpInside];
}
- (void)likeButtonTapped:(id)sender {
    // +1 或 -1(帶動畫)
    // 發送網絡請求
    ^(NSError *error) {
        if (error) {
            // 回滾
        }
    }
}
@end
說來有趣,之前那篇面試題文章還調侃「別整出個往 UIButton 子類裡搞網絡請求的奇葩結構」,結果還是被自己打了臉。不過從設計上看,Self-Manager 並未破壞原有 MVC 結構——上面兩個例子中的 View 依然能脫離具體業務邏輯單獨使用,只是藉助 Category 把本該寫在 ViewController 裡的代碼挪進了 View 文件,讓功能更內聚。
程序的複雜度不會因某種酷炫的設計模式而減少,它能做的只是對複雜度的切分與控制,即:讓一大坨惡心的代碼變成幾小坨不那麼惡心的代碼;讓惡心的代碼只在一個地方惡心。Self-Manager 模式我們實踐起來寫得很開心,拋磚引玉,希望也能解你的燃眉之急。
- 上一篇文章: iOS 高級動畫實戰:圓形菜單樹的展開與收起
- 下一篇文章: 巧用 Class Extension 分離接口依賴