
iOS 10 SceneKit 新特性速覽:PBR 材質、物理光照與 HDR 相機
本文帶你快速掃一遍 iOS 10 中 SceneKit 的新能力,配合 WWDC 的 Advances in SceneKit Rendering 一節觀看效果更佳。
SceneKit 定位類似 Unity,是一套構建 3D 場景與物件的框架,不少 3D 遊戲都基於它開發。自幾年前與 Swift 同期推出以來一直頗受歡迎,今年的 Swift Playground 就用了 SceneKit 做 3D 遊戲,幫助小朋友學習編程。想先建立基礎認識的話,可以參考 ObjC-SceneKit 的入門介紹。
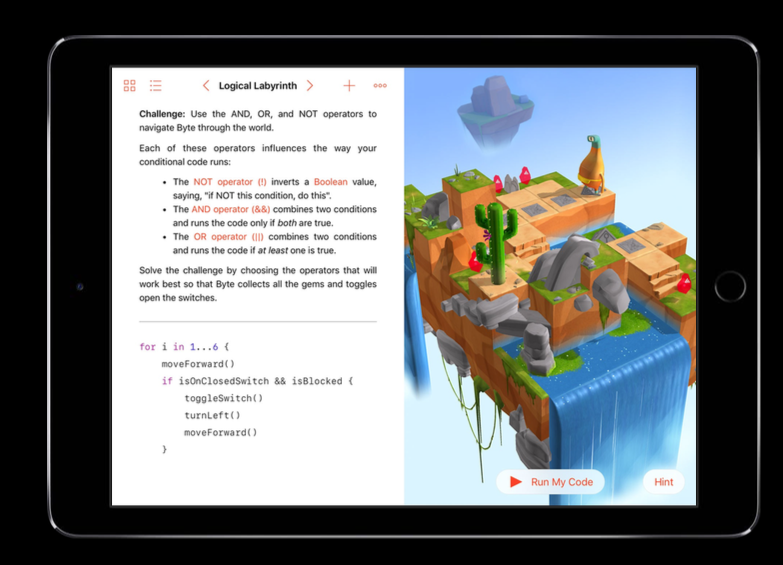
今年 SceneKit 還登陸了 Apple Watch。手錶屏幕太小,大概只適合放幾個簡單的 3D 小部件。
基於物理的渲染(PBR)
本年度最大的更新莫過於引入 Physically Based Rendering。它的核心思路是借鑒當前 3D 圖形學的研究成果,用更簡單的素材製作流程換取更真實的渲染效果。
What's new in iOS 10 SceneKit: A new Physically Based Rendering (PBR) system allows you to leverage the latest in 3D graphics research to create more realistic results with simpler asset authoring
官方文檔對材質的描述是:
PBR materials require only three fundamental properties—diffuse, metalness, and roughness—to produce a wide range of realistic shading effects.
也就是說,如今映射一個 3D 物體只需要調整 diffuse、metalness、roughness 三個變量。下面用一個小 Demo 幫助理解。
先下載喜歡的材質貼圖——所謂材質可以理解為物體的「皮膚」,選不同貼圖就能呈現不同質感。下載完成後配置材質:
let materialPrefixes : [String] = ["Copper-scuffed"]

let material = sphereNode.geometry?.firstMaterial

// Declare that you intend to work in PBR shading mode
// Note that this requires iOS 10 and up
material?.lightingModel = SCNMaterial.LightingModel.physicallyBased

// Setup the material maps for your object
let materialFilePrefix = materialPrefixes[0]
material?.diffuse.contents = UIImage(named: "\(materialFilePrefix)-albedo.png")
material?.roughness.contents = UIImage(named: "\(materialFilePrefix)-roughness.png")
material?.metalness.contents = UIImage(named: "\(materialFilePrefix)-metal.png")
那球的背景與反射是怎麼來的?同樣簡單——只要把材質的 LightingModel 設為 PBR,再提供一張全景圖,SceneKit 就會把它作為環境光照應用到物體上:
let env = UIImage(named: "interior_hdri_29_20150416_1169368110.jpg")
scene.lightingEnvironment.contents = env
要注意,這裡說的「全景圖」不是手機拍攝的全景照片,而是專業拍攝的高動態範圍素材。素材質量不達標就會出現明顯錯誤:
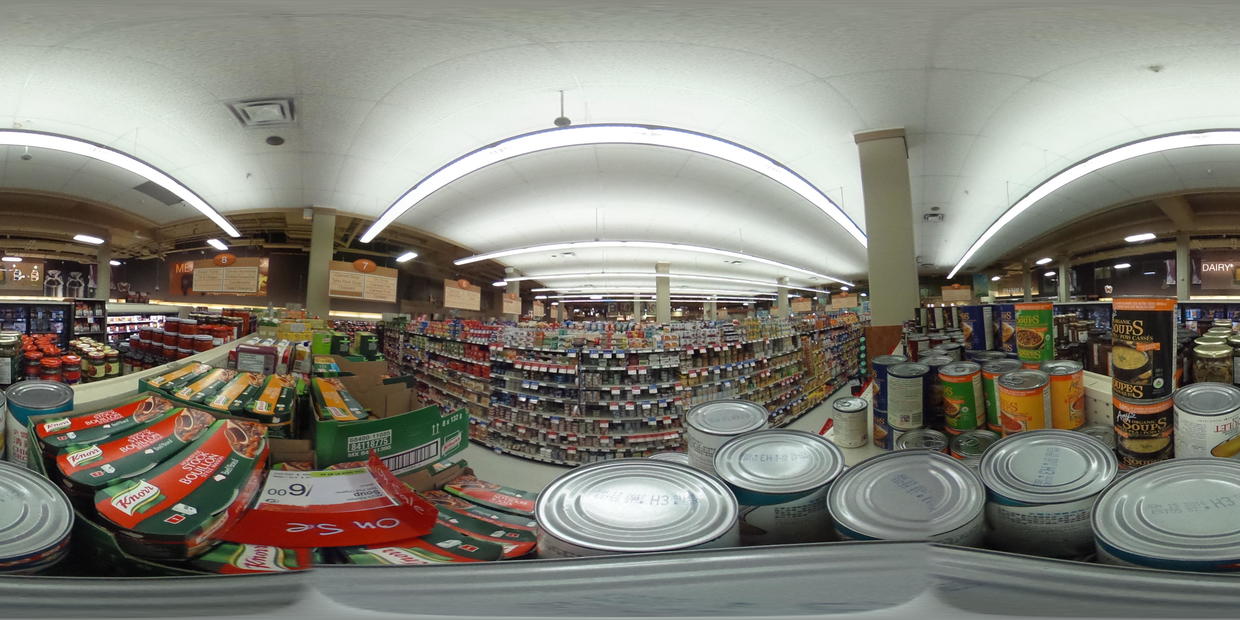
背景圖的配置方式相同:
let bg = UIImage(named: "interior_hdri_29_20150416_1169368110.jpg")
scene.background.contents = bg
仔細看會發現它與環境圖是同一張。
最終效果如下。這裡用的是 Swift Playground,體驗非常流暢。我還接入了 Core Motion,移動 iPad 即可切換視角——這其實也正是 VR 視角的實現方式,後續可以延伸探討如何用 SceneKit 搭建 iOS 上的 VR 應用。
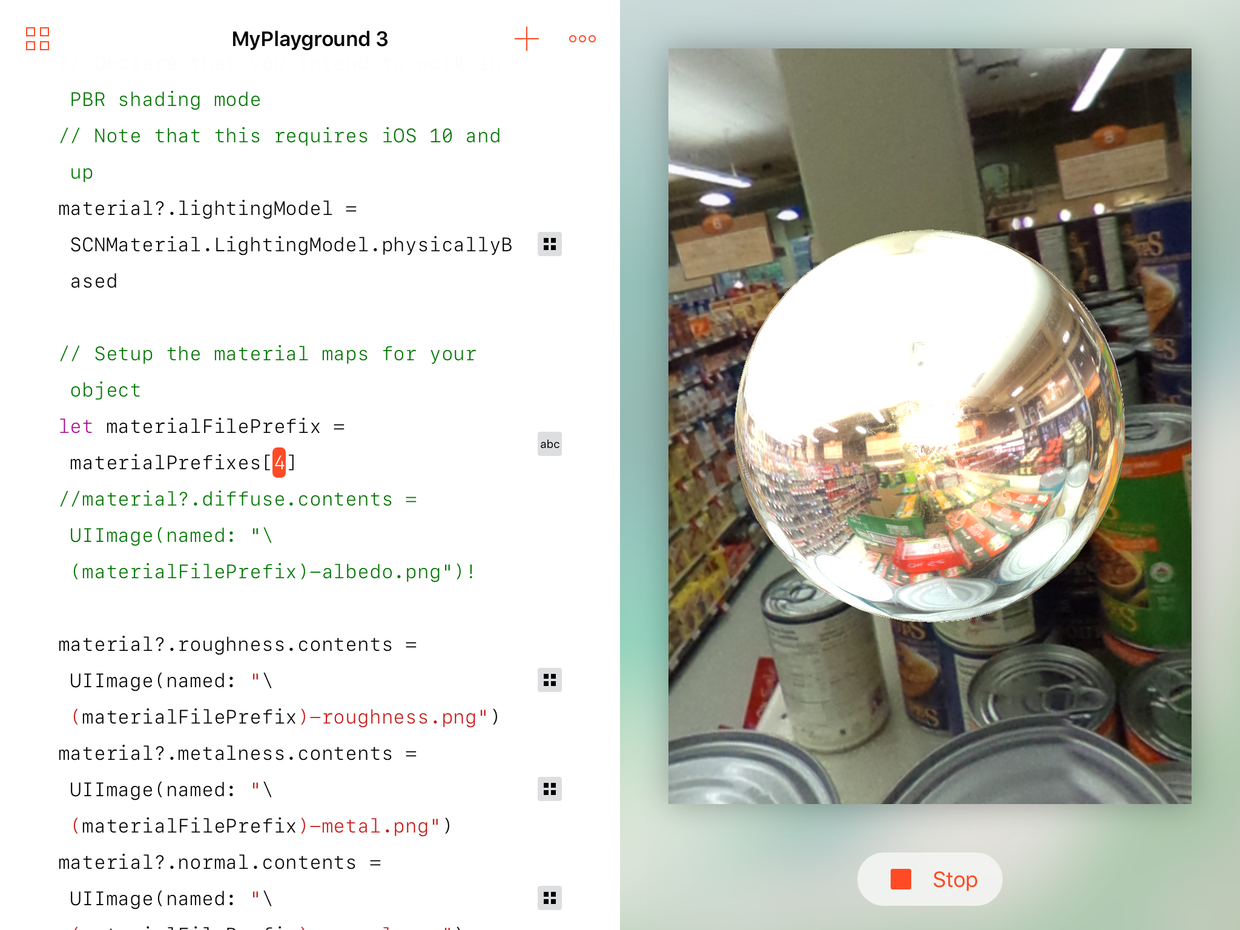
當然也可以直接新建 .scn 文件來編輯。先拖入一個 SphereNode:
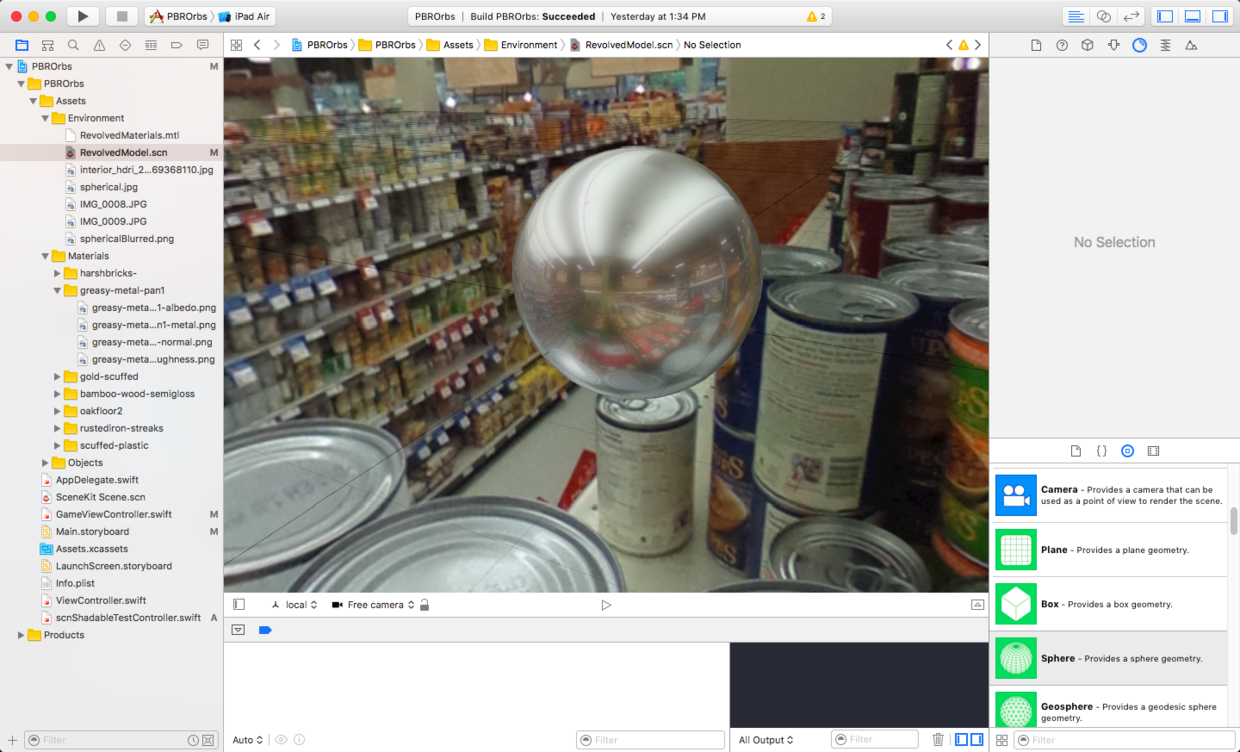
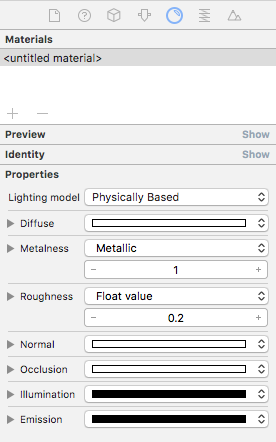
然後調整 Material 的屬性:
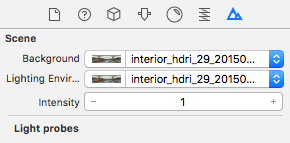
再設置 Lighting Environment 與 Background:
Object Library 裡有各種現成的 3D 物件,拖進 .scn 文件即可替換嘗試。
基於物理的光照
Authors of PBR scene content often prefer working in physically based terms, so you can now define lighting using intensity (in lumens) and color temperature (in degrees Kelvin), and import specifications for real-world light fixtures using the IESProfileURL property.
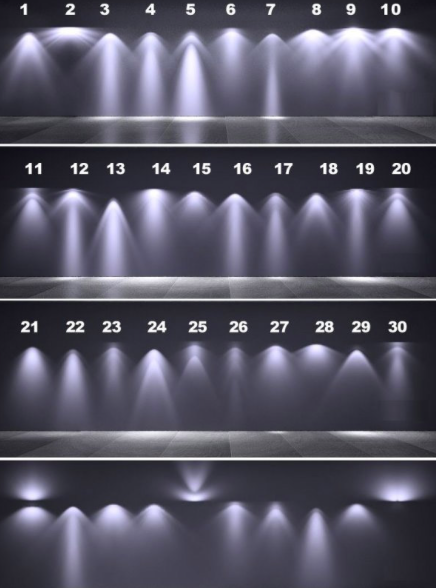
今年 scnLight 的變化是新增了一種光源類型:可以直接導入網上流傳的 .ies 格式文件,復現真實燈具的配光曲線。對需要還原真實打光效果的工作者來說,這是實打實的便利。
// add a liteNode
let liteNode = SCNNode()
liteNode.light = SCNLight()
liteNode.light?.iesProfileURL = URL(fileReferenceLiteralResourceName: "LF6N_1_42TRT_F6LS73.ies")
liteNode.light?.type = .IES
HDR 相機
Add even more realism with the new HDR features and effects in the SCNCamera class. With HDR rendering, SceneKit captures a much wider range of brightness and contrast in a scene, then allows you to customize the tone mapping that adapts that scene for the narrower range of a device's display. Enable exposure adaptation to create automatic effects when, for example, the player in your game moves from a darkened area into sunlight. Or use vignetting, color fringing, and color grading to add a filmic look to your game.
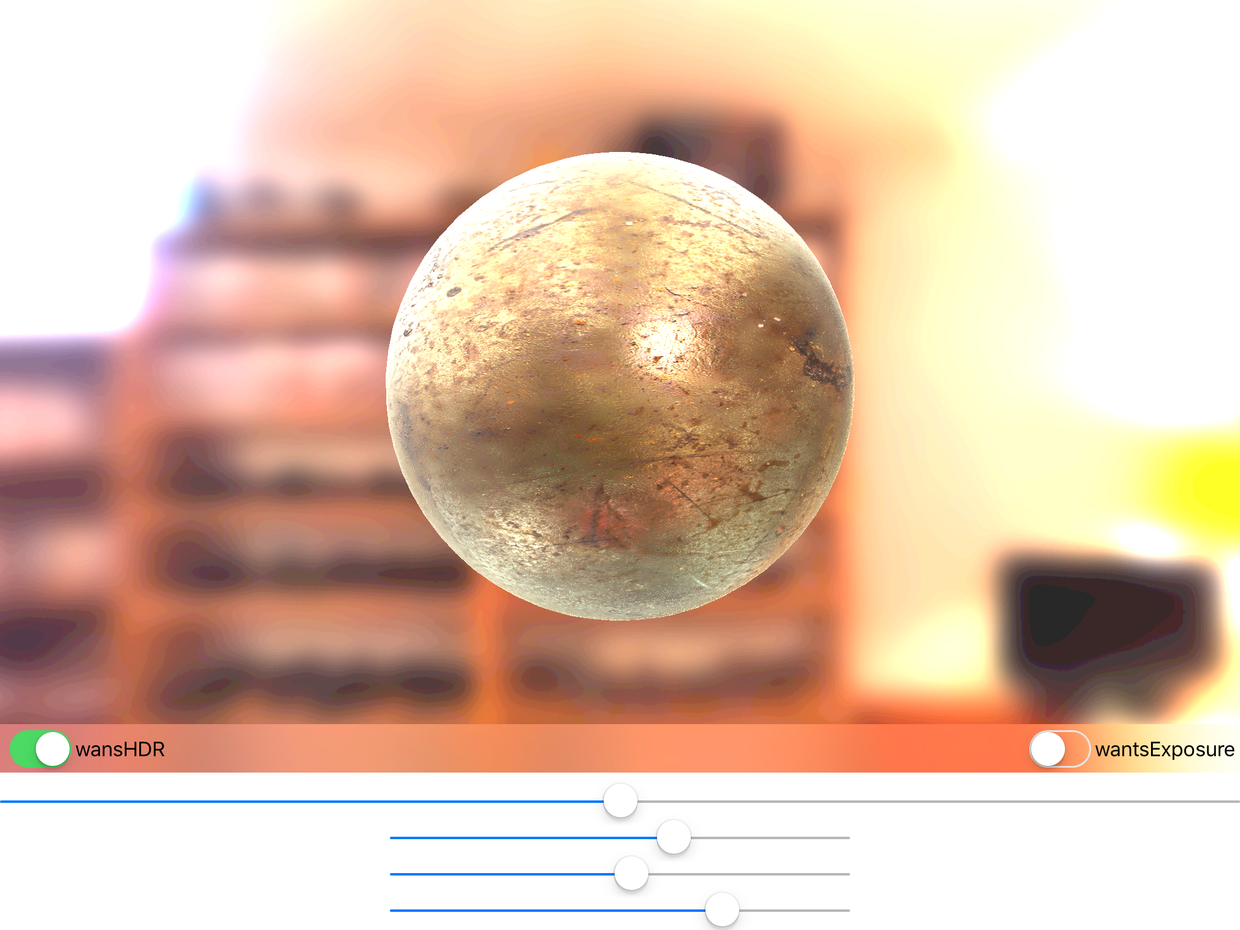
SCNCamera 今年新增了一批 HDR 相關能力。HDR 渲染能捕獲場景中更寬的亮度與對比範圍,再由你自定義 tone mapping,把它映射到設備屏幕所能呈現的較窄區間。開啟曝光自適應後,當角色從陰暗處走入陽光下,畫面會自動完成過渡;配合 vignetting、色散與色彩分級,還能做出電影般的質感。
我也寫了個 Demo 試用這些新 API,效果相當令人滿意。其中部分屬性支持 Animate,官方 Demo 展示過一個很直觀的例子:物體高速掠過時周邊場景出現動態模糊。把它放到賽車遊戲裡,真實感立刻拉滿。具體可查閱官方 API 文檔。
WWDC 的示例工程
Apple 今年開源了兩個適合入門 SceneKit 的 Demo,都用 Swift 3 寫成。看到 Session 這一段時現場掌聲很熱烈。
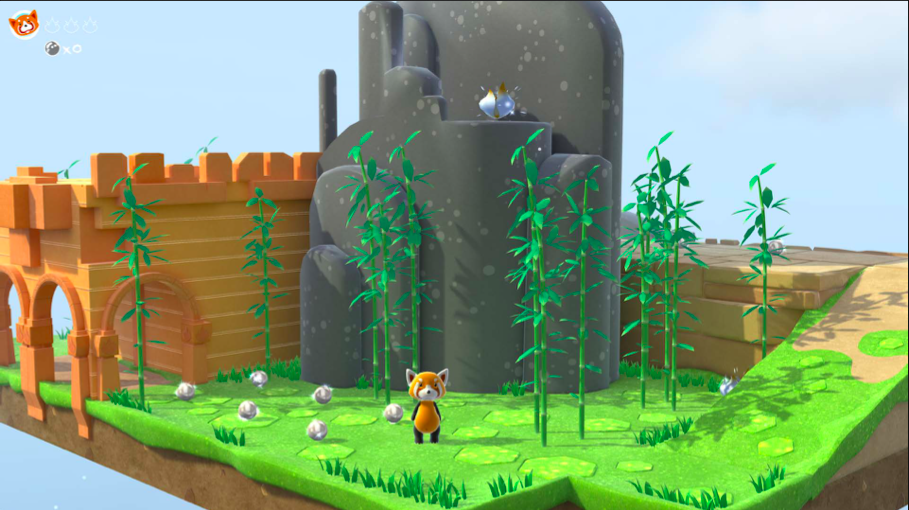
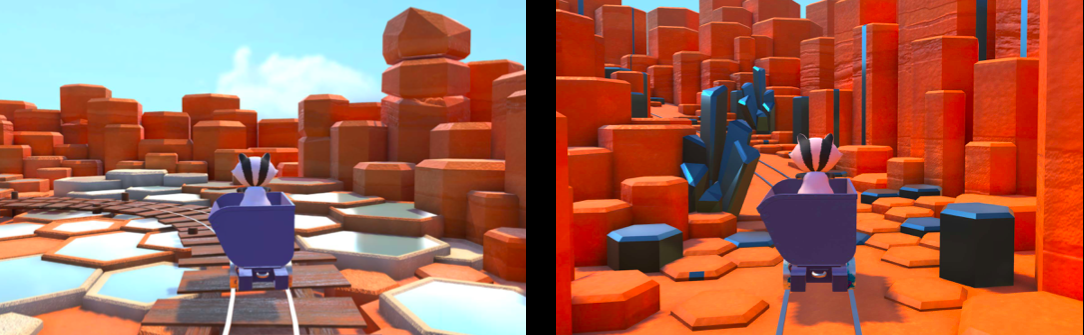
最後想說的是,SceneKit 的能力邊界還在擴展。若 Apple 日後推出 VR 相關方案,這類 3D 場景框架必然會被大量使用。我最近正在嘗試用 Google 的 VR iOS SDK 搭建 SceneKit 場景,也歡迎有興趣的朋友一起交流。
- 上一篇文章: iOS 崩潰堆棧符號解析實踐:symbolicatecrash 與 atos
- 下一篇文章: iOS 開發中的系統權限,一次講透