
iOS 圓角不卡頓:用遮罩 layer 實現的高性能分類方案
「圓角引起離屏渲染」是 iOS 面試與實戰中的老話題。直接給 layer 掛上 cornerRadius 加 masksToBounds,代碼確實優雅,代價是觸發離屏渲染;一旦列表裡大量 cell 都這麼寫,滑動掉幀幾乎是必然結果。
目前主流做法是異步預處理圖片:在拿到圖片的瞬間開一條子線程把圓角畫進位圖,處理完再回主線程展示。YYWebImage 就提供了 transform 的 block 讓你做這件事。但實際用起來,這條路徑有幾個不太舒服的地方。
一、圖片預處理方案的三個尷尬
1. 占位圖也得處理。網絡圖片通常要預設占位圖,如果設計師沒給圓角版本,你得自己再畫一次。
2. 混合視圖難搞。比如圖片上疊了一個 Label,Label 也需要圓角,那就得再單獨處理一遍。(分享一個小技巧:與其為圓角背景單獨建視圖,不如生成一張左下、右下角帶圓角的黑色背景圖,再用 colorWithPatternImage 設成 Label 的背景色。)

圖片上帶 Label 的場景
3. 緩存會「串味」。YYWebImage 會緩存 transform 後的圖片,同一個 URL 在一處做了圓角,另一處拿出來依然是圓角圖。繞開它需要維護多個 YYWebImageManager 實例,成本不低。
這些問題都能解,但如果有一種方案能一次性繞開,那不是更好?
二、我的思路:在視圖層上做遮罩
既然從圖片入手麻煩,那就換個層次。做法很樸素:給需要圓角的視圖在最上層加一個子 layer,這個 layer 的內容是一張「中間透明、四角是父視圖背景色」的圖,視覺上就實現了圓角。
因為遮罩在最上層,圖片上疊的 Label 會被順帶一起裁掉,第二個問題自然消失;因為處理的是視圖層而非位圖,第一、第三個問題也不復存在。
需要的素材只有一張帶圓角缺口的遮罩圖,甚至可以代碼生成,不必讓設計師為每種尺寸切圖。
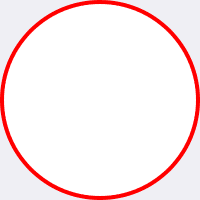
帶邊框的遮罩圖

不帶邊框的遮罩圖
三、繪制遮罩圖的關鍵代碼
核心技巧是複用系統的圓角路徑 API,再用偶奇填充規則挖空中間:
@implementation UIImage (XWAddForRoundedCorner)

+ (UIImage *)xw_imageWithSize:(CGSize)size drawBlock:(void (^)(CGContextRef context))drawBlock {
    if (!drawBlock) return nil;
    UIGraphicsBeginImageContextWithOptions(size, NO, 0);
    CGContextRef context = UIGraphicsGetCurrentContext();
    if (!context) return nil;
    drawBlock(context);
    UIImage *image = UIGraphicsGetImageFromCurrentImageContext();
    UIGraphicsEndImageContext();
    return image;
}

+ (UIImage *)xw_maskRoundCornerRadiusImageWithColor:(UIColor *)color
                                        cornerRadii:(CGSize)cornerRadii
                                               size:(CGSize)size
                                            corners:(UIRectCorner)corners
                                          borderColor:(UIColor *)borderColor
                                          borderWidth:(CGFloat)borderWidth {
    return [UIImage xw_imageWithSize:size drawBlock:^(CGContextRef context) {
        CGContextSetLineWidth(context, 0);
        [color set];
        CGRect rect = CGRectMake(0, 0, size.width, size.height);
        // 外擴 0.3 修掉邊緣鋸齒
        UIBezierPath *rectPath = [UIBezierPath bezierPathWithRect:CGRectInset(rect, -0.3, -0.3)];
        // 內縮 0.3 修掉內邊緣鋸齒
        UIBezierPath *roundPath = [UIBezierPath bezierPathWithRoundedRect:CGRectInset(rect, 0.3, 0.3)
                                                        byRoundingCorners:corners
                                                              cornerRadii:cornerRadii];
        [rectPath appendPath:roundPath];
        CGContextAddPath(context, rectPath.CGPath);
        // 必須用 EOFill,才能把中間挖空
        CGContextEOFillPath(context);

        if (!borderColor || !borderWidth) return;
        [borderColor set];
        UIBezierPath *outer = [UIBezierPath bezierPathWithRoundedRect:rect
                                                    byRoundingCorners:corners
                                                          cornerRadii:cornerRadii];
        UIBezierPath *inner = [UIBezierPath bezierPathWithRoundedRect:CGRectInset(rect, borderWidth, borderWidth)
                                                    byRoundingCorners:corners
                                                          cornerRadii:cornerRadii];
        [outer appendPath:inner];
        CGContextAddPath(context, outer.CGPath);
        CGContextEOFillPath(context);
    }];
}
@end
一開始我曾想自己用四段四分之一圓弧拼圓角,結果代碼翻了一倍,弧度還不如系統自帶的飽滿。打開系統生成的圓角路徑一看,控制點取值並不是標準圓弧的取法,效果卻更好。總之,借用 bezierPathWithRoundedRect 搭配 EOFill,視覺上和 cornerRadius 幾乎無差別。
此外,繪製出的遮罩圖應當緩存起來:當顏色、圓角、邊框參數完全一致時直接複用,避免反覆創建。
四、封裝與調用
我把方案封裝成 UIView 的分類 UIView+XWAddForRoundedCorner,開源地址 XWCornerRadius,只有三個 API,全部代碼約 200 行,零依賴:
// 四角圓角
- (void)xw_roundedCornerWithRadius:(CGFloat)radius cornerColor:(UIColor *)color;

// 指定幾個角的圓角
- (void)xw_roundedCornerWithRadius:(CGFloat)radius
                       cornerColor:(UIColor *)color
                           corners:(UIRectCorner)corners;

// 帶邊框的圓角
- (void)xw_roundedCornerWithCornerRadii:(CGSize)cornerRadii
                            cornerColor:(UIColor *)color
                                corners:(UIRectCorner)corners
                            borderColor:(UIColor *)borderColor
                            borderWidth:(CGFloat)borderWidth;
調用方式:
[headerView xw_roundedCornerWithCornerRadii:XWSizeMake(40, 40)
                                cornerColor:[UIColor whiteColor]
                                    corners:UIRectCornerAllCorners
                                borderColor:[UIColor redColor]
                                borderWidth:widthRatio(2)];
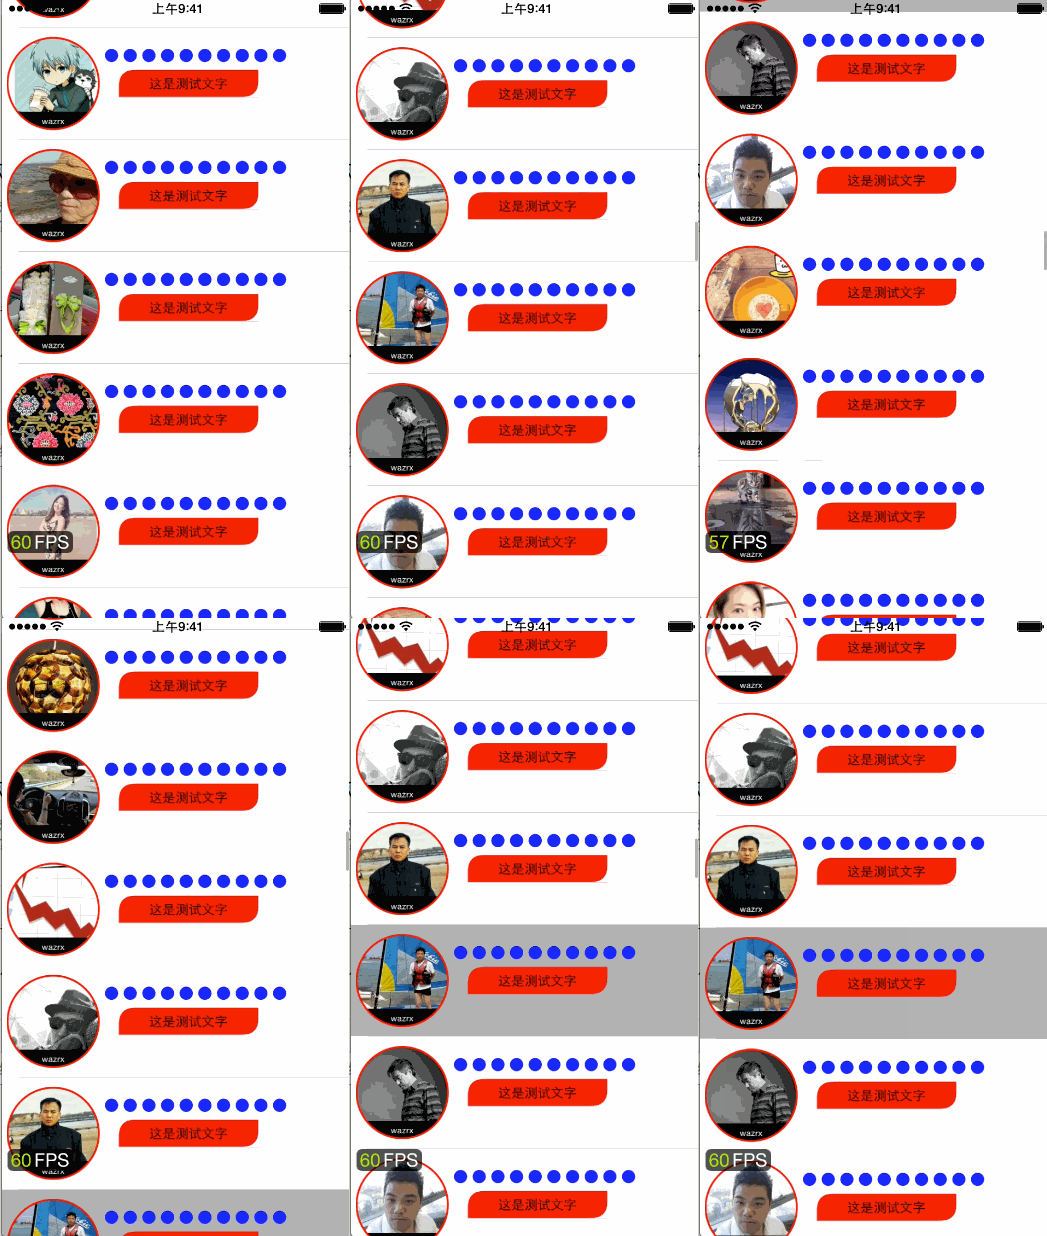
列表效果演示
五、優缺點
優點:一次性繞開前述三個問題,改造成本低,對混合視圖天然友好。
缺點:
遮罩圖需要一個背景色,這個顏色取自父視圖。如果父視圖不是純色、或者帶透明度,方案就不成立了,此時仍舊只能回去處理圖片;
如果父視圖背景色會動態變化(例如 cell 點選高亮),你得同步更新遮罩圖,要多寫一點代碼。
性能方面我做了簡單測試,雖然多了一層圖層混合,但相比離屏渲染的成本可以忽略,在老款 iPod touch 上也相當流暢。想要更極致的優化,可以配合 YYWebImage 控制解碼尺寸,YYKit 源碼和 YY 大師的性能分析文章也值得反覆讀。
不過我的態度是:先把需求做對,再談性能優化。過早優化是萬惡之源。