
從零開始學 iOS 開發:Navigation Controller 與 Table View 實作
Navigation Controller 常用來管理多層頁面切換,而 Table View 則适合作為清單與選單。兩者搭配,能建立常見的 iOS 階層式介面。
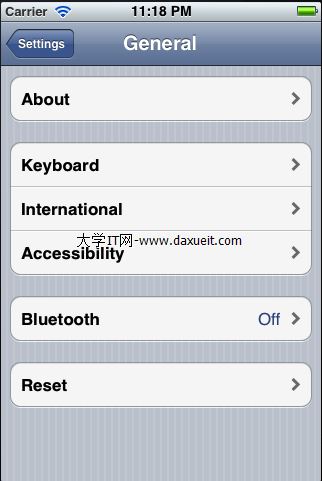
Navigation Controller 的切換順序像堆疊。進入子頁後,返回時會回到前一頁,順序不會改變。
建立專案與根控制器
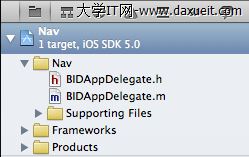
建立 Empty Application,命名為 Nav。

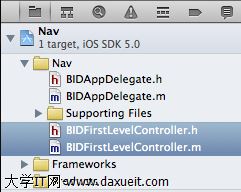
新增 BIDFirstLevelController,並讓它繼承 UITableViewController。
在 AppDelegate 中建立 UINavigationController,並把 BIDFirstLevelController 設為 root。
BIDFirstLevelController *first = [[BIDFirstLevelController alloc] initWithStyle:UITableViewStylePlain];
self.navController = [[UINavigationController alloc] initWithRootViewController:first];
[self.window addSubview:navController.view];
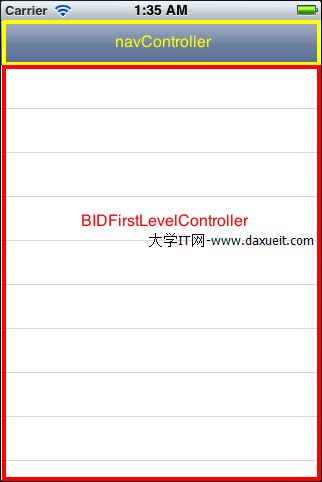
建立 Second Level 與 First Level
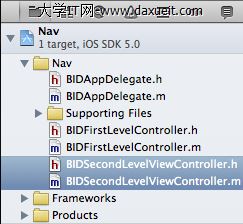
BIDSecondLevelViewController 作為子頁面的共用基類,提供 rowImage 屬性。
BIDFirstLevelController 用 controllers 陣列保存所有子控制器,並在 didSelectRowAtIndexPath 中推入下一頁。
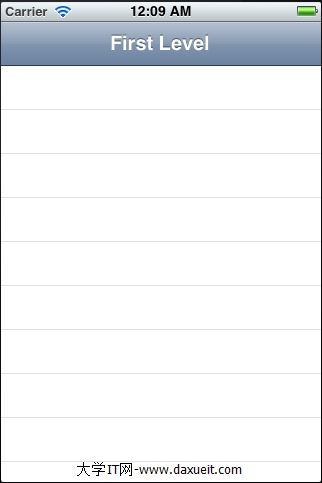
Disclosure Button 範例
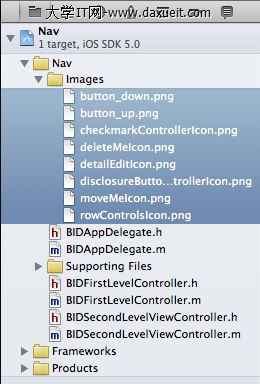
先下載圖示並加入專案。
建立 BIDDisclosureButtonController 與 BIDDisclosureDetailController。
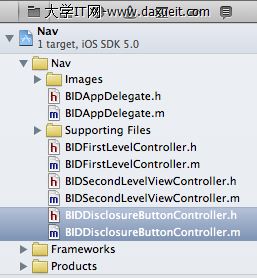
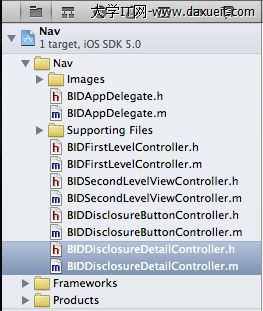
建立 xib,用來顯示細節頁。
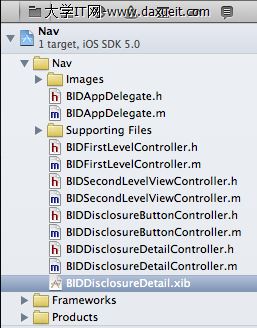
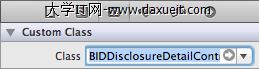
設定 File's Owner 的 Class。
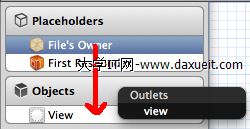
連接 view 與 label。
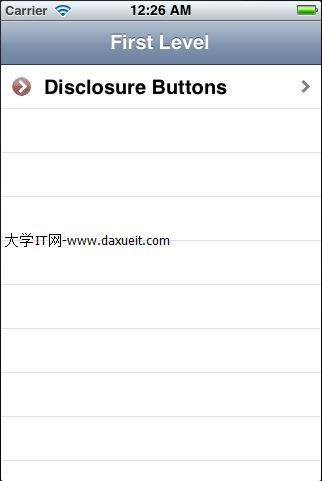
執行後,第一頁會多一列 Disclosure Buttons。
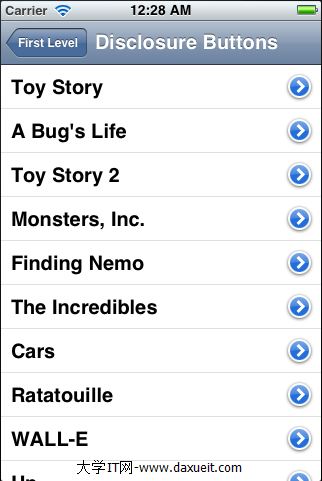
進入子頁後,可看到清單。
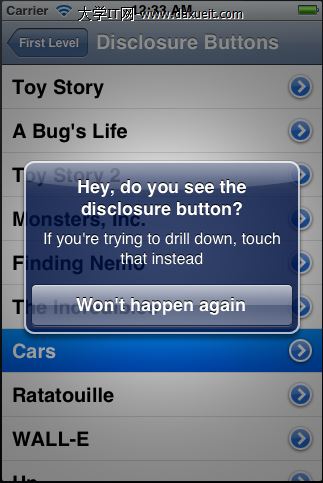
點選 cell 會出現提示。
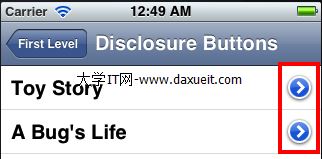
點擊 disclosure button 會進入細節頁。

Checklist 範例
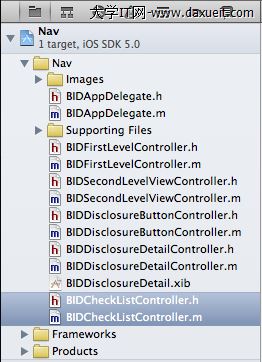
新增 BIDCheckListController,用 lastIndexPath 記錄目前勾選列。
執行後,第一頁會多一列 Check One。
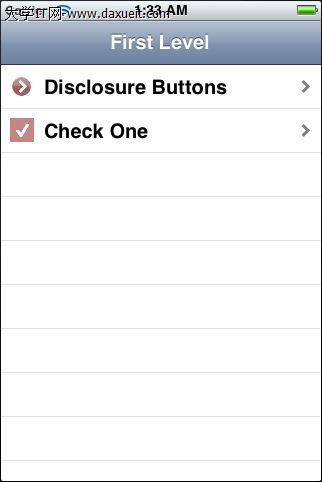
進入清單頁。
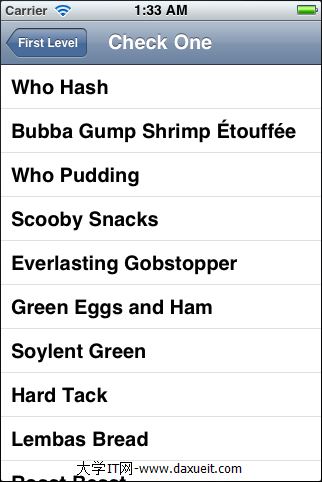
點選任一列,會出現勾選標記。
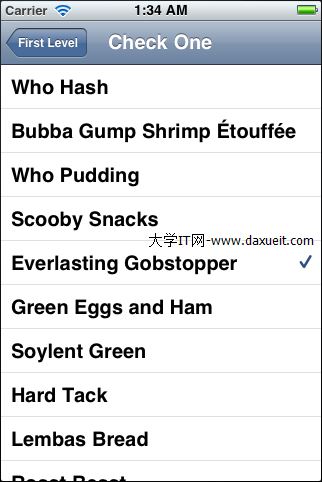
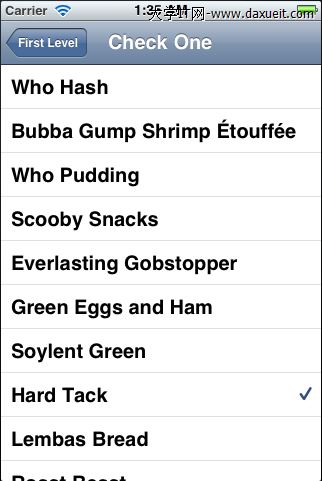
若切換到另一列,勾選標記會跟著移動。