
iOS 觸摸事件實作:拖動 imageView 與多個 view
編輯:iOS 技巧大全
案例:拖動 imageView、view1 與 view2
動手前有兩個重點要先留意:其一,imageView 預設無法響應觸摸事件;其二,畫面上有多個子視圖時,必須想辦法區分目前觸摸的是哪一個。
首先在 storyBoard 中拖入兩個 view 和一個 imageView,並建立 IBOutlet 連線。
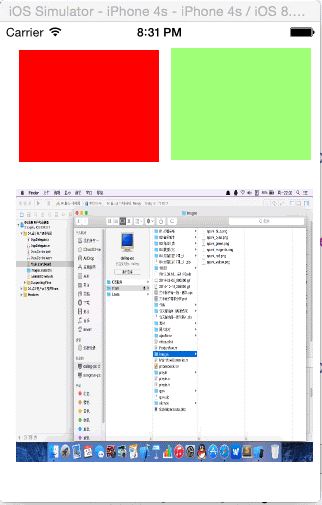
案例示意圖:
讓 imageView 接受用戶觸摸
[self.imageView setUserInteractionEnabled:YES];
判斷觸摸的是哪個視圖
[touch view] == self.imageView
觸摸事件程式碼
-(void)touchesMoved:(NSSet *)touches withEvent:(UIEvent *)event {
    // 1. 取得用戶觸摸資訊
    UITouch *touch = [touches anyObject];
    CGPoint location = [touch locationInView:self.view];
    CGPoint preLocation = [touch previousLocationInView:self.view];
    CGPoint dertPoint = CGPointMake(location.x - preLocation.x, location.y - preLocation.y);

    // 2. 判斷觸摸的是哪個視圖並移動它
    if ([touch view] == self.imageView) {
        NSLog(@"點擊了圖像");
        [self.imageView setCenter:CGPointMake(self.imageView.center.x + dertPoint.x,
                                               self.imageView.center.y + dertPoint.y)];
    } else if ([touch view] == self.redView) {
        NSLog(@"點擊了紅色視圖");
        [self.redView setCenter:CGPointMake(self.redView.center.x + dertPoint.x,
                                             self.redView.center.y + dertPoint.y)];
    } else if ([touch view] == self.greenView) {
        // 建議不要用 else 兜底,因為日後隨時可能新增其他控制項
        NSLog(@"點擊了綠色視圖");
        [self.greenView setCenter:CGPointMake(self.greenView.center.x + dertPoint.x,
                                               self.greenView.center.y + dertPoint.y)];
    }
}
關鍵在於先算出「當前位置」與「上一個位置」的差值(位移量),再把它累加到視圖的 center 上,就能實現跟手拖動的效果。