
如何將 UIColor 轉換為 UIImage
編輯:iOS 技巧大全
效果圖:
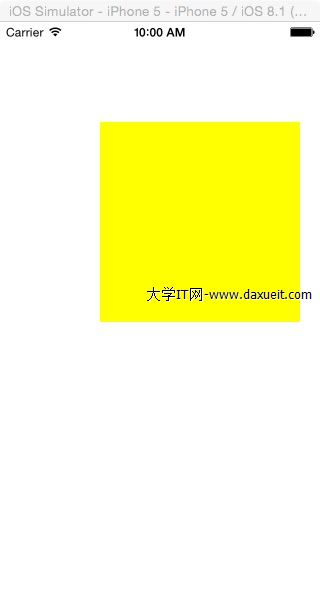
程式碼:
- (void)viewDidLoad {
    [super viewDidLoad];
    // 建立圖片視圖
    UIImageView *imageView = [[UIImageView alloc] initWithFrame:CGRectMake(100, 100, 200, 200)];
    imageView.image = [self createImageWithColor:[UIColor yellowColor]];
    [self.view addSubview:imageView];
}

// 將 color 轉為 UIImage
- (UIImage *)createImageWithColor:(UIColor *)color {
    CGRect rect = CGRectMake(0.0f, 0.0f, 1.0f, 1.0f);
    UIGraphicsBeginImageContext(rect.size);
    CGContextRef context = UIGraphicsGetCurrentContext();
    CGContextSetFillColorWithColor(context, [color CGColor]);
    CGContextFillRect(context, rect);
    UIImage *theImage = UIGraphicsGetImageFromCurrentImageContext();
    UIGraphicsEndImageContext();
    return theImage;
}
這個做法的原理是:建立一個 1×1 的繪圖環境,用指定顏色填滿整個區域,再從環境中擷取影像。由於是一張純色小圖,之後可透過拉伸來當作任意尺寸的純色背景使用。
- 上一篇文章: iOS 消息推送機制的實作流程
- 下一篇文章: 打造簡潔輸入框:iOS 自適應對話框實作