
iOS 中的 UIDynamic 物理引擎:重力、碰撞、捕捉與推動
編輯:iOS 技巧大全
知名的 2D 物理引擎如 Box2d 與 Chipmunk 都是跨平台的,而 Apple 自己也封裝了一套:UIDynamic,自 iOS 7 引入,隸屬於 UIKit 框架。它的價值在於——開發者不必背物理公式,也能做出炫酷的物理仿真效果。
以下示範幾個較基礎的行為,足以應付遊戲框架之外的應用;想在普通介面中偶爾玩點花招,這些就夠了。
三步驟上手
- 建立物理仿真器,並設定仿真範圍
- 建立對應的物理仿真行為,加入參與仿真的元素
- 把行為加入仿真器,開始仿真
仿真器建議用延遲載入建立:
- (UIDynamicAnimator *)animator
{
    if (!_animator) {
        _animator = [[UIDynamicAnimator alloc] initWithReferenceView:self.view];
    }
    return _animator;
}
重力行為 UIGravityBehavior
重力行為有一個 magnitude 屬性代表重力加速度,值越大速度增長越快,預設為 1。接著用 addItem: 告訴仿真器哪些元素參與重力:
UIGravityBehavior *gravity = [[UIGravityBehavior alloc] init];
gravity.magnitude = 100;
[gravity addItem:self.sxView];
[self.animator addBehavior:gravity];
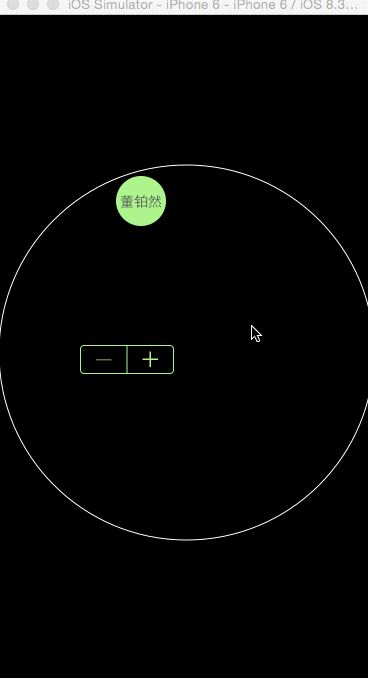
物件直直落下——注意這不是等速動畫,而是模擬重力加速度。
碰撞行為 UICollisionBehavior
碰撞行為同樣要先加入參與元素,再設定碰撞邊界;translatesReferenceBoundsIntoBoundary 預設以螢幕為界:
UICollisionBehavior *collision = [[UICollisionBehavior alloc] init];
[collision addItem:self.sxView];
[collision addItem:self.bigBlock];
[collision addItem:self.smallBlock];
collision.translatesReferenceBoundsIntoBoundary = YES;
與重力行為組合:
UIGravityBehavior *gravity = [[UIGravityBehavior alloc] init];
gravity.magnitude = 2;
[gravity addItem:self.sxView];

UICollisionBehavior *collision = [[UICollisionBehavior alloc] init];
[collision addItem:self.sxView];
[collision addItem:self.bigBlock];
[collision addItem:self.smallBlock];
collision.translatesReferenceBoundsIntoBoundary = YES;

[self.animator addBehavior:gravity];
[self.animator addBehavior:collision];
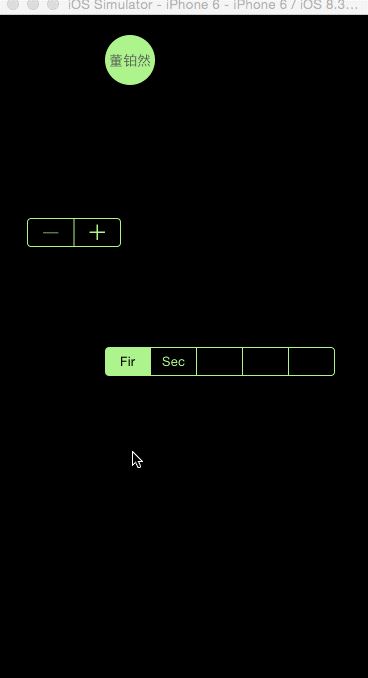
圖中那兩個控制項會往上飄,是因為它們加入了碰撞行為卻沒有加入重力行為。
若不想用螢幕邊界,可以自訂直線:
[collision addBoundaryWithIdentifier:@"line2"
                           fromPoint:CGPointMake(self.view.frame.size.width, 0)
                             toPoint:CGPointMake(self.view.frame.size.width, 400)];
也可以用貝茲曲線:
UIBezierPath *path = [UIBezierPath bezierPathWithOvalInRect:
                      CGRectMake(0, 150,
                                 self.view.frame.size.width,
                                 self.view.frame.size.width)];
[collision addBoundaryWithIdentifier:@"circle" forPath:path];
要留意的是,這些邊界本身不會被畫出來;若想讓使用者看見,得自己在 view 上畫一個形狀相同的圖形。
捕捉行為 UISnapBehavior
捕捉行為必須在建立時就指定目標點,並有一個 damping 防震係數(值越大,振幅越小):
UISnapBehavior *snap = [[UISnapBehavior alloc] initWithItem:self.sxView
                                                snapToPoint:point];
snap.damping = 1;
它預設只能移動一次,若想反覆觸發,每次仿真前先清空舊行為:
[self.animator removeAllBehaviors];
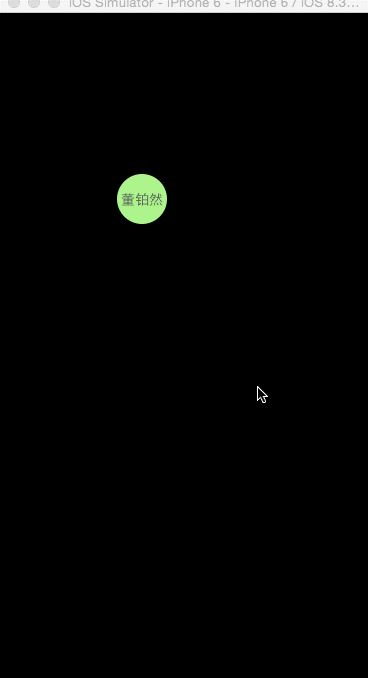
搭配觸控事件,就能做到「點哪裡,它就彈到哪裡」:
- (void)touchesBegan:(NSSet *)touches withEvent:(UIEvent *)event
{
    UITouch *touch = [touches anyObject];
    CGPoint point = [touch locationInView:self.view];

    UISnapBehavior *snap = [[UISnapBehavior alloc] initWithItem:self.sxView
                                                    snapToPoint:point];
    snap.damping = 1;

    [self.animator removeAllBehaviors];
    [self.animator addBehavior:snap];
}
其他可用的行為
- UIGravityBehavior:重力行為
- UICollisionBehavior:碰撞行為
- UISnapBehavior:捕捉行為
- UIPushBehavior:推動行為
- UIAttachmentBehavior:附著行為
- UIDynamicItemBehavior:動力元素行為
所有物理仿真行為都繼承自 UIDynamicBehavior,每個都能獨立使用;組合多種行為之後,就能做出相當複雜的效果。
舉例來說:重力可以自訂方向,碰撞可以監聽整個碰撞過程,而附著行為的效果就很像 iOS 8 的 iMessage 那種可上下拖動的氣泡。有興趣的可以繼續深入,做個「撒紅包」「砸金蛋」之類的動畫綽綽有餘。