
iOS 左右側滑菜單實作:以 SlideNavigationController 為例
編輯:iOS 技巧大全
左右側滑出菜單是很常見的互動模式。本文示範如何用開源類 SlideNavigationController 快速搭出這個效果。
最終效果如下:
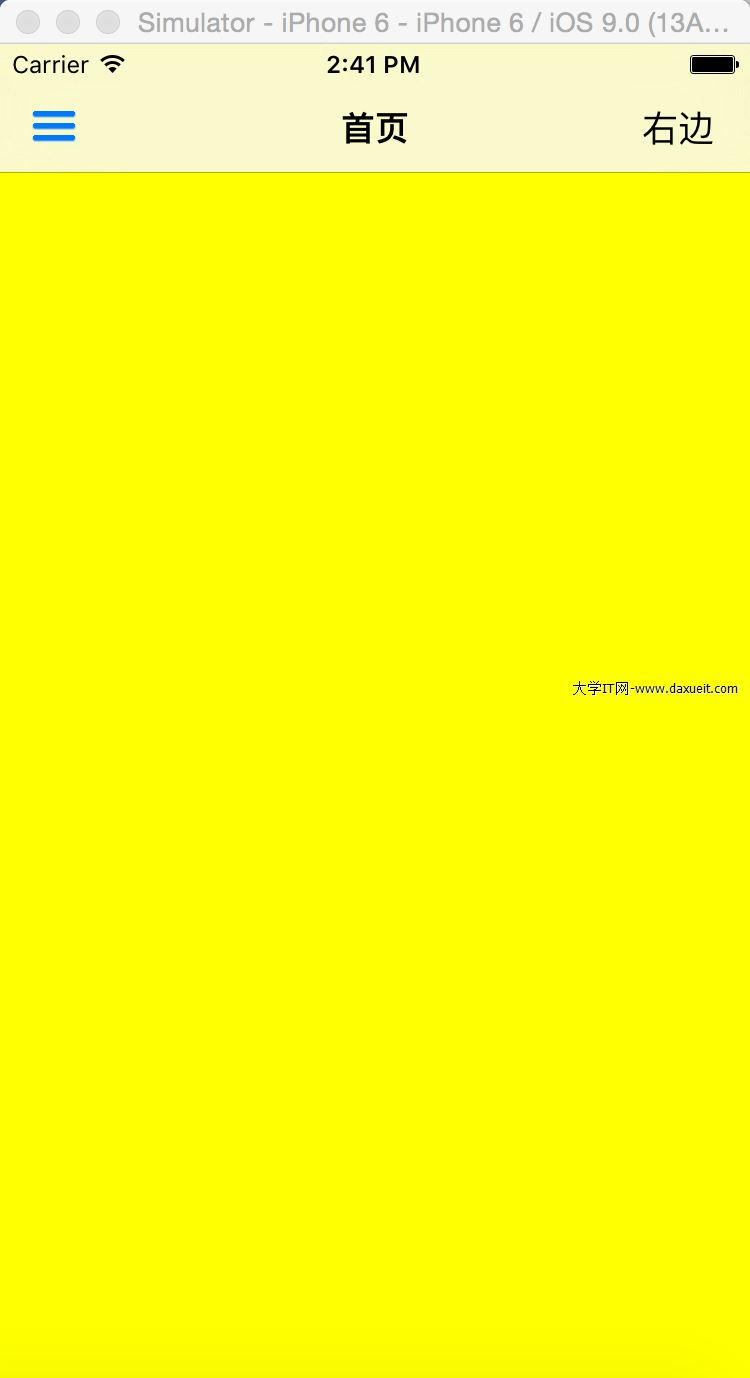
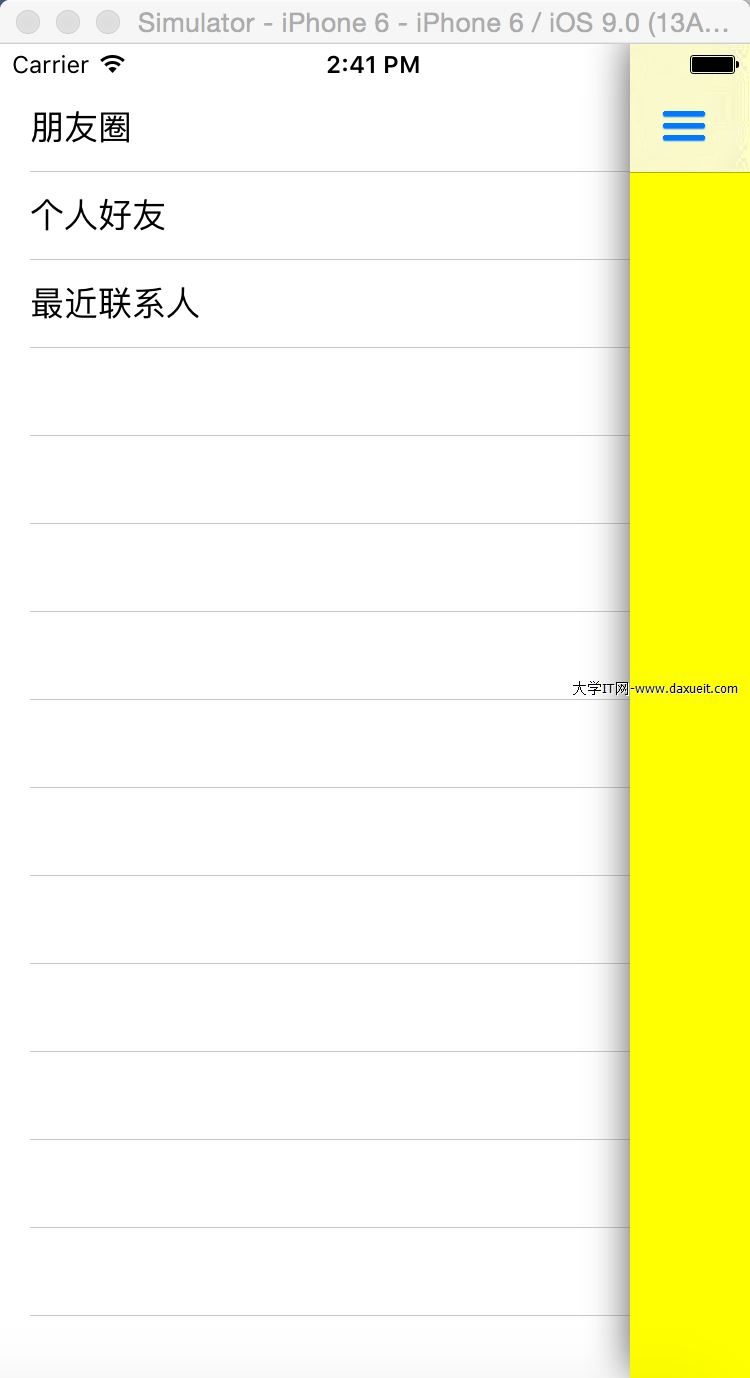
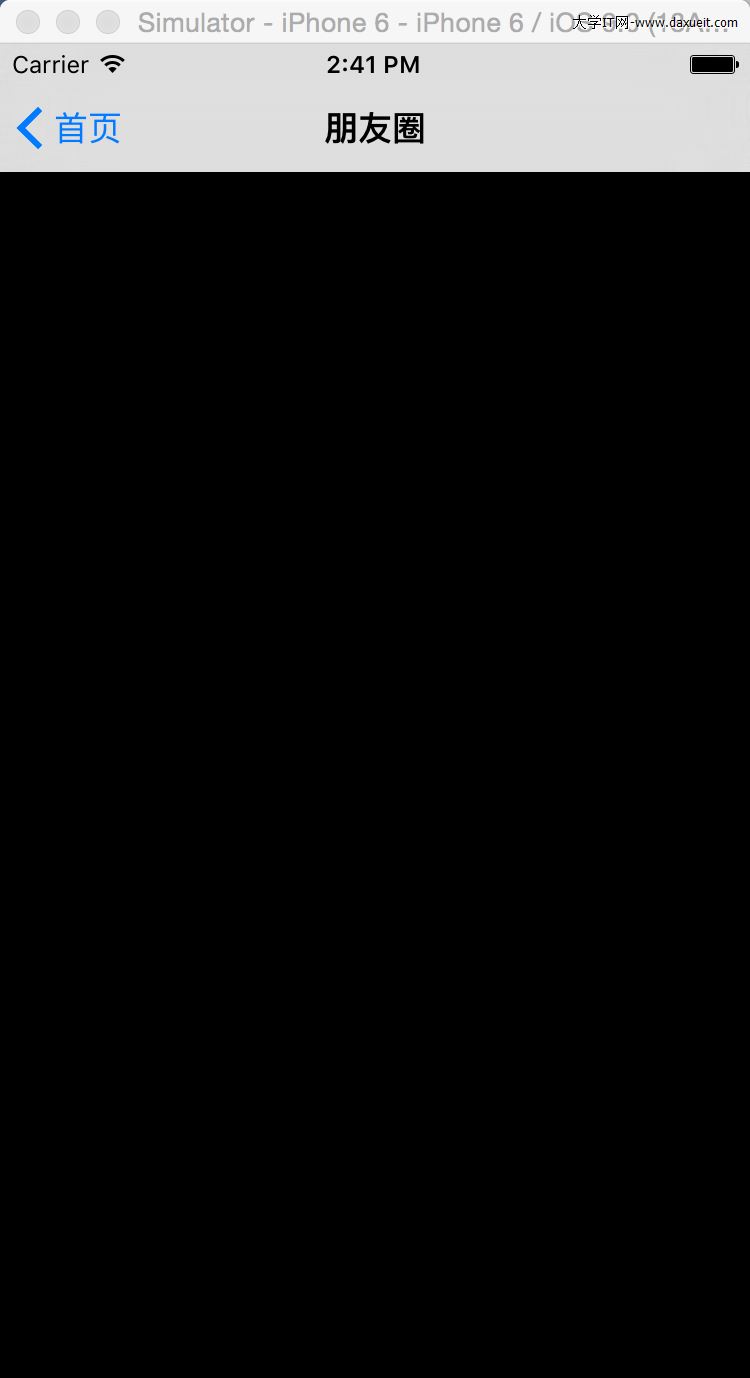
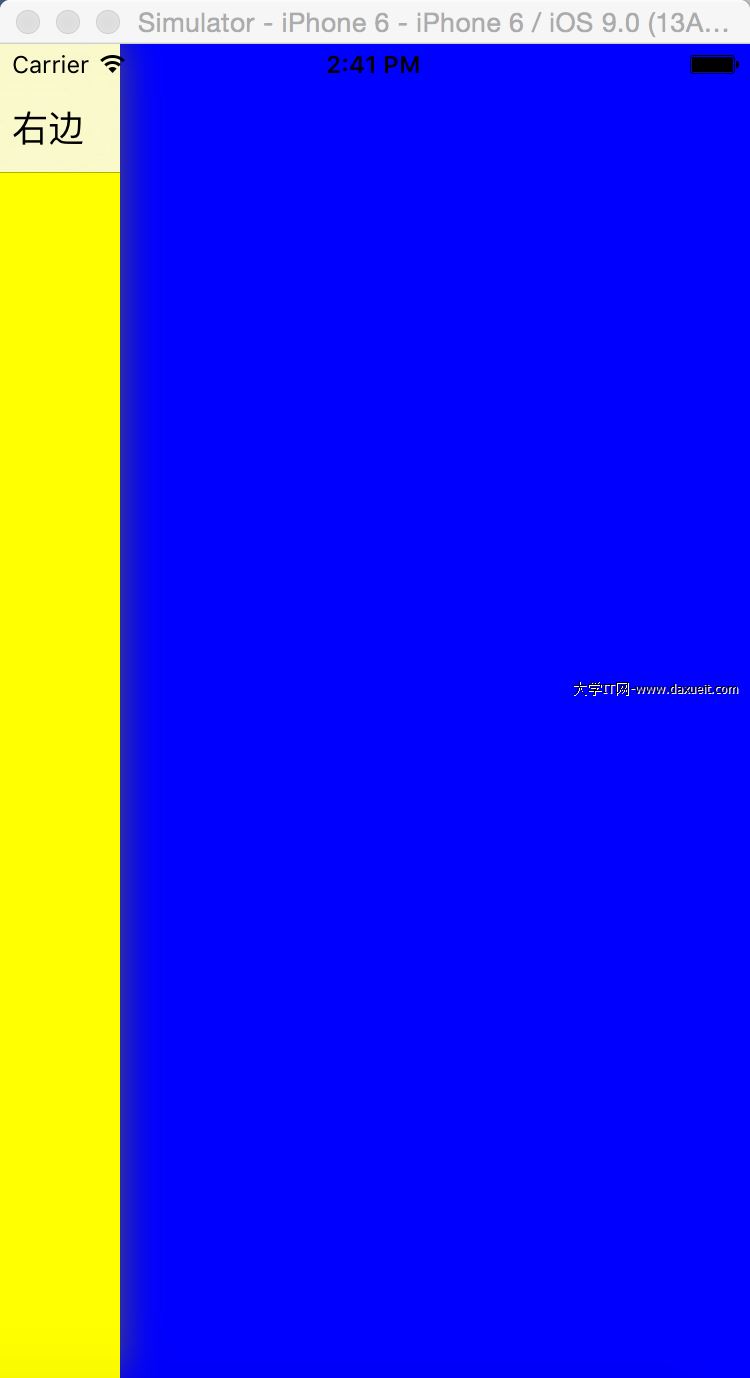
SlideNavigationController 是 UINavigationController 的子類,把源碼中的 Source 目錄引入專案後,在 AppDelegate 中將它設為根視圖即可。
一、AppDelegate
#import "AppDelegate.h"
#import "SlideNavigationController.h"
#import "leftViewController.h"
#import "rightViewController.h"
#import "ViewController.h"

- (BOOL)application:(UIApplication *)application
didFinishLaunchingWithOptions:(NSDictionary *)launchOptions {

    self.window = [[UIWindow alloc] initWithFrame:[[UIScreen mainScreen] bounds]];
    self.window.backgroundColor = [UIColor whiteColor];

    // 以 SlideNavigationController 包住首頁作為根視圖
    ViewController *homeVc = [[ViewController alloc] init];
    [self.window setRootViewController:
        [[SlideNavigationController alloc] initWithRootViewController:homeVc]];

    // 設定左右兩側菜單
    leftViewController *leftController = [[leftViewController alloc] init];
    rightViewController *rightController = [[rightViewController alloc] init];
    [SlideNavigationController sharedInstance].rightMenu = rightController;
    [SlideNavigationController sharedInstance].leftMenu = leftController;
    [SlideNavigationController sharedInstance].menuRevealAnimationDuration = .18;

    [self.window makeKeyAndVisible];
    return YES;
}
二、首頁 ViewController
#import <UIKit/UIKit.h>
#import "SlideNavigationController.h"

@interface ViewController : UIViewController <SlideNavigationControllerDelegate>
@end
#import "ViewController.h"
@implementation ViewController
- (void)viewDidLoad {
[super viewDidLoad];
self.view.backgroundColor = [UIColor yellowColor];
self.title = @"首頁";
// 建立一個用來呼出右側菜單的按鈕
UIButton *button = [[UIButton alloc] initWithFrame:CGRectMake(0, 0, 40, 30)];
[button setTitle:@"右邊" forState:UIControlStateNormal];
[button setTitleColor:[UIColor blackColor] forState:UIControlStateNormal];
[button addTarget:[SlideNavigationController sharedInstance]
action:@selector(toggleRightMenu)
forControlEvents:UIControlEventTouchUpInside];
UIBarButtonItem *rightBarButtonItem =
[[UIBarButtonItem alloc] initWithCustomView:button];
[SlideNavigationController sharedInstance].rightBarButtonItem = rightBarButtonItem;
}
#pragma mark - SlideNavigationControllerDelegate
- (BOOL)slideNavigationControllerShouldDisplayLeftMenu {
return YES;
}
- (BOOL)slideNavigationControllerShouldDisplayRightMenu {
return YES;
}
@end這裡的關鍵是必須實作 SlideNavigationControllerDelegate 的兩個方法,用來決定是否啟用左側與右側菜單。若不另外設定導覽列按鈕樣式,就會採用預設外觀。
三、左側菜單 leftViewController
#import <UIKit/UIKit.h>
#import "SlideNavigationController.h"

@interface leftViewController : UIViewController
    <UITableViewDelegate, UITableViewDataSource>
@end
#import "leftViewController.h"
#import "OneViewController.h"
#import "TwoViewController.h"
@interface leftViewController ()
@property (nonatomic, strong) UITableView *tableView;
@property (nonatomic, strong) NSArray *listData;
@property (nonatomic, assign) BOOL slideOutAnimationEnabled;
@end
@implementation leftViewController
- (void)viewDidLoad {
[super viewDidLoad];
self.view.backgroundColor = [UIColor redColor];
[self setupTable];
}
- (void)setupTable {
self.tableView = [[UITableView alloc] initWithFrame:self.view.frame
style:UITableViewStylePlain];
self.tableView.delegate = self;
self.tableView.dataSource = self;
[self.view addSubview:self.tableView];
self.listData = @[@"朋友圈", @"個人好友", @"最近聯繫人"];
}
#pragma mark - UITableView Delegate & DataSource
- (NSInteger)tableView:(UITableView *)tableView
numberOfRowsInSection:(NSInteger)section {
return self.listData.count;
}
- (UIView *)tableView:(UITableView *)tableView
viewForHeaderInSection:(NSInteger)section {
UIView *view = [[UIView alloc] initWithFrame:
CGRectMake(0, 0, self.tableView.frame.size.width, 20)];
view.backgroundColor = [UIColor clearColor];
return view;
}
- (CGFloat)tableView:(UITableView *)tableView
heightForHeaderInSection:(NSInteger)section {
return 20;
}
- (UITableViewCell *)tableView:(UITableView *)tableView
cellForRowAtIndexPath:(NSIndexPath *)indexPath {
UITableViewCell *cell = [tableView dequeueReusableCellWithIdentifier:@"Cell"];
if (cell == nil) {
cell = [[UITableViewCell alloc] initWithStyle:UITableViewCellStyleDefault
reuseIdentifier:@"Cell"];
}
cell.textLabel.text = self.listData[indexPath.row];
cell.backgroundColor = [UIColor clearColor];
return cell;
}
#pragma mark - 跳轉
- (void)tableView:(UITableView *)tableView
didSelectRowAtIndexPath:(NSIndexPath *)indexPath {
UIViewController *vc = nil;
switch (indexPath.row) {
case 0:
vc = [[OneViewController alloc] init];
break;
case 1:
vc = [[TwoViewController alloc] init];
break;
case 2:
vc = [[OneViewController alloc] init];
break;
default:
[self.tableView deselectRowAtIndexPath:
[self.tableView indexPathForSelectedRow] animated:YES];
[[SlideNavigationController sharedInstance] popToRootViewControllerAnimated:YES];
return;
}
[[SlideNavigationController sharedInstance]
popToRootAndSwitchToViewController:vc
withSlideOutAnimation:self.slideOutAnimationEnabled
andCompletion:nil];
}
@end這裡最容易混淆的是兩個跳轉 API 的差異:popToRootViewControllerAnimated: 是單純回到根視圖;而 popToRootAndSwitchToViewController:withSlideOutAnimation:andCompletion: 會在收起菜單的同時切換到目標控制器,是側滑菜單場景的正確選擇。
四、右側菜單 rightViewController
#import "rightViewController.h"

@implementation rightViewController

- (void)viewDidLoad {
    [super viewDidLoad];
    self.view.backgroundColor = [UIColor blueColor];
}

@end
其他可選方案
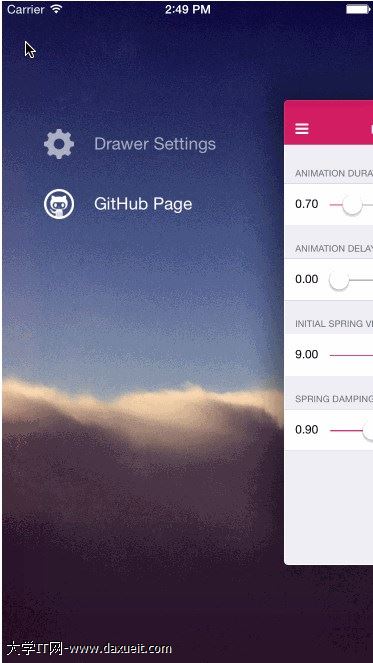
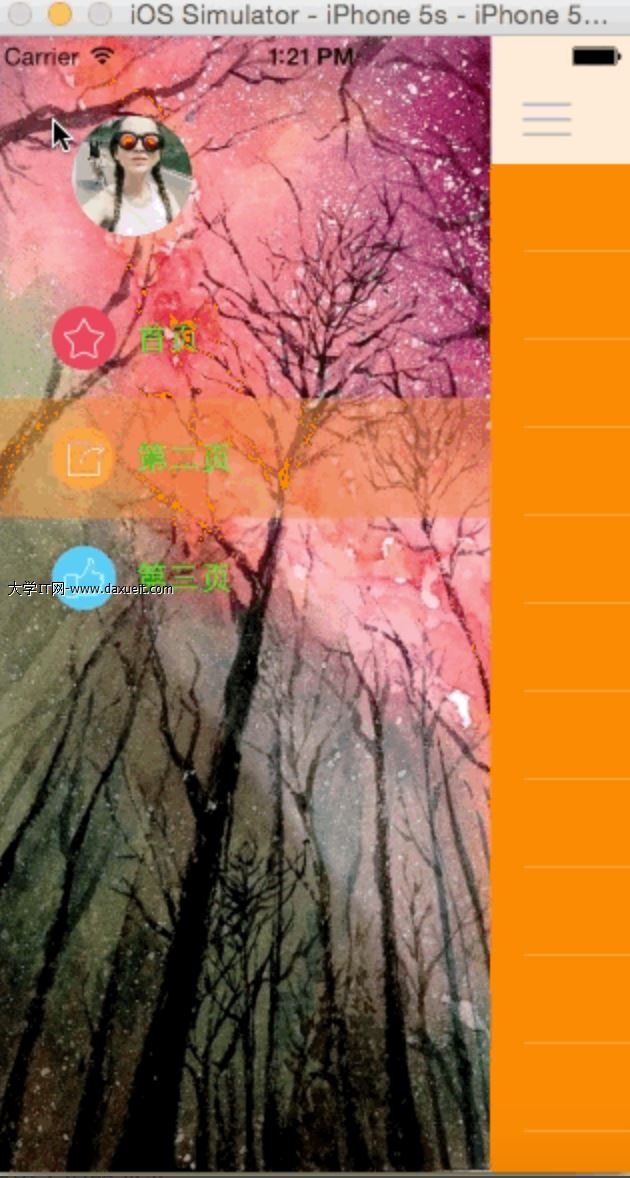
如果想要更豐富的懸浮抽屜效果,可以參考這兩個專案:
JVFloatingDrawer(https://github.com/JVillella/JVFloatingDrawer)
HUSliderMenu(https://github.com/hujewelz/HUSliderMenu)
補充一點:從 iOS 的設計演進來看,側滑菜單並非蘋果官方推薦的導覽模式,它會讓使用者忘記還有哪些功能藏在裡面。若頁面層級不深,改用底部標籤列或更扁平的資訊架構往往體驗更好。當然,功能確實較多的 App 用側滑分類依然是合理選擇。
- 上一篇文章: iOS 定位入門:取得經緯度並反查具體地址
- 下一篇文章: 關於 iOS 推送服務 APNS 的原理與接入流程