
iOS 實作點擊縮圖放大瀏覽效果
編輯:iOS 7 技巧
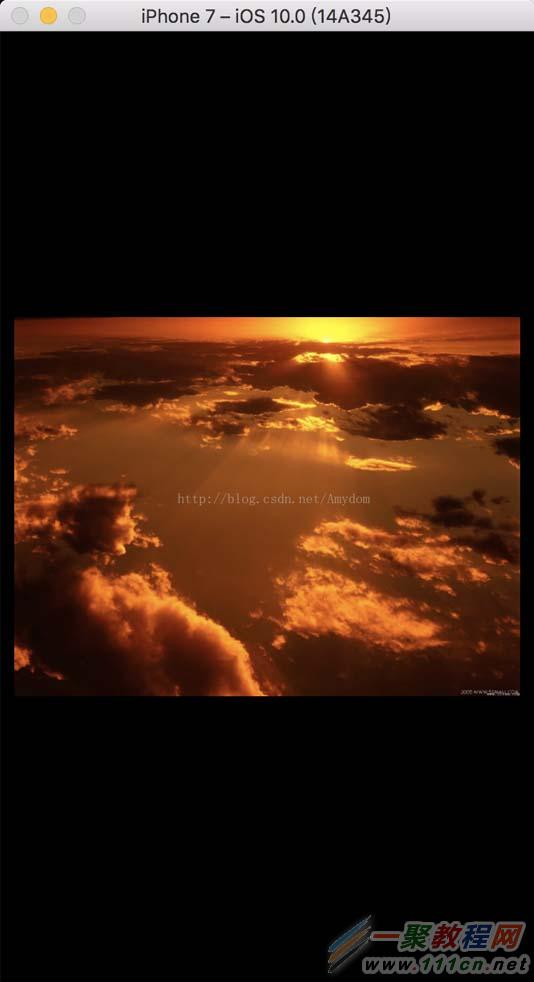
在微博、微信朋友圈裡常見的那種「點縮圖 → 全螢幕大圖 → 左右滑動 → 點一下關閉」,用 UIScrollView 的分頁功能就能做出來。以下示範完整實作。
效果
首頁排列數張縮圖:
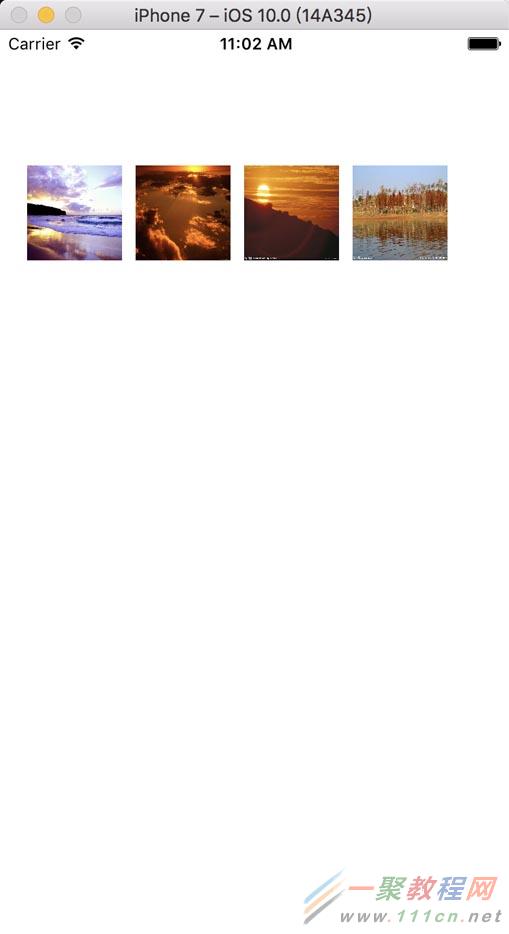
點任一張後進入全螢幕瀏覽:
實作步驟
先建立一個 PhotoViewController 負責大圖瀏覽。
PhotoViewController.h:
#import <UIKit/UIKit.h>

@interface PhotoViewController : UIViewController

//保存圖片的數組
@property (nonatomic, strong) NSMutableArray *photoArr;
//圖片 tag
@property (nonatomic, assign) NSInteger imageTag;

@end
PhotoViewController.m:
#import "PhotoViewController.h"

@interface PhotoViewController ()
@end

@implementation PhotoViewController

- (void)viewDidLoad {
    [super viewDidLoad];

    UIScrollView *myScrollView = [[UIScrollView alloc] initWithFrame:CGRectMake(0, 0, 375, 667)];
    myScrollView.backgroundColor = [UIColor blackColor];
    myScrollView.pagingEnabled = YES;   // 分頁,一次顯示一張
    myScrollView.bounces = NO;
    [self.view addSubview:myScrollView];

    //根據tag 來獲取當前點擊的圖片
    myScrollView.contentOffset = CGPointMake(self.view.frame.size.width * self.imageTag, 10);

    myScrollView.contentSize = CGSizeMake(self.view.frame.size.width * self.photoArr.count, 667);

    //創建
    for(int i = 0; i < self.photoArr.count; i++)
    {
        UIImageView *img = [[UIImageView alloc] initWithFrame:CGRectMake(self.view.frame.size.width * i + 10, 0, self.view.frame.size.width - 20, self.view.frame.size.height)];
        NSString *imgName = self.photoArr[i];
        img.image = [UIImage imageNamed:imgName];
        [myScrollView addSubview:img];

        //自適應圖片大小
        img.contentMode = UIViewContentModeScaleAspectFit;
    }

    //輕拍跳出照片浏覽
    UITapGestureRecognizer *tap = [[UITapGestureRecognizer alloc] initWithTarget:self action:@selector(tapAction)];
    [myScrollView addGestureRecognizer:tap];
}

- (void)tapAction {
    [self dismissViewControllerAnimated:YES completion:^{
    }];
}

@end
然後在 ViewController 中建立縮圖,並為每張圖加上輕拍手勢:
#import "ViewController.h"
#import "PhotoViewController.h"

@interface ViewController (){
    NSMutableArray *array;
}
@end

@implementation ViewController

- (void)viewDidLoad {
    [super viewDidLoad];
    self.view.backgroundColor = [UIColor whiteColor];
    array = [NSMutableArray arrayWithObjects:@"1.jpg", @"2.jpg",@"3.jpg",@"4.jpg", nil];

    for(int i = 0; i < array.count; i++) {
        UIImageView *img = [[UIImageView alloc] initWithFrame:CGRectMake(20 + 88 * i, 100, 70, 70)];
        img.image = [UIImage imageNamed:[array objectAtIndex:i]];

        img.userInteractionEnabled = YES;   // UIImageView 預設為 NO,必須手動打開
        img.clipsToBounds = YES;            // 截掉邊框
        img.tag = 1000 + i;

        UITapGestureRecognizer *tap = [[UITapGestureRecognizer alloc] initWithTarget:self action:@selector(TapAction:)];
        [img addGestureRecognizer:tap];

        [self.view addSubview:img];
    }
}

- (void)TapAction:(UITapGestureRecognizer *)tap{
    PhotoViewController *photoVC = [[PhotoViewController alloc] init];
    photoVC.imageTag = tap.view.tag - 1000;   //獲取當前被點擊圖片的 tag
    photoVC.photoArr = array;
    [photoVC setModalTransitionStyle:UIModalTransitionStyleCrossDissolve];
    [self presentViewController:photoVC animated:YES completion:nil];
}

@end
關鍵技巧說明
這個範例有兩個巧妙之處值得學:
- 用 tag 傳遞「點了第幾張」。縮圖的 tag 設為 1000 + index,點擊時減回 1000 就是索引,再用它算出 contentOffset,大圖就會停在正確位置,而不必從第一張開始。
- pagingEnabled = YES 讓 scrollView 自動吸附到每頁,左右滑動就有原生照片 App 的手感。
這裡只示範了基本功能。若要更接近正式產品,還需要補上:雙指縮放(把 scrollView 的 delegate 設為自己並實作 viewForZoomingInScrollView)、下拉關閉手勢、以及圖片載入失敗的佔位處理。
另外提醒,範例中的 presentModalViewController:animated: 已被蘋果棄用,新專案請改用 presentViewController:animated:completion:。
- 上一篇文章: iOS 六類手勢辨識器全解析與實作範例
- 下一篇文章: iOS 讓 UILabel 文字兩端對齊的實作寫法