
Swift 動畫入門:讓方塊左右來回移動,再做出三層跟隨效果
編輯:iOS 7 技巧
動畫不一定總是華麗的轉場特效,很多時候它只是讓介面看起來「有在呼吸」。這個範例從最簡單的方塊往返移動開始,接著加上多層方塊與延遲,做出頗有層次感的跟隨動畫。
一、讓方塊在左右兩側來回跑
用 UIView.animateWithDuration() 就能完成。兩個 options 是關鍵:.Autoreverse 表示動畫跑到終點後會「以動畫方式」折返回原點,而不是瞬間跳回;.Repeat 則讓整段動畫持續重播。
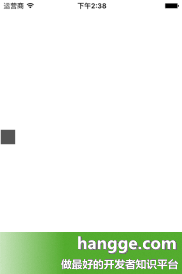
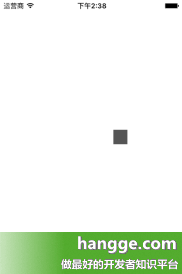
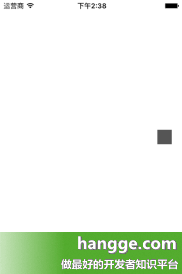
import UIKit

class ViewController: UIViewController {

    // 方塊
    var block: UIView!

    override func viewDidLoad() {
        super.viewDidLoad()

        // 建立方塊
        block = UIView(frame: CGRectMake(0, 0, 25, 25))
        block.center.y = self.view.bounds.height / 2   // 垂直置中
        block.backgroundColor = UIColor.darkGrayColor()
        self.view.addSubview(block)

        playAnimation()
    }

    // 播放動畫
    func playAnimation() {
        UIView.animateWithDuration(0.6, delay: 0.4, options: [.Repeat, .Autoreverse],
            animations: {
                self.block.frame.origin.x = self.view.bounds.width - self.block.frame.width
            },
            completion: nil)
    }

    override func didReceiveMemoryWarning() {
        super.didReceiveMemoryWarning()
    }
}
二、多層方塊+延遲,做出跟隨感
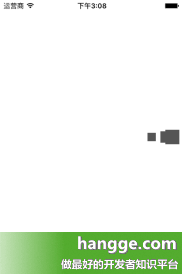
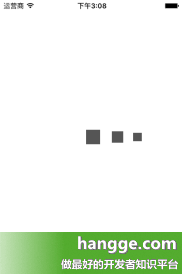
再加兩個尺寸較小的方塊,並為每一層逐一加大 delay(0.4 → 0.45 → 0.5),視覺上就會出現「大的先跑、小的追上去」的層次感。這是製造節奏感最省力的技巧之一。
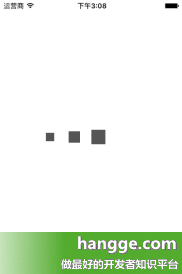
import UIKit

class ViewController: UIViewController {

    var block1: UIView!
    var block2: UIView!
    var block3: UIView!

    override func viewDidLoad() {
        super.viewDidLoad()

        // 由小到大建立三個方塊
        block3 = UIView(frame: CGRectMake(0, 0, 15, 15))
        block3.center.y = self.view.bounds.height / 2
        block3.backgroundColor = UIColor.darkGrayColor()
        self.view.addSubview(block3)

        block2 = UIView(frame: CGRectMake(0, 0, 20, 20))
        block2.center.y = self.view.bounds.height / 2
        block2.backgroundColor = UIColor.darkGrayColor()
        self.view.addSubview(block2)

        block1 = UIView(frame: CGRectMake(0, 0, 25, 25))
        block1.center.y = self.view.bounds.height / 2
        block1.backgroundColor = UIColor.darkGrayColor()
        self.view.addSubview(block1)

        playAnimation()
    }

    func playAnimation() {
        UIView.animateWithDuration(0.6, delay: 0.4, options: [.Repeat, .Autoreverse],
            animations: {
                self.block1.frame.origin.x =
                    self.view.bounds.width - self.block1.frame.width
            },
            completion: nil)

        UIView.animateWithDuration(0.6, delay: 0.45, options: [.Repeat, .Autoreverse],
            animations: {
                self.block2.frame.origin.x =
                    self.view.bounds.width - self.block2.frame.width
            },
            completion: nil)

        UIView.animateWithDuration(0.6, delay: 0.5, options: [.Repeat, .Autoreverse],
            animations: {
                self.block3.frame.origin.x =
                    self.view.bounds.width - self.block2.frame.width
            },
            completion: nil)
    }

    override func didReceiveMemoryWarning() {
        super.didReceiveMemoryWarning()
    }
}
動畫寫作的幾個觀念
動畫的 duration 是「單程」時間,加上 .Autoreverse 後,一個完整來回其實是兩倍長,這在對齊多段動畫節奏時很容易算錯。另外,.Repeat 搭配 Autoreverse 是無限迴圈,若這個動畫會隨頁面切換而消失,記得在適當時機移除 view 或改用 layer.removeAllAnimations(),否則容易出現動畫與資料不同步的怪現象。真實專案裡,這種「多層延遲」的效果用 CADisplayLink 或 Core Animation 的 timing function 會更好控制;但作為理解 animateWithDuration 的起點,這個範例再合適不過。