
實作教學:在 iOS 開發中打造可拖動的視圖
編輯:iOS 相關教學
讓畫面上的視圖能跟著手指移動,是許多互動型 App 的常見需求。本文從觸摸事件的基礎概念出發,示範如何實作一個不會被拖出螢幕的拖動視圖。
先認識觸摸處理方法
iOS 處理螢幕上的觸摸動作,主要涉及以下幾個方法:
touchesBegan:withEvent:     // 觸摸一開始被呼叫
touchesMoved:withEvent:     // 移動過程中被呼叫
touchesEnded:withEvent:     // 動作結束時被呼叫
touchesCancelled:withEvent:  // 觸摸被系統中斷時呼叫
從命名就能清楚知道各方法的呼叫時機。其中 touchesCancelled:withEvent: 較為特殊,它在 Cocoa Touch 必須回應持續觸摸事件的系統中斷時被呼叫。只要重寫這些方法,就能實作我們想要的行為。
實作拖動的四個步驟
1. 將 userInteractionEnabled 屬性設為 YES,允許使用者互動。
2. 在觸摸開始時記錄起始點。
3. 在移動過程中,計算當前座標與起始點的差值(即偏移量),並把視圖中心移到對應位置。
4. 分別限制 x、y 座標,確保使用者無法把視圖拖出螢幕。
補充:之所以要分別限制 x 與 y 座標,是因為即使向右拖到邊界了,仍應保證可以繼續向下拖動。
方法一:使用手勢辨識器
最簡潔的做法是註冊一個拖動手勢:
UIPanGestureRecognizer *panGestureRecognizer = [[UIPanGestureRecognizer alloc]
    initWithTarget:self action:@selector(doHandlePanAction:)];
[self.vLight addGestureRecognizer:panGestureRecognizer];
其中 vLight 就是要加入拖動功能的 View。處理函式如下:
- (void)doHandlePanAction:(UIPanGestureRecognizer *)paramSender
{
    CGPoint point = [paramSender translationInView:self.view];
    NSLog(@"X:%f;Y:%f", point.x, point.y);

    paramSender.view.center = CGPointMake(paramSender.view.center.x + point.x,
                                          paramSender.view.center.y + point.y);
    [paramSender setTranslation:CGPointMake(0, 0) inView:self.view];
}
方法二:子類化 UIImageView
如果想更細緻地控制,可以子類化 UIImageView,重寫觸摸方法。以 GragView 為例:
@interface GragView : UIImageView
{
    CGPoint startPoint;
}
@end

@implementation GragView

- (id)initWithFrame:(CGRect)frame
{
    self = [super initWithFrame:frame];
    if (self) {
        self.userInteractionEnabled = YES; // 允許使用者互動
    }
    return self;
}

- (void)touchesBegan:(NSSet *)touches withEvent:(UIEvent *)event
{
    CGPoint point = [[touches anyObject] locationInView:self];
    startPoint = point;                   // 記錄觸摸起始點
    [[self superview] bringSubviewToFront:self]; // 將此 view 置於最前
}

-(void)touchesMoved:(NSSet *)touches withEvent:(UIEvent *)event
{
    CGPoint point = [[touches anyObject] locationInView:self];
    float dx = point.x - startPoint.x;    // 計算位移
    float dy = point.y - startPoint.y;

    CGPoint newcenter = CGPointMake(self.center.x + dx, self.center.y + dy);

    // 限制不可拖出螢幕
    float halfx = CGRectGetMidX(self.bounds);
    newcenter.x = MAX(halfx, newcenter.x);
    newcenter.x = MIN(self.superview.bounds.size.width - halfx, newcenter.x);

    float halfy = CGRectGetMidY(self.bounds);
    newcenter.y = MAX(halfy, newcenter.y);
    newcenter.y = MIN(self.superview.bounds.size.height - halfy, newcenter.y);

    self.center = newcenter;              // 移動 view
}
@end
關鍵在於用 MAX 與 MIN 分別夾住 x、y 座標的上下界,如此一來,無論怎麼拖動,視圖都會被限制在父視圖範圍內。實際執行效果如下:
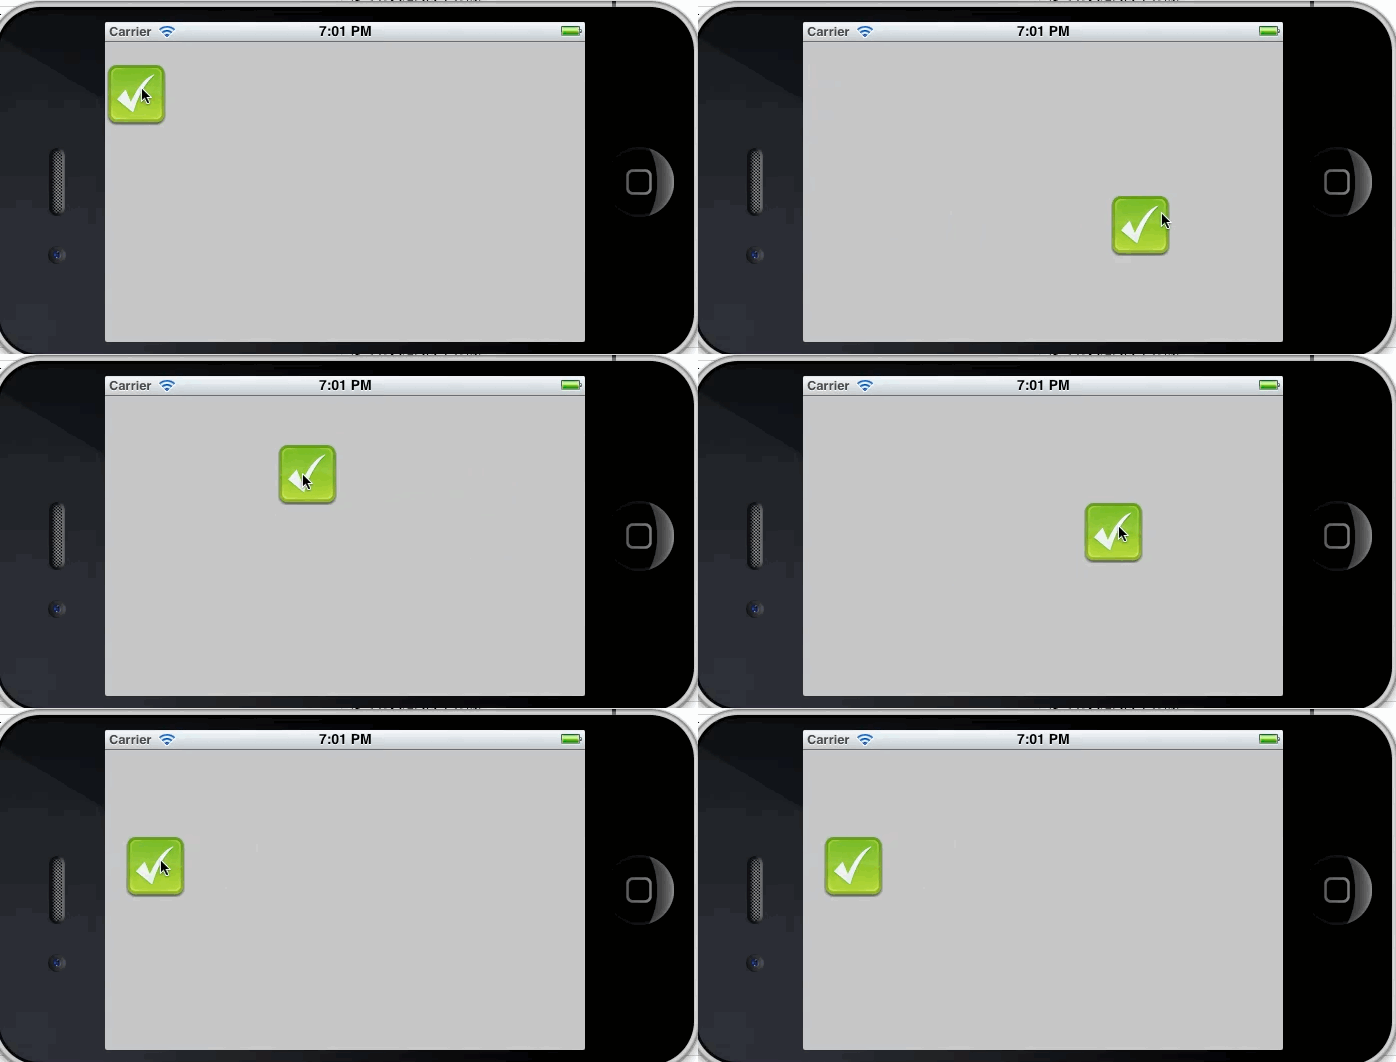
兩種方法各有千秋:手勢辨識器寫法簡潔、適合快速開發;子類化則能與既有的觸摸邏輯深度整合。依你的需求挑選即可。
- 上一篇文章: iOS 開發中如何精準控制螢幕旋轉方向
- 下一篇文章: 完整攻略:iOS 開發中 UIPickerView 控制元件的使用