
Core Animation 基礎動畫實戰:平移、縮放、旋轉與關鍵幀動畫
Core Animation 的 CABasicAnimation 是入門 iOS 動畫最直接的起點。本文用同一個 CALayer 示範四種常見動畫,並補充代理回呼、路徑式關鍵幀動畫與圖示抖動效果。
一、CABasicAnimation 的核心觀念
CABasicAnimation 是 CAPropertyAnimation 的子類,只需指定兩個值:
fromValue:keyPath 對應屬性的起始值toValue:keyPath 對應屬性的結束值
在 duration 這段時間內,該屬性會從 fromValue 平滑過渡到 toValue。
一個非常重要的觀念:若同時設定 fillMode = kCAFillModeForwards 與 removedOnCompletion = NO,動畫播完後畫面會停留在結束狀態,但圖層真正的屬性值並沒有改變,仍是動畫開始前的值。
舉例:某 CALayer 的 position 初始為 (0,0),動畫 fromValue 為 (10,10)、toValue 為 (100,100)。動畫結束後畫面停在 (100,100),但讀取 layer.position 依然是 (0,0)。這是 Core Animation「展示層與模型層分離」的設計,後面會用代理回呼實際印出來驗證。
二、平移動畫
先準備一個要動的圖層。以下這段 viewDidLoad 在後續的縮放、旋轉範例中會重複使用,這裡只寫一次:
@interface YYViewController ()
@property (nonatomic, strong) CALayer *myLayer;
@end

@implementation YYViewController

- (void)viewDidLoad
{
    [super viewDidLoad];

    CALayer *myLayer = [CALayer layer];
    myLayer.bounds = CGRectMake(0, 0, 50, 80);
    myLayer.backgroundColor = [UIColor yellowColor].CGColor;
    myLayer.position = CGPointMake(50, 50);
    myLayer.anchorPoint = CGPointMake(0, 0);
    myLayer.cornerRadius = 20;

    [self.view.layer addSublayer:myLayer];
    self.myLayer = myLayer;
}
接著在觸碰時建立平移動畫:
- (void)touchesBegan:(NSSet *)touches withEvent:(UIEvent *)event
{
    // 1. 建立動畫
    CABasicAnimation *anima = [CABasicAnimation animation];

    // 1.1 指定要動的 keyPath,position 對應平移動畫
    anima.keyPath = @"position";

    // 1.2 起點與終點。注意這裡接收的是 id,
    //     所以 CGPoint 必須先包成 NSValue
    anima.fromValue = [NSValue valueWithCGPoint:CGPointMake(0, 0)];
    anima.toValue   = [NSValue valueWithCGPoint:CGPointMake(200, 300)];

    // 1.3 動畫播完不從圖層移除
    anima.removedOnCompletion = NO;
    // 1.4 保留動畫最新的狀態
    anima.fillMode = kCAFillModeForwards;

    // 2. 把動畫加到圖層上
    [self.myLayer addAnimation:anima forKey:nil];
}
幾個實作細節:
- keyPath 設為
position,系統就知道要對位置做動畫。 fromValue/toValue的型別是 id,CGPoint、CGRect 這類結構體必須用NSValue包裝。- 預設情況下動畫播完會自動從圖層移除,圖層瞬間跳回原位。加上
removedOnCompletion = NO與fillMode = kCAFillModeForwards才能讓畫面停在終點。 byValue與toValue的區別:前者是「在目前位置上增加多少」,後者是「移動到哪個絕對位置」。
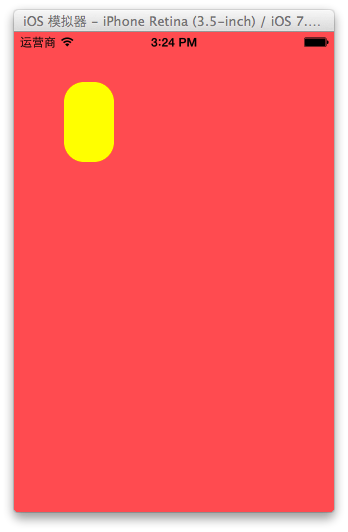
加上代理,驗證屬性值沒有真的改變
- (void)touchesBegan:(NSSet *)touches withEvent:(UIEvent *)event
{
    CABasicAnimation *anima = [CABasicAnimation animation];
    anima.keyPath = @"position";
    anima.fromValue = [NSValue valueWithCGPoint:CGPointMake(0, 0)];
    anima.toValue = [NSValue valueWithCGPoint:CGPointMake(200, 300)];
    anima.removedOnCompletion = NO;
    anima.fillMode = kCAFillModeForwards;
    anima.delegate = self; // 監聽動畫生命週期

    NSLog(@"執行前:%@", NSStringFromCGPoint(self.myLayer.position));

    [self.myLayer addAnimation:anima forKey:nil];
}

- (void)animationDidStart:(CAAnimation *)anim
{
    NSLog(@"開始執行動畫");
}

- (void)animationDidStop:(CAAnimation *)anim finished:(BOOL)flag
{
    NSLog(@"執行後:%@", NSStringFromCGPoint(self.myLayer.position));
}
輸出結果會印出 {50, 50},而不是 {200, 300}——畫面停在終點,模型層的值卻沒動。

三、縮放動畫:對 bounds 做動畫
- (void)touchesBegan:(NSSet *)touches withEvent:(UIEvent *)event
{
    CABasicAnimation *anima = [CABasicAnimation animationWithKeyPath:@"bounds"];
    anima.duration = 2.0;
    anima.removedOnCompletion = NO;
    anima.fillMode = kCAFillModeForwards;
    anima.toValue = [NSValue valueWithCGRect:CGRectMake(0, 0, 200, 200)];

    [self.myLayer addAnimation:anima forKey:nil];
}
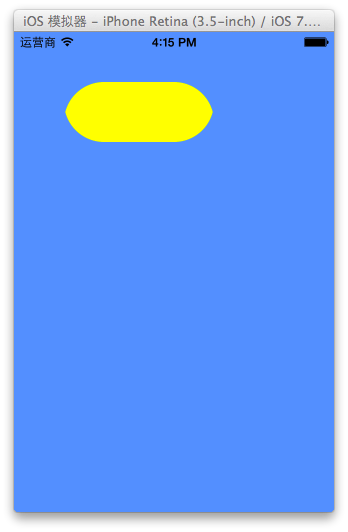
把 keyPath 換成 bounds,圖層就會從 150×60 放大到 200×200。
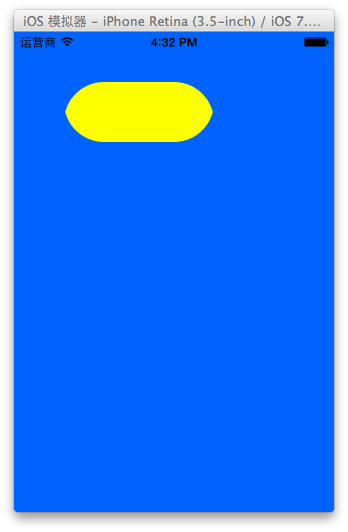
四、旋轉動畫:對 transform 做動畫
- (void)touchesBegan:(NSSet *)touches withEvent:(UIEvent *)event
{
    CABasicAnimation *anima = [CABasicAnimation animationWithKeyPath:@"transform"];
    anima.duration = 2.0;
    anima.toValue = [NSValue valueWithCATransform3D:
                        CATransform3DMakeRotation(M_PI_2 + M_PI_4, 1, 1, 0)];
    anima.removedOnCompletion = NO;
    anima.fillMode = kCAFillModeForwards;

    [self.myLayer addAnimation:anima forKey:nil];
}
補充:用 transform 做位移
平移除了改 position,也可以透過 transform 矩陣完成:
- (void)touchesBegan:(NSSet *)touches withEvent:(UIEvent *)event
{
    CABasicAnimation *anima = [CABasicAnimation animation];
    anima.keyPath = @"transform";
    anima.duration = 2.0;
    anima.toValue = [NSValue valueWithCATransform3D:
                        CATransform3DMakeTranslation(0, 100, 1)];
    anima.removedOnCompletion = NO;
    anima.fillMode = kCAFillModeForwards;

    [self.myLayer addAnimation:anima forKey:nil];
}
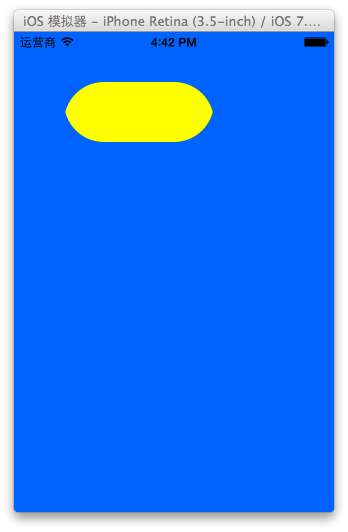
效果是圖形在 y 軸方向移動 100 個單位。
五、關鍵幀動畫 CAKeyframeAnimation
CAKeyframeAnimation 同樣是 CAPropertyAnimation 的子類。與 CABasicAnimation 只能從一個值變到另一個值不同,它會用一個 NSArray 保存一整串數值。可以把它理解為「最多只有兩個關鍵幀的 CAKeyframeAnimation」的推廣版本。
主要屬性:
- values:關鍵幀陣列,元素即為各個 keyframe。動畫會在 duration 內依序呈現每一幀。
- path:可指定一條 CGPathRef / CGMutablePathRef,讓圖層沿著路徑移動。path 只對 CALayer 的 anchorPoint 與 position 生效;一旦設了 path,values 會被忽略。
- keyTimes:為每個關鍵幀指定對應時間點,範圍 0 ~ 1.0,且與 values 一一對應。不設定的話,各幀時間平均分配。
寫法一:用 values 排出一條方形路線
@interface YYViewController ()
@property (weak, nonatomic) IBOutlet UIView *customView;
@end

@implementation YYViewController

- (void)touchesBegan:(NSSet *)touches withEvent:(UIEvent *)event
{
    CAKeyframeAnimation *keyAnima = [CAKeyframeAnimation animation];
    keyAnima.keyPath = @"position";

    NSValue *value1 = [NSValue valueWithCGPoint:CGPointMake(100, 100)];
    NSValue *value2 = [NSValue valueWithCGPoint:CGPointMake(200, 100)];
    NSValue *value3 = [NSValue valueWithCGPoint:CGPointMake(200, 200)];
    NSValue *value4 = [NSValue valueWithCGPoint:CGPointMake(100, 200)];
    NSValue *value5 = [NSValue valueWithCGPoint:CGPointMake(100, 100)];
    keyAnima.values = @[value1, value2, value3, value4, value5];

    keyAnima.removedOnCompletion = NO;
    keyAnima.fillMode = kCAFillModeForwards;
    keyAnima.duration = 4.0;
    // 節奏:進出都放緩
    keyAnima.timingFunction =
        [CAMediaTimingFunction functionWithName:kCAMediaTimingFunctionEaseInEaseOut];

    keyAnima.delegate = self;
    [self.customView.layer addAnimation:keyAnima forKey:nil];
}

- (void)animationDidStart:(CAAnimation *)anim { NSLog(@"開始動畫"); }
- (void)animationDidStop:(CAAnimation *)anim finished:(BOOL)flag { NSLog(@"結束動畫"); }

@end
這個範例在 storyboard 中拖入一個 view,並與控制器的 customView outlet 建立關聯。
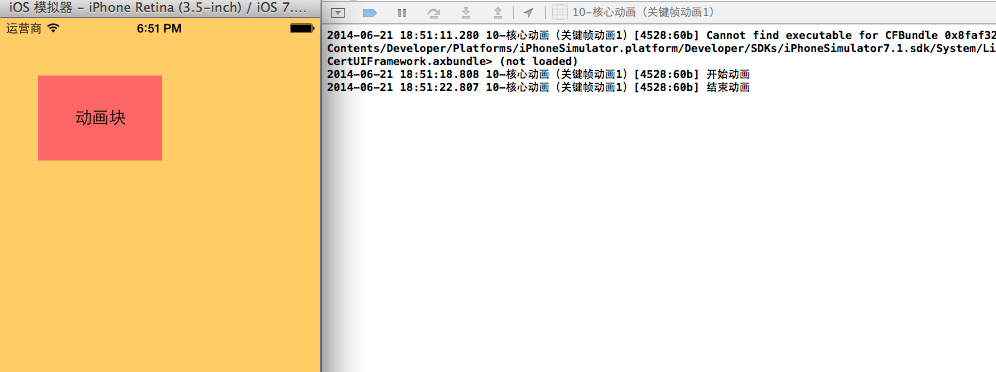
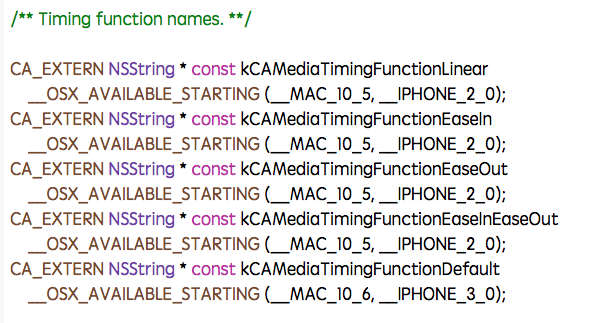
timingFunction 決定了動畫的節奏曲線,常見選項還包含 EaseIn、EaseOut、Linear 與 Default。
寫法二:用 path 讓圖層沿圓周移動
- (void)touchesBegan:(NSSet *)touches withEvent:(UIEvent *)event
{
    CAKeyframeAnimation *keyAnima = [CAKeyframeAnimation animation];
    keyAnima.keyPath = @"position";

    CGMutablePathRef path = CGPathCreateMutable();
    CGPathAddEllipseInRect(path, NULL, CGRectMake(150, 100, 100, 100));
    keyAnima.path = path;

    // 有 create 就要有 release,避免記憶體洩漏
    CGPathRelease(path);

    keyAnima.removedOnCompletion = NO;
    keyAnima.fillMode = kCAFillModeForwards;
    keyAnima.duration = 5.0;
    keyAnima.timingFunction =
        [CAMediaTimingFunction functionWithName:kCAMediaTimingFunctionEaseInEaseOut];

    keyAnima.delegate = self;
    [self.customView.layer addAnimation:keyAnima forKey:nil];
}
path 的強項在於「軌跡」——想讓物件沿著任意曲線運動,用它比手動列關鍵幀方便得多。
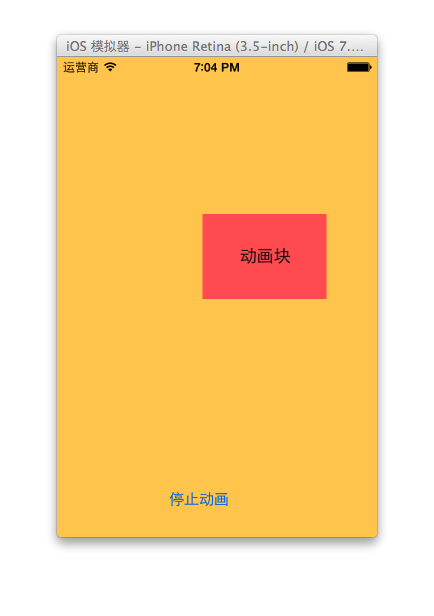
停止動畫:用 key 移除
動畫加入時如果指定了 key,就能用同一個 key 把它移除:
// 加入時命名
[self.customView.layer addAnimation:keyAnima forKey:@"wendingding"];

// 停止時移除
- (IBAction)stopOnClick:(UIButton *)sender {
    [self.customView.layer removeAnimationForKey:@"wendingding"];
}
六、綜合應用:桌面圖示抖動
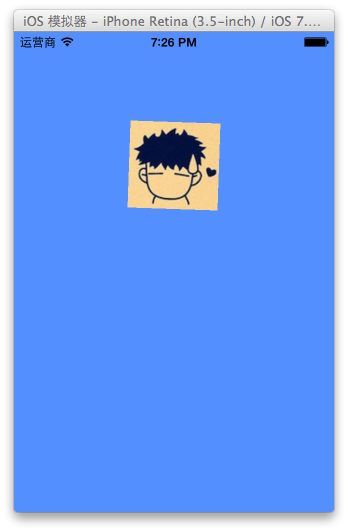
把「角度轉弧度」封裝成巨集,再用 transform.rotation 搭配無限重複,就能做出 iOS 桌面圖示刪除模式下的抖動效果。
#import "YYViewController.h"

#define angle2Radian(angle)  ((angle) / 180.0 * M_PI)

@interface YYViewController ()
@property (weak, nonatomic) IBOutlet UIImageView *iconView;
@end

@implementation YYViewController

- (void)touchesBegan:(NSSet *)touches withEvent:(UIEvent *)event
{
    CAKeyframeAnimation *keyAnima = [CAKeyframeAnimation animation];
    keyAnima.keyPath = @"transform.rotation";
    keyAnima.duration = 0.1;

    // 左右各偏 4 度,形成來回擺動
    keyAnima.values = @[@(-angle2Radian(4)),
                        @( angle2Radian(4)),
                        @(-angle2Radian(4))];

    keyAnima.repeatCount = MAXFLOAT; // 無限重複
    keyAnima.fillMode = kCAFillModeForwards;
    keyAnima.removedOnCompletion = NO;

    [self.iconView.layer addAnimation:keyAnima forKey:nil];
}

@end
這裡的關鍵是「短 duration + 無限重複」,每次只擺動一個小角度,連續播放後視覺上就變成高頻抖動。
整理
CABasicAnimation:兩個端點值之間的過渡,改哪個 keyPath 就決定動畫類型(position 平移、bounds 縮放、transform 旋轉/位移)。CAKeyframeAnimation:多個關鍵幀,或用 path 指定任意軌跡。removedOnCompletion = NO+fillMode = kCAFillModeForwards是「停在最後畫面」的標準組合,但要記得模型層的值並未改變。- 需要計時控制精細節奏時,用
keyTimes;需要整體手感時,用timingFunction。 - 要能停止動畫,加入時務必給
forKey:一個名稱。