
iOS Quartz2D 圖片剪切與截屏保存實務
編輯:iOS 相關教學
iOS Quartz2D 圖片剪切與截屏保存實務
在 iOS 開發中,Quartz2D 常用於自訂繪圖、圖片剪切與畫面截取。本文將說明如何把圖片繪製到自訂 view,並透過剪切路徑讓圖片以圓形或三角形呈現,最後再介紹如何將畫面存成圖片並保存到相簿。
一、將圖片繪製到自訂 view
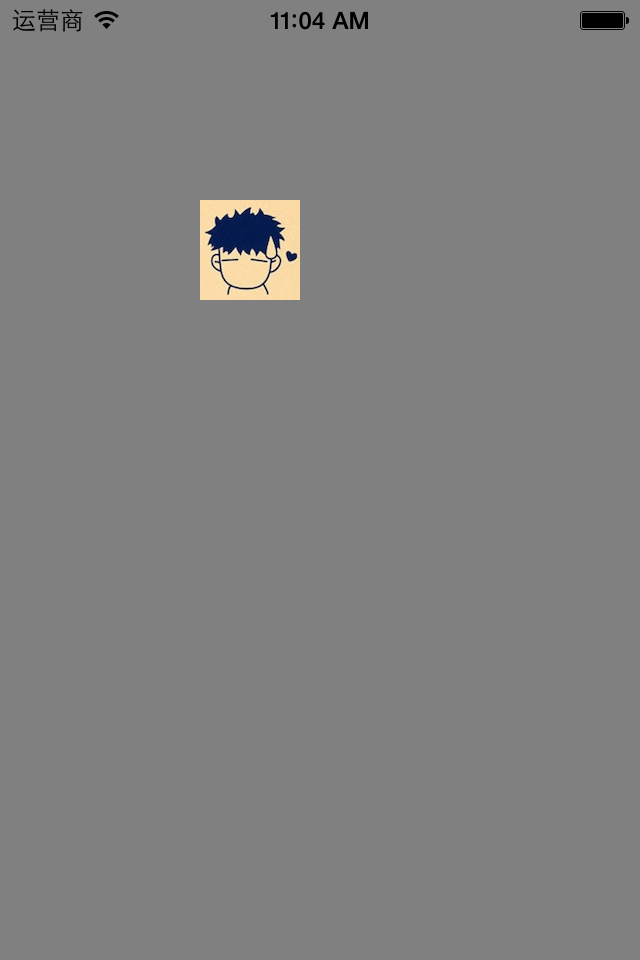
若要在自訂 view 中繪製圖片,可以在 drawRect: 方法中取得圖形上下文,再將圖片畫到指定位置。
- (void)drawRect:(CGRect)rect {
    UIImage *image = [UIImage imageNamed:@"me"];
    [image drawAtPoint:CGPointMake(100, 100)];
}
二、讓圖片以圓形顯示
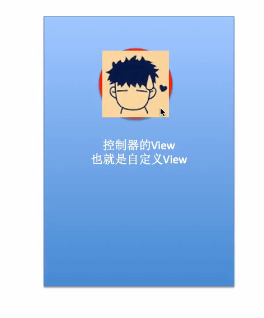
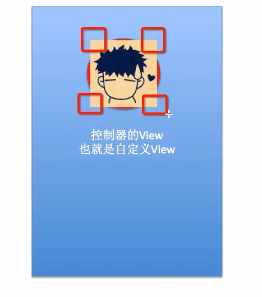
剪切的基本思路是先建立一個顯示範圍,再讓後續繪圖只顯示在該範圍內。若要讓圖片呈現圓形,可以先畫一個圓,再呼叫 CGContextClip。
- (void)drawRect:(CGRect)rect {
    CGContextRef ctx = UIGraphicsGetCurrentContext();
    CGContextAddEllipseInRect(ctx, CGRectMake(100, 100, 50, 50));
    CGContextClip(ctx);
    UIImage *image = [UIImage imageNamed:@"me"];
    [image drawAtPoint:CGPointMake(100, 100)];
}
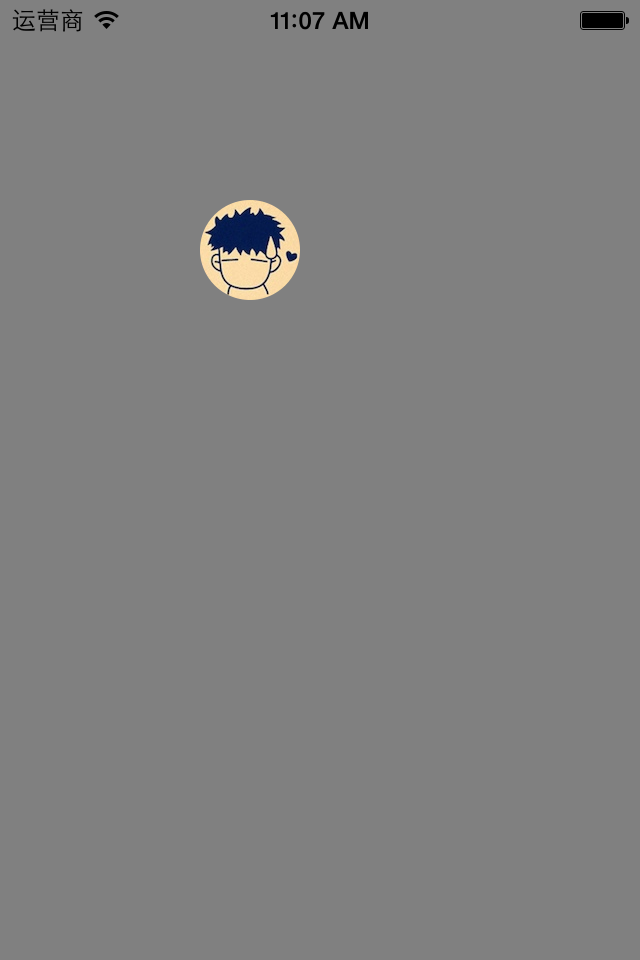
剪切範圍一旦設定,後續超出範圍的內容將不會顯示。因此,剪切方法必須在繪圖之前呼叫。
三、讓圖片以三角形顯示
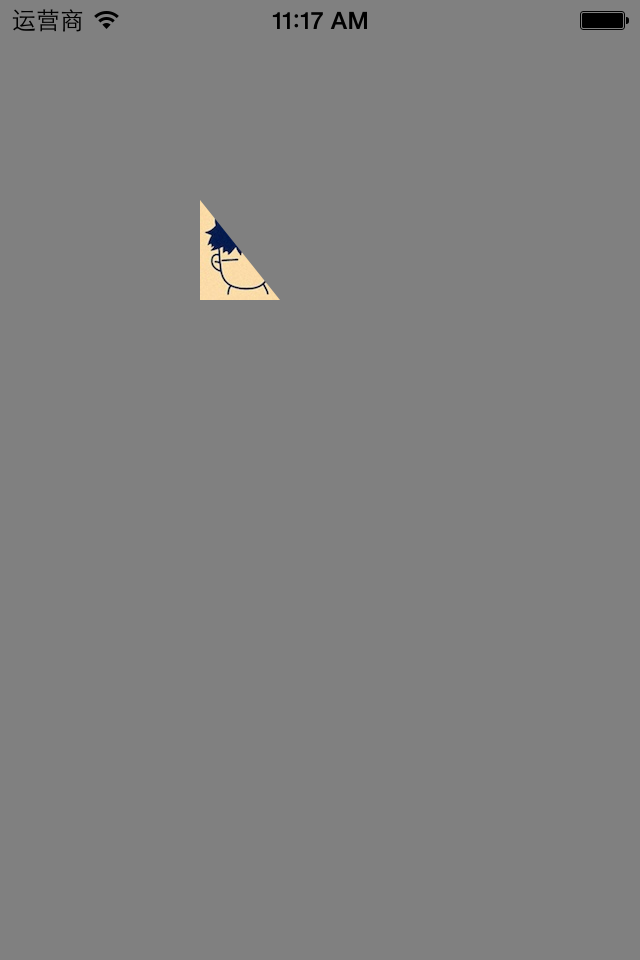
除了圓形,也可以透過路徑建立三角形,再進行剪切。
- (void)drawRect:(CGRect)rect {
    CGContextRef ctx = UIGraphicsGetCurrentContext();
    CGContextMoveToPoint(ctx, 100, 100);
    CGContextAddLineToPoint(ctx, 60, 150);
    CGContextAddLineToPoint(ctx, 140, 150);
    CGContextClosePath(ctx);
    CGContextClip(ctx);
    UIImage *image = [UIImage imageNamed:@"me"];
    [image drawAtPoint:CGPointMake(100, 100)];
}
四、截屏與保存到相簿
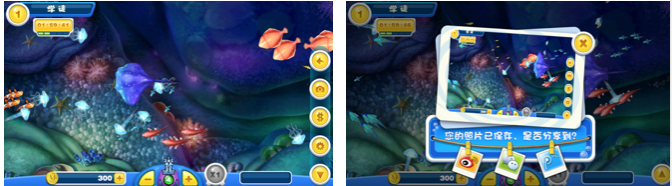
有些遊戲或工具型 App 需要截取畫面中的某個區域,例如捕魚達人這類遊戲,常需要擷取畫面作為分享或記錄用途。
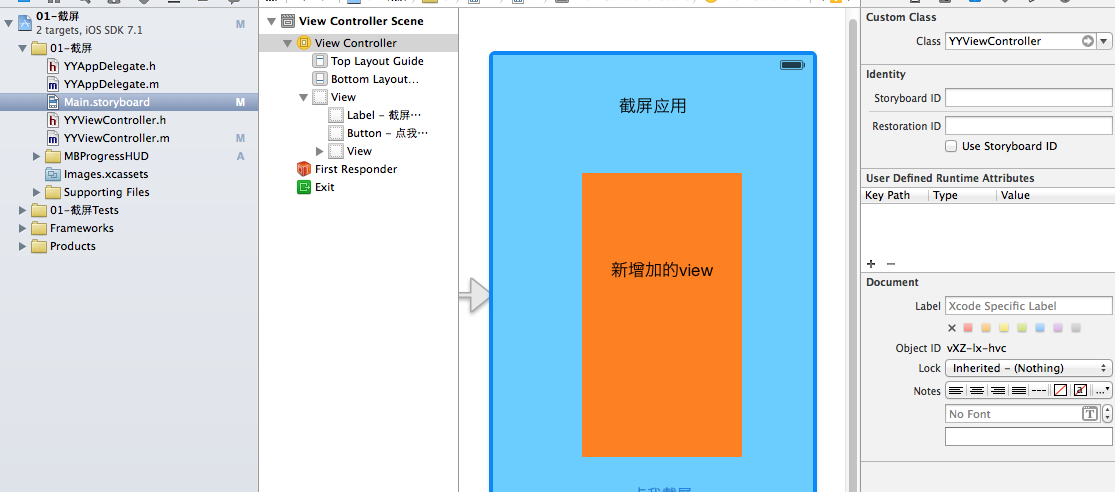
在 storyboard 中先建立需要截取的 view。
截屏的基本流程如下:
- 建立 bitmap 圖形上下文。
- 將 view 的 layer 渲染到該上下文中。
- 從上下文取得 UIImage。
- 將圖片保存到相簿或寫入檔案。
UIGraphicsBeginImageContext(self.contentView.frame.size);
[self.contentView.layer renderInContext:UIGraphicsGetCurrentContext()];
UIImage *newImage = UIGraphicsGetImageFromCurrentImageContext();
UIImageWriteToSavedPhotosAlbum(newImage, self, @selector(image:didFinishSavingWithError:contextInfo:), nil);
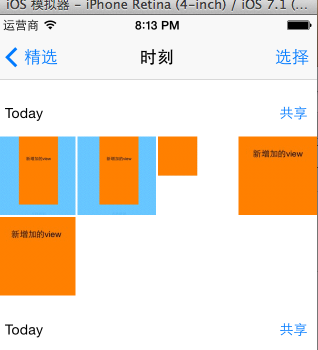
若需要將圖片寫入檔案,可以先轉成 PNG 資料,再存到 Documents 目錄。
NSData *data = UIImagePNGRepresentation(newImage);
NSString *path = [[NSSearchPathForDirectoriesInDomains(NSDocumentDirectory, NSUserDomainMask, YES) lastObject] stringByAppendingPathComponent:@"abc.png"];
[data writeToFile:path atomically:YES];
五、保存結果的處理
保存成功或失敗時,可以透過提示框告知使用者。常見失敗原因包括儲存空間不足或相簿權限未開啟。若使用者曾經拒絕權限,後續再次存取時可能會直接失敗,此時可引導使用者到設定中開啟權限。
- 上一篇文章: iOS Quartz2D 繪圖路徑與信紙條紋效果實作
- 下一篇文章: iOS 記憶體管理:引用計數、循環引用與 ARC 橋接