
iOS 動畫全解:CATransition 轉場、CAAnimationGroup 組動畫與 UIView 封裝動畫
一、轉場動畫 CATransition
CATransition 是 CAAnimation 的子類,專門負責處理「進場/退場」這類轉場效果,能讓圖層做出移出螢幕與移入螢幕的動畫。相較於 Mac OS X,iOS 提供的轉場動畫種類要少一些。
系統自帶的 UINavigationController 之所以能把控制器視圖推入螢幕,背後靠的就是 CATransition。
屬性解析
- type:動畫過渡類型
- subtype:動畫過渡方向
- startProgress:動畫起點(以整體動畫的百分比表示)
- endProgress:動畫終點(以整體動畫的百分比表示)
介面搭建
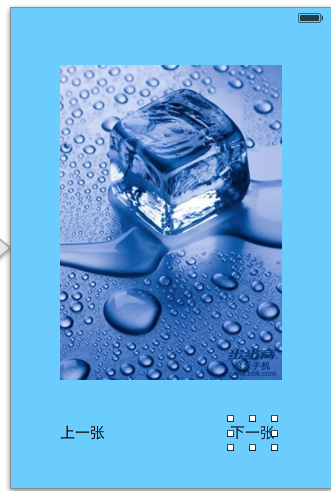
實作程式碼
//
//  YYViewController.m
//  13-轉場動畫
//
#import "YYViewController.h"

@interface YYViewController ()
@property (nonatomic, assign) int index;
@property (weak, nonatomic) IBOutlet UIImageView *iconView;

- (IBAction)preOnClick:(UIButton *)sender;
- (IBAction)nextOnClick:(UIButton *)sender;
@end
@implementation YYViewController

- (void)viewDidLoad
{
    [super viewDidLoad];
    self.index = 1;
}

// 上一張
- (IBAction)preOnClick:(UIButton *)sender {
    self.index--;
    if (self.index < 1) {
        self.index = 7;
    }
    self.iconView.image = [UIImage imageNamed:[NSString stringWithFormat:@"%d.jpg", self.index]];

    // 建立轉場動畫
    CATransition *ca = [CATransition animation];
    ca.type = @"cube";                        // 過渡效果
    ca.subtype = kCATransitionFromLeft;       // 過渡方向(向左)
    ca.duration = 2.0;                        // 動畫時間
    [self.iconView.layer addAnimation:ca forKey:nil];
}

// 下一張
- (IBAction)nextOnClick:(UIButton *)sender {
    self.index++;
    if (self.index > 7) {
        self.index = 1;
    }
    self.iconView.image = [UIImage imageNamed:[NSString stringWithFormat:@"%d.jpg", self.index]];

    // 1. 建立轉場動畫
    CATransition *ca = [CATransition animation];

    // 1.1 設定過渡效果
    ca.type = @"cube";
    // 1.2 設定過渡方向(向右)
    ca.subtype = kCATransitionFromRight;
    // 1.3 設定動畫時間
    ca.duration = 2.0;
    // 1.4 設定動畫起點
    ca.startProgress = 0.5;
    // 1.5 設定動畫終點
    // ca.endProgress = 0.5;

    // 2. 加入動畫
    [self.iconView.layer addAnimation:ca forKey:nil];
}

@end
點擊「上一張」或「下一張」按鈕,就會看到對應方向的立方體翻轉效果。
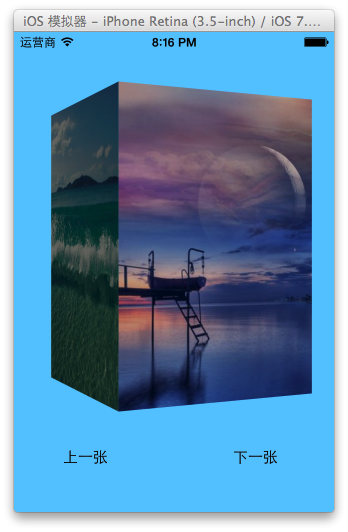
二、組動畫 CAAnimationGroup
CAAnimationGroup 同樣是 CAAnimation 的子類,用來裝一整組動畫物件。把它加入圖層後,裡面所有動畫會同時並發執行。
屬性解析
animations:用來保存一組動畫物件的 NSArray。
預設情況下,這一組動畫是同時啟動的;若要錯開時間,可以透過設定各動畫物件的 beginTime 來調整起始時刻。
程式碼範例
#import "YYViewController.h"

@interface YYViewController ()
@property (weak, nonatomic) IBOutlet UIView *iconView;
@end
@implementation NJViewController

- (void)touchesBegan:(NSSet *)touches withEvent:(UIEvent *)event
{
    // 平移動畫
    CABasicAnimation *a1 = [CABasicAnimation animation];
    a1.keyPath = @"transform.translation.y";
    a1.toValue = @(100);

    // 縮放動畫
    CABasicAnimation *a2 = [CABasicAnimation animation];
    a2.keyPath = @"transform.scale";
    a2.toValue = @(0.0);

    // 旋轉動畫
    CABasicAnimation *a3 = [CABasicAnimation animation];
    a3.keyPath = @"transform.rotation";
    a3.toValue = @(M_PI_2);

    // 組動畫
    CAAnimationGroup *groupAnima = [CAAnimationGroup animation];
    groupAnima.animations = @[a1, a2, a3];

    // 設定組動畫的時間
    groupAnima.duration = 2;
    groupAnima.fillMode = kCAFillModeForwards;
    groupAnima.removedOnCompletion = NO;

    [self.iconView.layer addAnimation:groupAnima forKey:nil];
}

@end
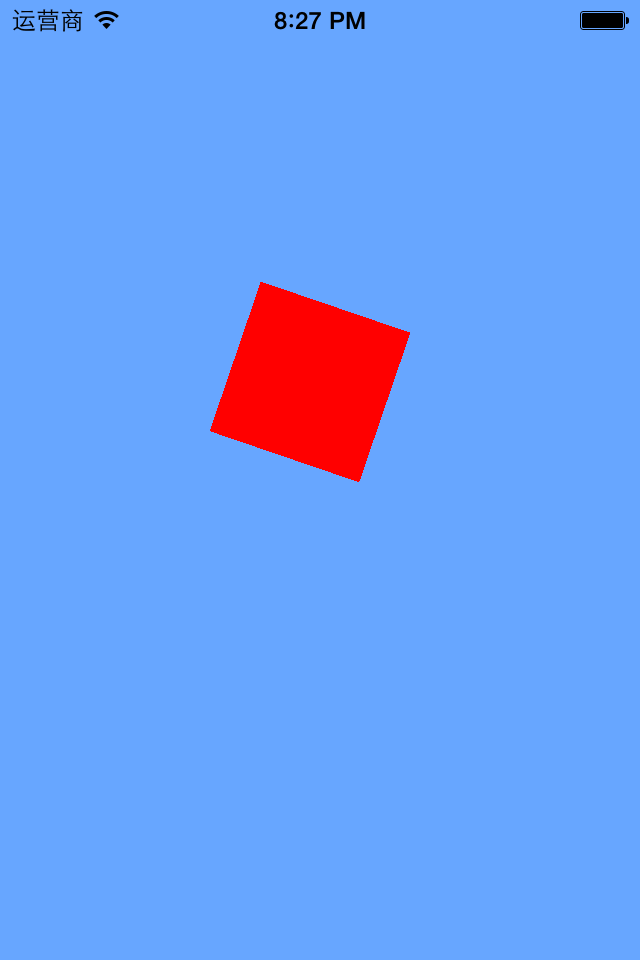
說明:平移、旋轉、縮放被綁成一組,一起執行。
執行效果:
三、UIView 封裝動畫
1. 首尾式動畫
UIKit 直接把動畫能力內建到 UIView 類別中。當某些內部屬性改變時,UIView 會自動為這些變化提供動畫支援。
動畫的實際運算由 UIView 自己完成,但我們仍必須告訴它「現在要開始播了」——做法是把修改屬性的程式碼包在 [UIView beginAnimations:nil context:nil] 與 [UIView commitAnimations] 之間。
常見方法解析:
+ (void)setAnimationDelegate:(id)delegate
// 設定動畫代理物件,動畫開始或結束時會向代理發送訊息

+ (void)setAnimationWillStartSelector:(SEL)selector
// 動畫即將開始時執行 delegate 的 selector,並把 beginAnimations:context: 傳入的參數帶進去

+ (void)setAnimationDidStopSelector:(SEL)selector
// 動畫結束時執行 delegate 的 selector,同樣會帶入 context 參數

+ (void)setAnimationDuration:(NSTimeInterval)duration
// 動畫持續時間,單位為秒

+ (void)setAnimationDelay:(NSTimeInterval)delay
// 延遲 delay 秒後再開始

+ (void)setAnimationStartDate:(NSDate *)startDate
// 動畫的開始時間,預設為 now

+ (void)setAnimationCurve:(UIViewAnimationCurve)curve
// 動畫的節奏控制

+ (void)setAnimationRepeatCount:(float)repeatCount
// 動畫的重複次數

+ (void)setAnimationRepeatAutoreverses:(BOOL)repeatAutoreverses
// 設為 YES 時,每次重複的效果會與上一次相反

+ (void)setAnimationTransition:(UIViewAnimationTransition)transition forView:(UIView *)view cache:(BOOL)cache
// 設定視圖的過渡效果,transition 指定類型,cache 設為 YES 時使用視圖快取,效能較好
程式碼示例:
//
//  YYViewController.m
//  01-uiview封裝動畫
//
#import "YYViewController.h"

@interface YYViewController ()
@property (weak, nonatomic) IBOutlet UIView *customView;
@end
@implementation YYViewController

- (void)viewDidLoad
{
    [super viewDidLoad];
}

- (void)touchesBegan:(NSSet *)touches withEvent:(UIEvent *)event
{
    // 印出动畫執行之前的位置
    NSLog(@"動畫執行之前的位置:%@", NSStringFromCGPoint(self.customView.center));

    // 首尾式動畫
    [UIView beginAnimations:nil context:nil];

    // 設定動畫執行時間
    [UIView setAnimationDuration:2.0];

    // 設定代理
    [UIView setAnimationDelegate:self];

    // 設定動畫結束後呼叫的方法
    [UIView setAnimationDidStopSelector:@selector(didStopAnimation)];

    self.customView.center = CGPointMake(200, 300);

    [UIView commitAnimations];
}

- (void)didStopAnimation
{
    NSLog(@"動畫執行完畢");
    // 印出动畫執行完畢後的位置
    NSLog(@"動畫執行之後的位置:%@", NSStringFromCGPoint(self.customView.center));
}

@end
執行結果:
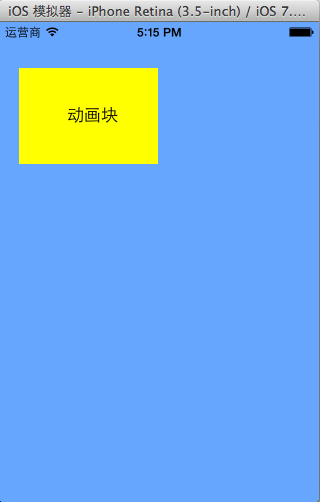
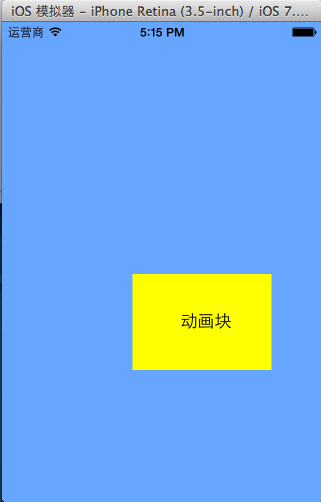
視圖位置的變化:

UIView 動畫與 CALayer 動畫的差異
兩者都能做出動畫效果,但真實開發中幾乎都會選擇 UIView 封裝的動畫,很少直接寫 CALayer 核心動畫。原因很關鍵:
UIView 封裝的動畫播放完畢後不會「反彈」。也就是說,如果用 CALayer 核心動畫去改變 layer 的位置,動畫看起來確實移動了,但模型層的屬性值並沒有真正改變,動畫一結束視圖就跳回原位。
//
//  YYViewController.m
//  01-uiview封裝動畫
//
#import "YYViewController.h"

@interface YYViewController ()
@property (weak, nonatomic) IBOutlet UIView *customView;
@end
@implementation YYViewController

- (void)touchesBegan:(NSSet *)touches withEvent:(UIEvent *)event
{
    // 1. 建立核心動畫
    CABasicAnimation *anima = [CABasicAnimation animation];

    // 平移
    anima.keyPath = @"position";
    anima.toValue = [NSValue valueWithCGPoint:CGPointMake(200, 300)];

    // 設定動畫時間
    anima.duration = 2.0;

    // 動畫結束後不刪除動畫
    anima.removedOnCompletion = NO;

    // 保存動畫的最新狀態
    anima.fillMode = kCAFillModeForwards;
    // anima.fillMode = kCAFillModeBackwards;

    // 設定動畫代理
    anima.delegate = self;

    // 2. 加入核心動畫
    [self.customView.layer addAnimation:anima forKey:nil];
}

- (void)animationDidStart:(CAAnimation *)anim
{
    // 印出动畫開始執行前的位置
    NSLog(@"動畫開始執行前的位置:%@", NSStringFromCGPoint(self.customView.layer.position));
}

- (void)animationDidStop:(CAAnimation *)anim finished:(BOOL)flag
{
    // 印出动畫執行完畢後的位置
    NSLog(@"動畫執行完畢後的位置:%@", NSStringFromCGPoint(self.customView.layer.position));
}

@end
打印結果:

2. Block 動畫
基本動畫:
+ (void)animateWithDuration:(NSTimeInterval)duration
                      delay:(NSTimeInterval)delay
                    options:(UIViewAnimationOptions)options
                 animations:(void (^)(void))animations
                 completion:(void (^)(BOOL finished))completion
參數解析:
- duration:動畫持續時間
- delay:延遲 delay 秒後開始
- options:動畫的節奏控制
- animations:把修改視圖屬性的程式碼放進這個 block
- completion:動畫結束後自動呼叫
轉場動畫(單一視圖):
+ (void)transitionWithView:(UIView *)view
                  duration:(NSTimeInterval)duration
                   options:(UIViewAnimationOptions)options
                animations:(void (^)(void))animations
                completion:(void (^)(BOOL finished))completion
參數解析:
- duration:動畫持續時間
- view:需要播放轉場動畫的視圖
- options:轉場動畫的類型
- animations:把修改視圖屬性的程式碼放進這個 block
- completion:動畫結束後自動呼叫
轉場動畫(視圖對替換):
+ (void)transitionFromView:(UIView *)fromView
                    toView:(UIView *)toView
                  duration:(NSTimeInterval)duration
                   options:(UIViewAnimationOptions)options
                completion:(void (^)(BOOL finished))completion
這個方法呼叫完畢後,效果等同於執行了下面兩行程式:
// 把 toView 加入父視圖
[fromView.superview addSubview:toView];

// 把 fromView 從父視圖中移除
[fromView removeFromSuperview];
參數解析:
- duration:動畫持續時間
- options:轉場動畫的類型
- animations:把修改視圖屬性的程式碼放進這個 block
- completion:動畫結束後自動呼叫
程式碼示例:
#import "YYViewController.h"

@interface YYViewController ()
@property (weak, nonatomic) IBOutlet UIView *customView;
@end
@implementation YYViewController

- (void)touchesBegan:(NSSet *)touches withEvent:(UIEvent *)event
{
    // block 動畫
    [UIView transitionWithView:self.customView
                      duration:3.0
                       options:0
                    animations:^{
                        // 要執行的動畫
                        NSLog(@"動畫開始執行前的位置:%@", NSStringFromCGPoint(self.customView.center));
                        self.customView.center = CGPointMake(200, 300);
                    }
                    completion:^(BOOL finished) {
                        // 動畫結束後的收尾處理
                        NSLog(@"動畫執行完畢");
                        NSLog(@"動畫執行完畢後的位置:%@", NSStringFromCGPoint(self.customView.center));
                    }];
}

@end
打印結果:

小提示:self.customView.layer.position 與 self.customView.center 是等價的,因為 layer 的 anchorPoint 預設值為 (0.5, 0.5)。
3. 補充知識
UIImageView 的序列格動畫。它讓一系列圖片在指定時間內依序播放。
相關屬性:
- animationImages:要播放的圖片,一個裝著 UIImage 的 NSArray
- animationDuration:完整播放一次所有圖片所需的時間
- animationRepeatCount:動畫播放次數(預設 0,代表無限循環)
相關方法:
- (void)startAnimating;  // 開始動畫
- (void)stopAnimating;   // 停止動畫
- (BOOL)isAnimating;     // 是否正在播放動畫
UIActivityIndicatorView。這是一個旋轉的進度輪,用來告知使用者「有個操作正在進行中」,通常用 initWithActivityIndicatorStyle: 初始化。
相關方法:
- (void)startAnimating;  // 開始動畫
- (void)stopAnimating;   // 停止動畫
- (BOOL)isAnimating;     // 是否正在播放動畫
可選的樣式有三種:
UIActivityIndicatorViewStyleWhiteLarge  // 大型白色指示器

UIActivityIndicatorViewStyleWhite       // 標準尺寸白色指示器

UIActivityIndicatorViewStyleGray        // 灰色指示器,用於淺色背景
- 上一篇文章: iOS 多線程核心課題:線程間通信與線程安全的實戰解析
- 下一篇文章: iOS 開發入門必修:為什麼要先打好 C 語言基礎